DIY Floral Crowns
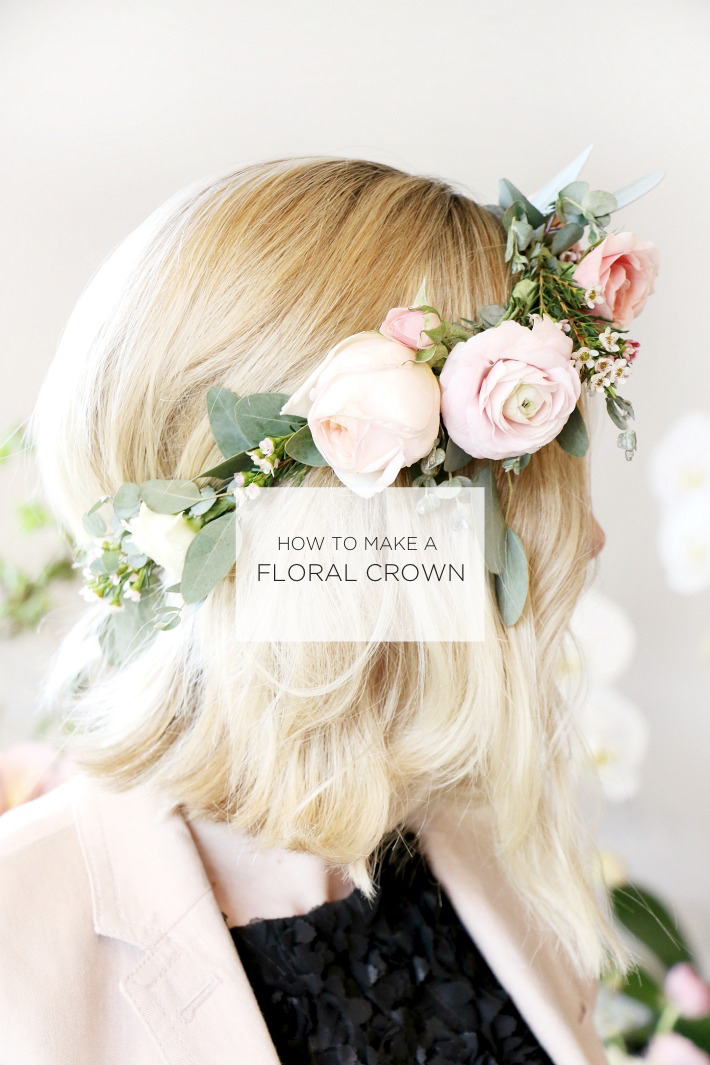
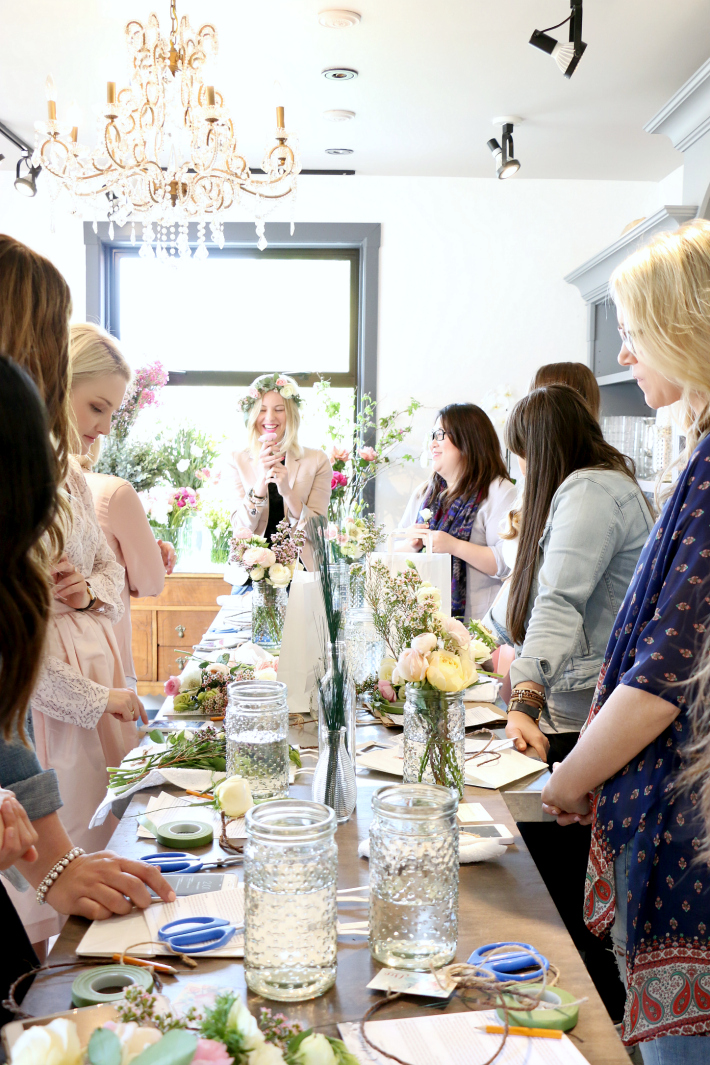
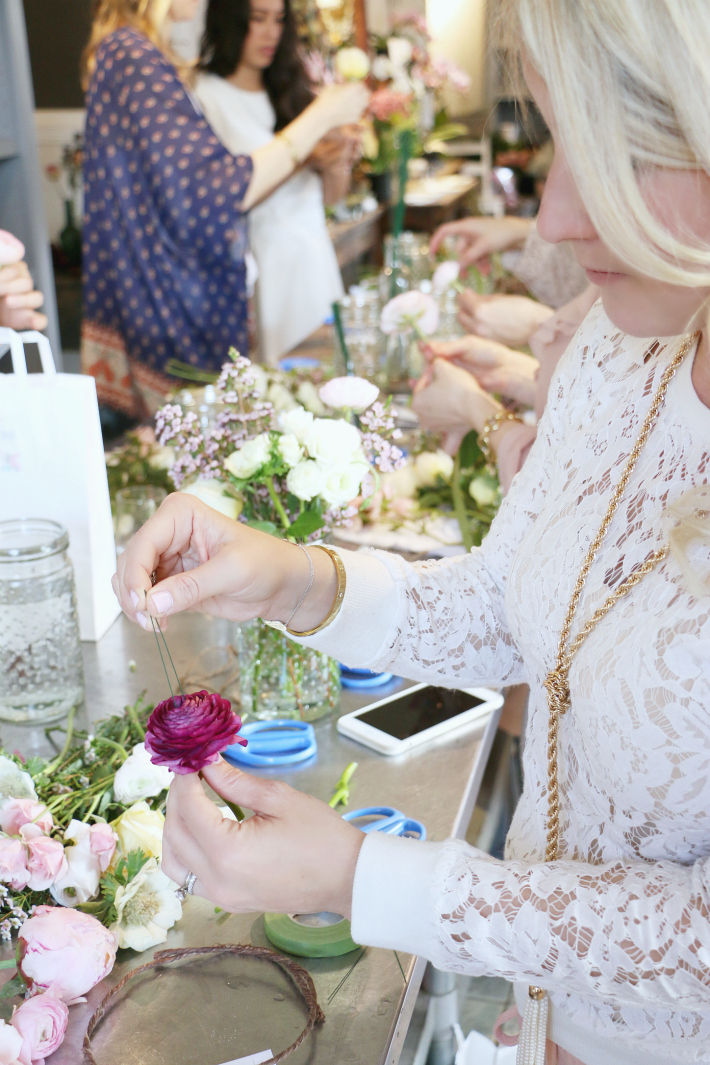
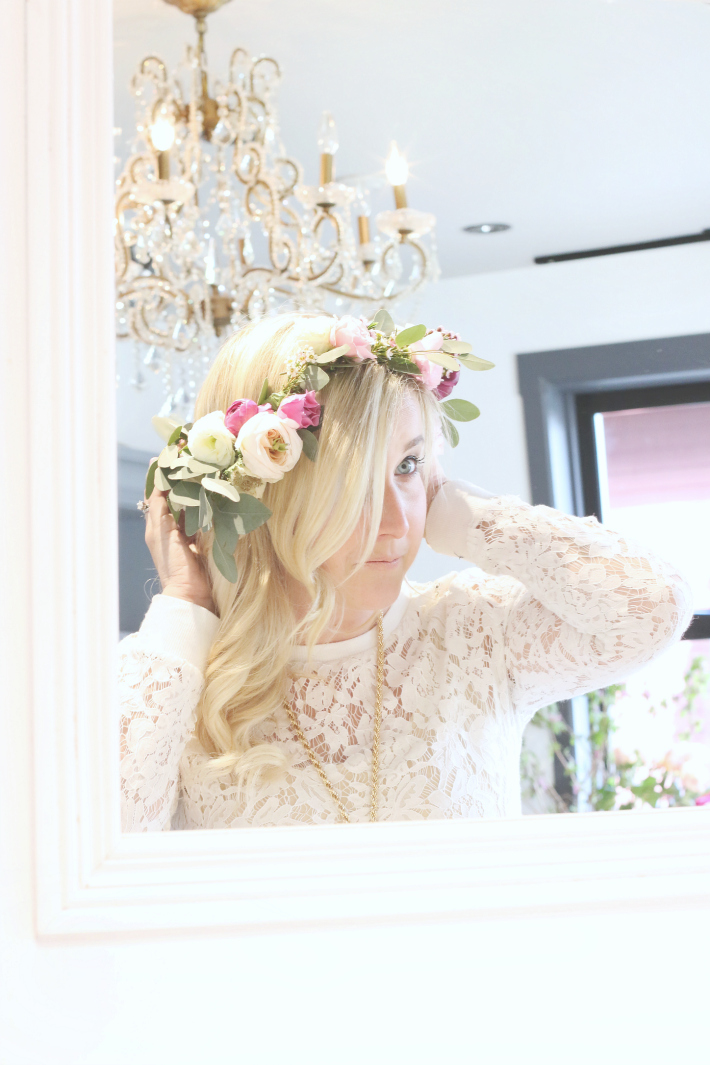
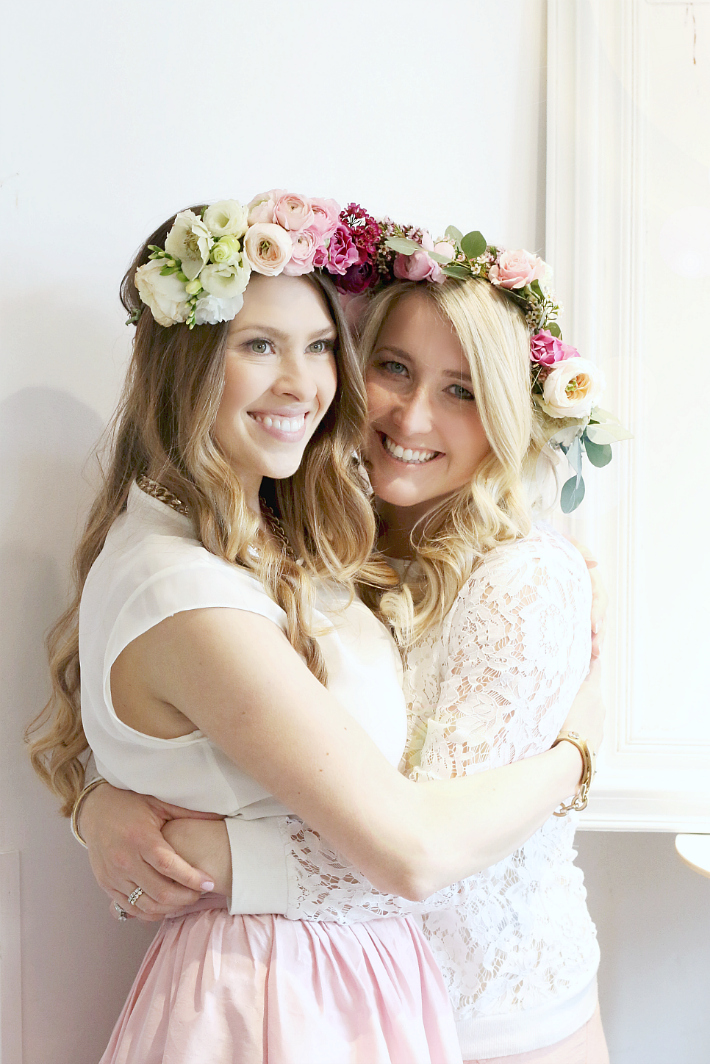
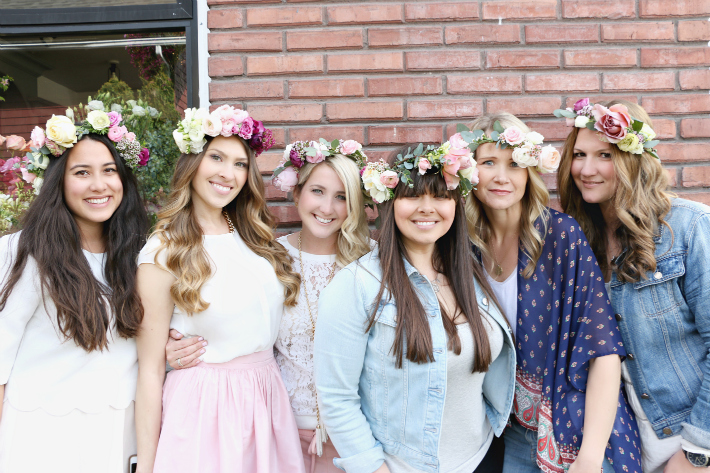 There is nothing more fun than to hang out with an amazing group of girls on a sunny Saturday afternoon! That’s exactly what I did last weekend, oh- and we learnt how to make floral crowns! My beautiful friend Jennifer (you might know her as the gorgeous mama behind VONBON), hosted an amazing floral crown making class at the adorable Celsia Floral in Vancouver. We were taught how to twist our favourite blooms around a simple wire to create our personal floral crown. It was amazing how each one of our crowns was so uniquely different! Such a fun spring activity, click here to find out how to book your #floralschool with your girlfriends!
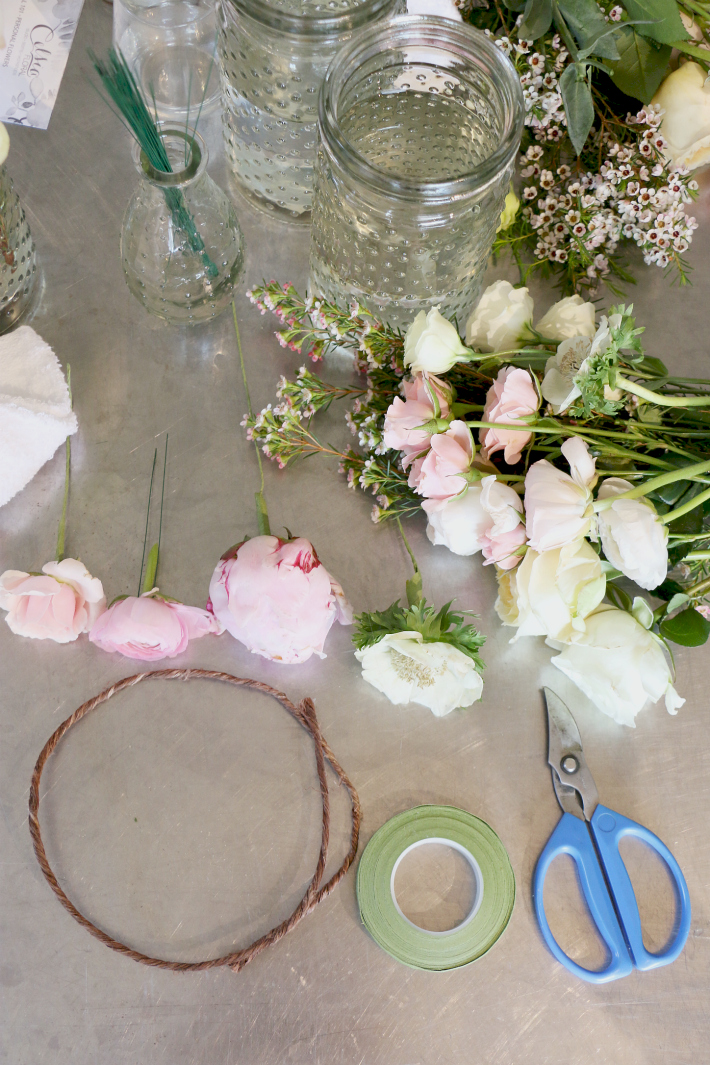
Here are a few tips I learnt:
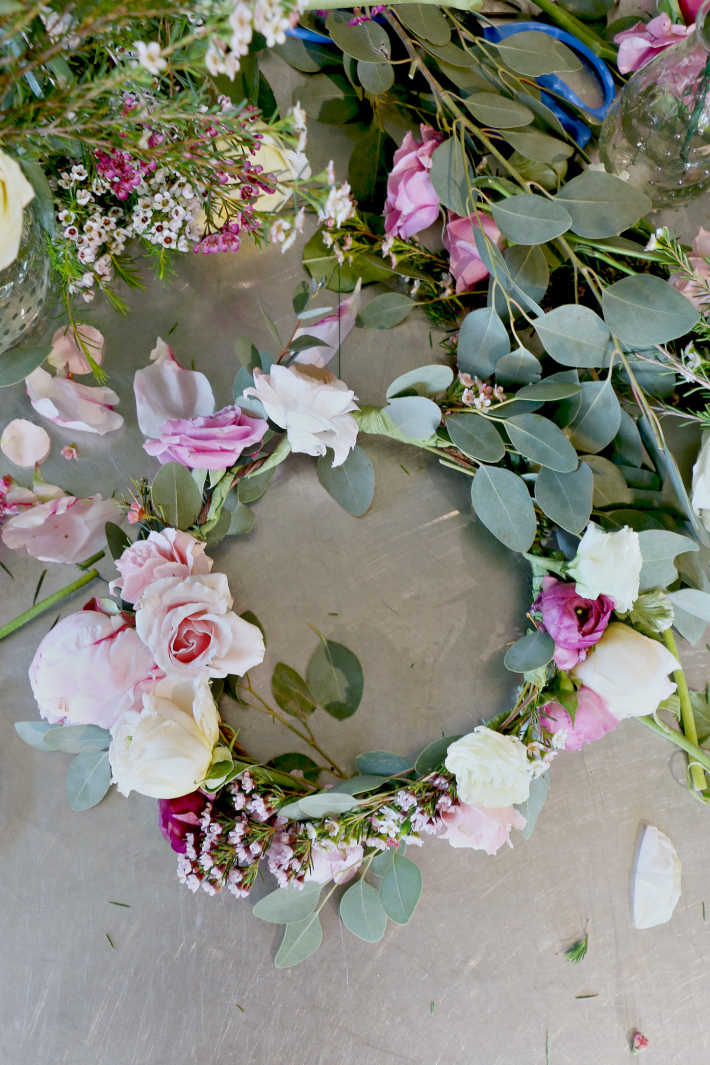
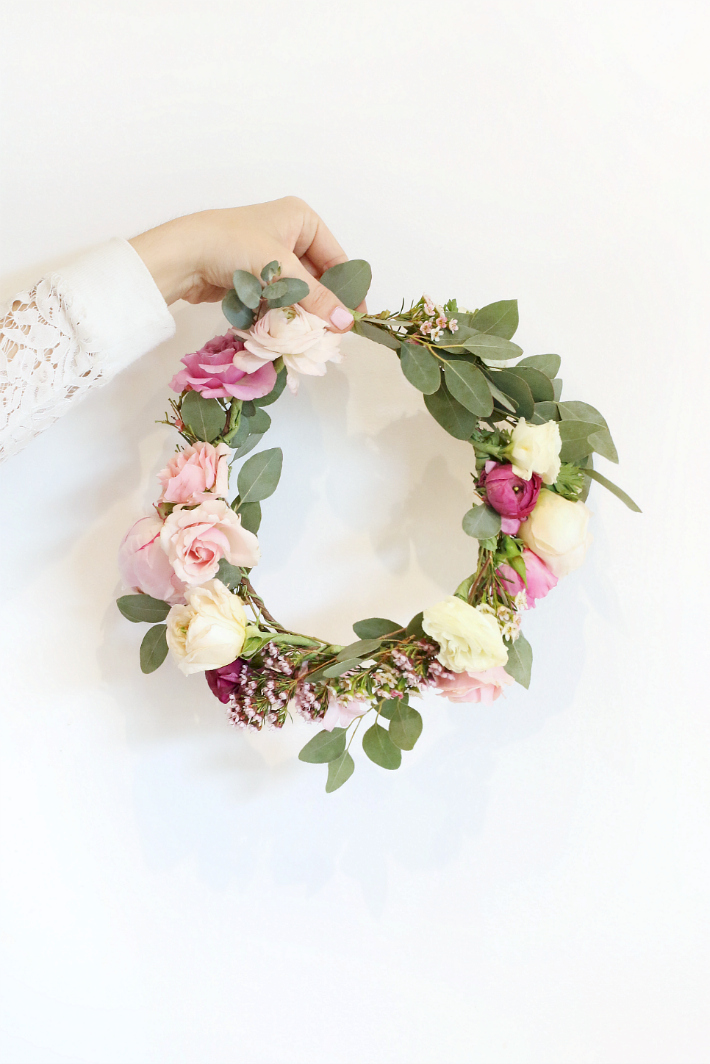
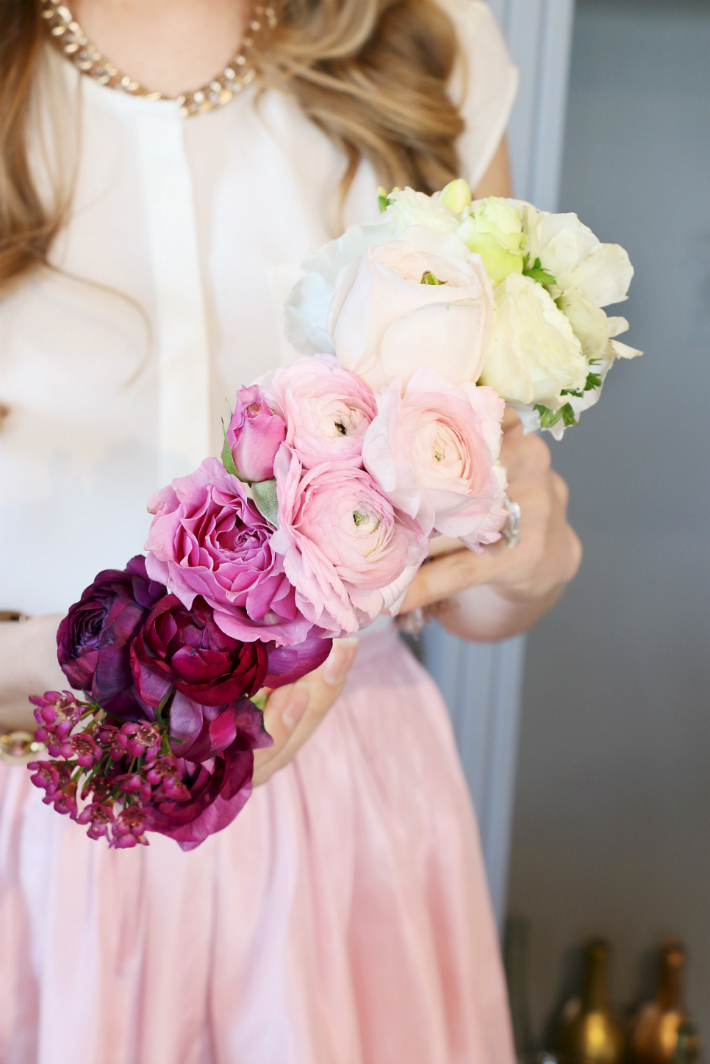
1. Choose your favourite florals & greens. We used roses, peonies, ranunculus, anemones, wax flower, finished with eucalyptus.
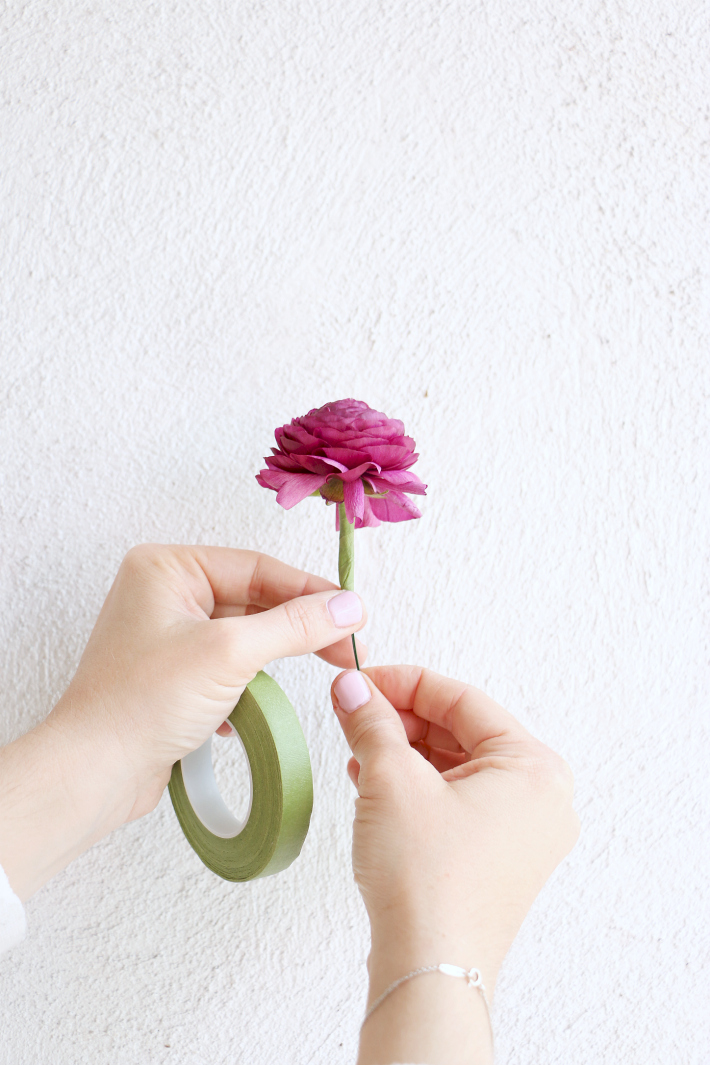
2. Cut your stem about 2 inches long.
3. Take your thin wire and puncture your floral, creating a flexible stem. Note: For roses and peonies puncture the bottom bud. For ranunculus, bend your wire like a bobby pin and push both ends into the centre of the flora (see above photo). For anemones, string the wire through the floral into the stem without bending the wire.
4. Take your floral tape and wrap it around the stem and wire, make sure to pull on your tape to make it stick and easy to work with.
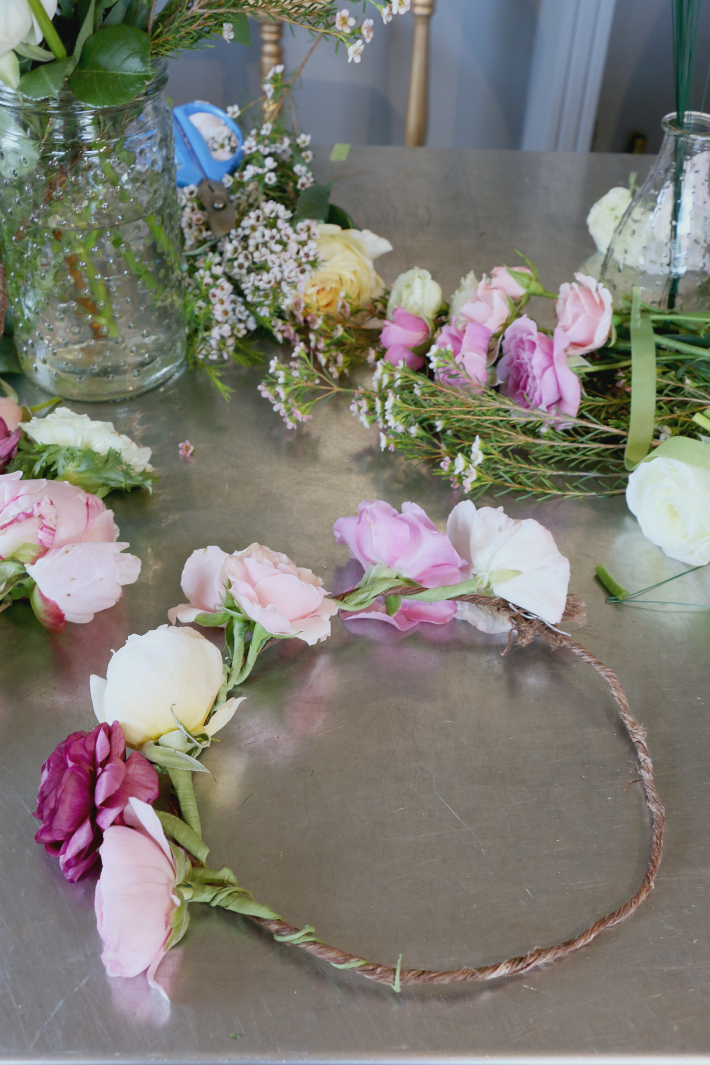
5. Take your ready blooms and start to wrap them around your wire crown, all in the same direction.
6. Finish by using your greens to fill in the spaces and any wire parts that you want to hide.
Hope that all made sense. If you have any questions feel free to leave a comment and I’ll make sure to answer. Head over to the VONBON blog to have a look at Jen’s post to

Great tips, it turned out excellent!
http://www.mintnotion.com
What a fabulous post. I like you used fresh flowers and really incorporated different colours and sizes. Kudos to you!
Monika, I just love your site, and have followed for several years quietly. Some of my favorite giftables have come from your shop. I can across this post while seating your site for the bkr from your shop to link to one of my recent posts. As usual I got lost here, or is it found? Haha. This post just made me smile and made my heart happy. I love how God loves us in little posts of beauty like this one. 🙂 I had to let you know, and congrats on the almost here baby girl.
How soon will the natural flowers start to dry up ? If I make it the night before the event ? I won’t have time to do it the day of.
I would try to make it the morning of, otherwise the night before and mist the flowers and put them in the fridge:)