DIY Paper Bag Advent Calendar
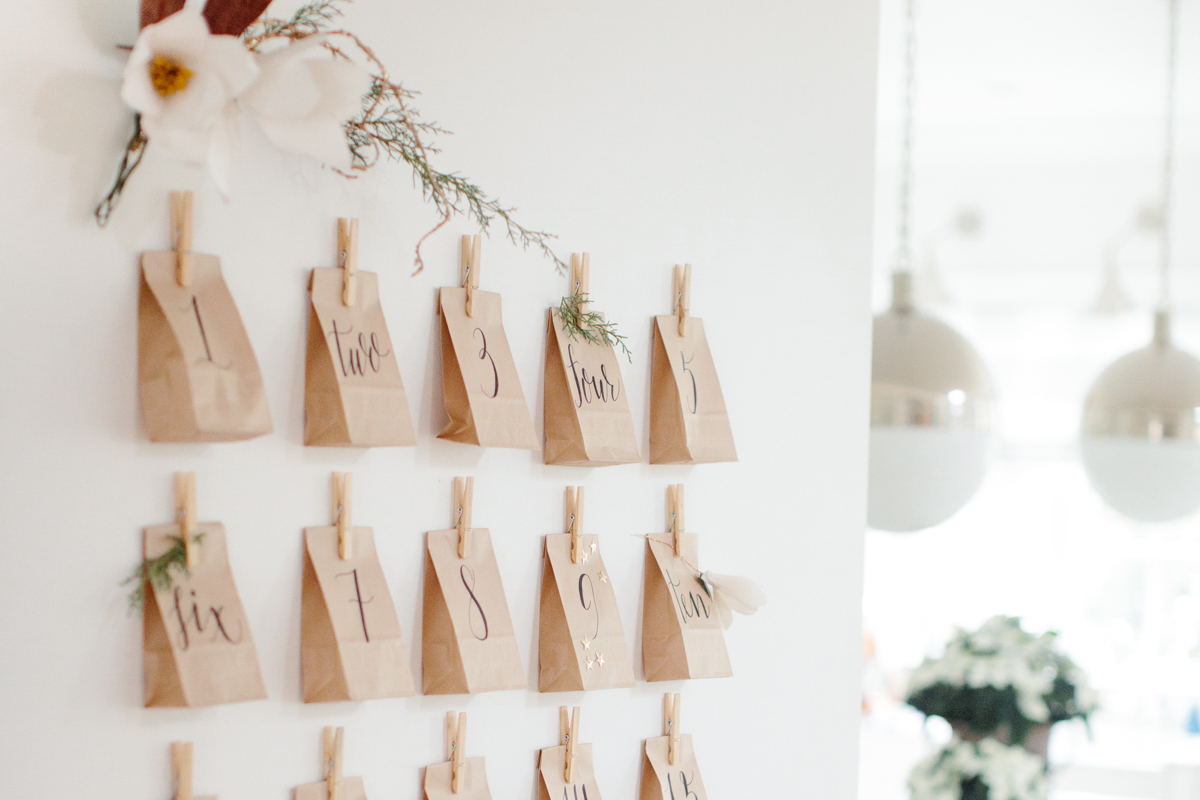
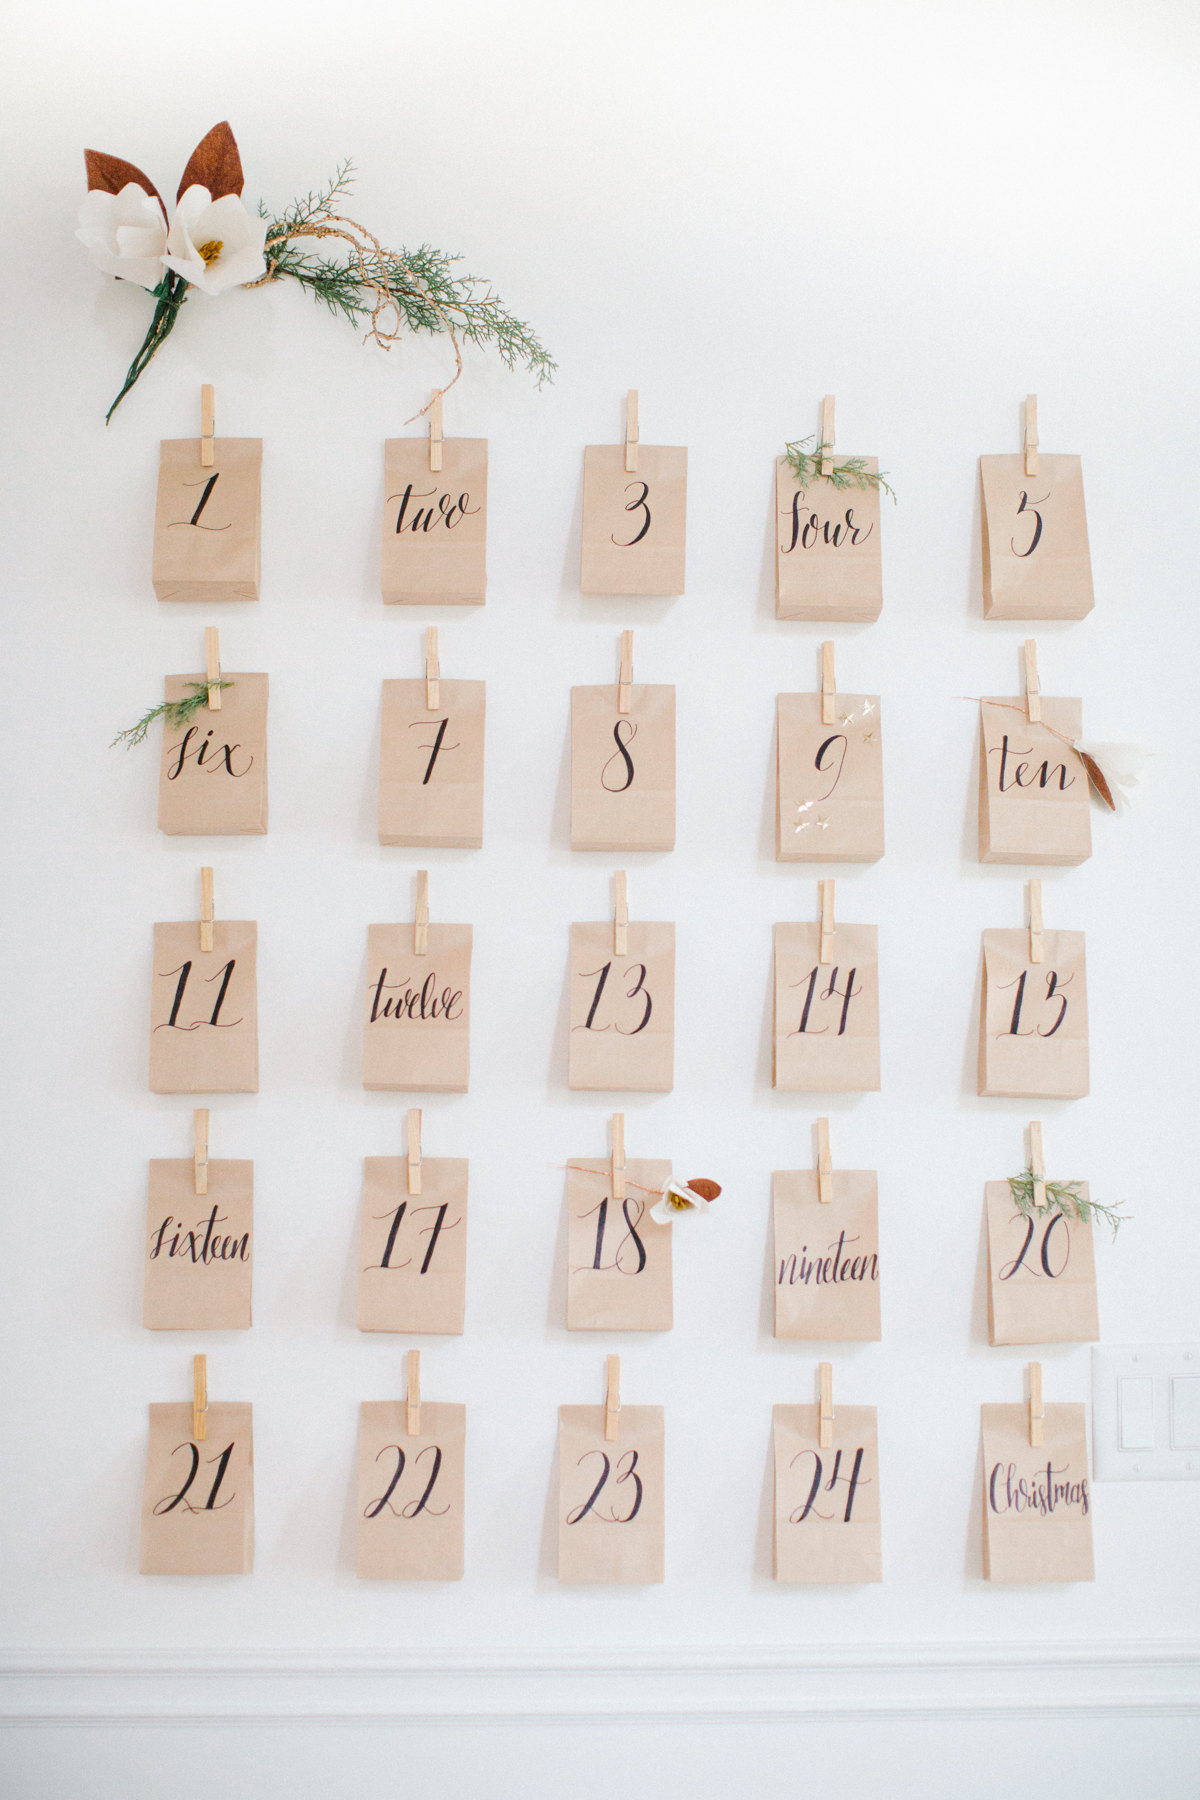
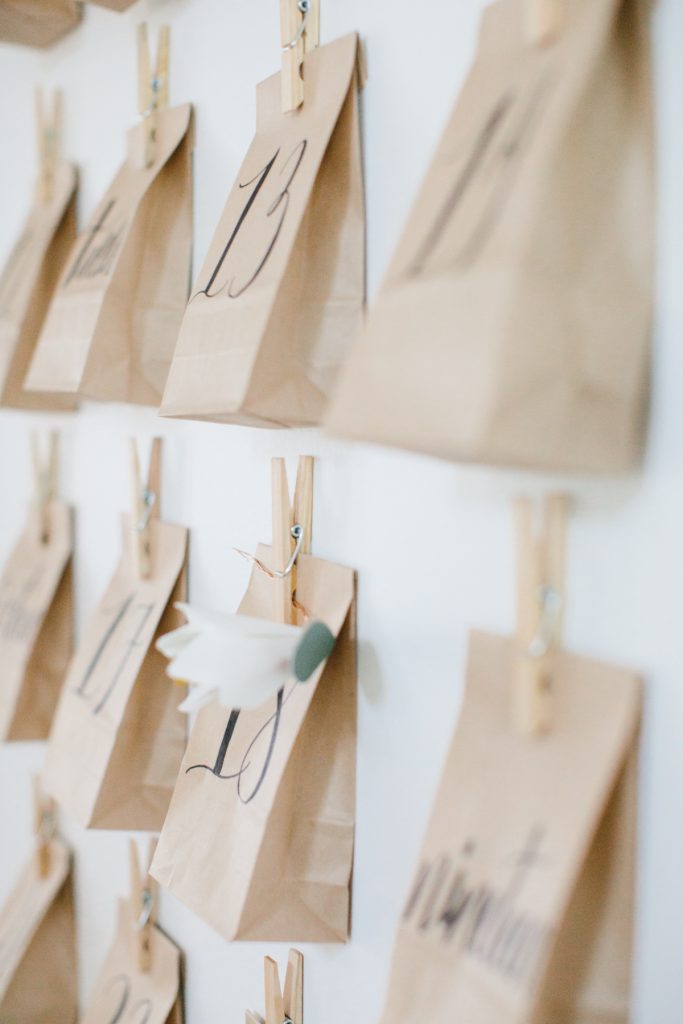
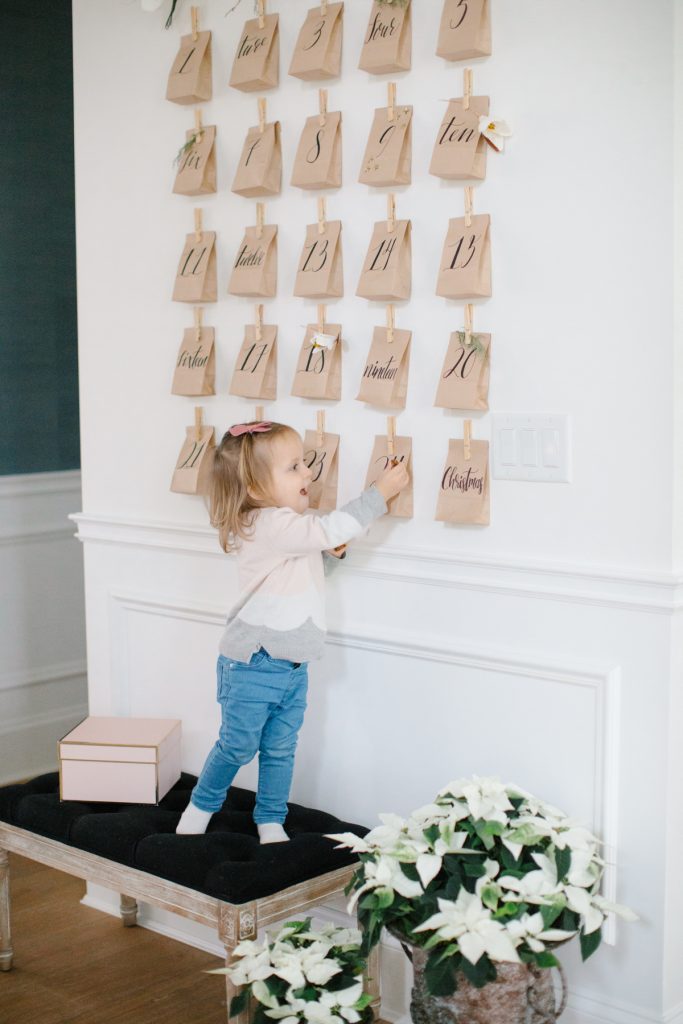
Happy December 1st! I am so excited to finally share our paper bag DIY advent calendar we made this year. I am so happy with how it turned out. I was happy to see that it wasn’t a big eyesore in the house when it was finally up! The perfect amount of pretty, yet relaxed and low key all at the same time. When I originally shared a little peek over on my Instagram page, we received so many questions about how we achieved the look and thought we would share this DIY with you.
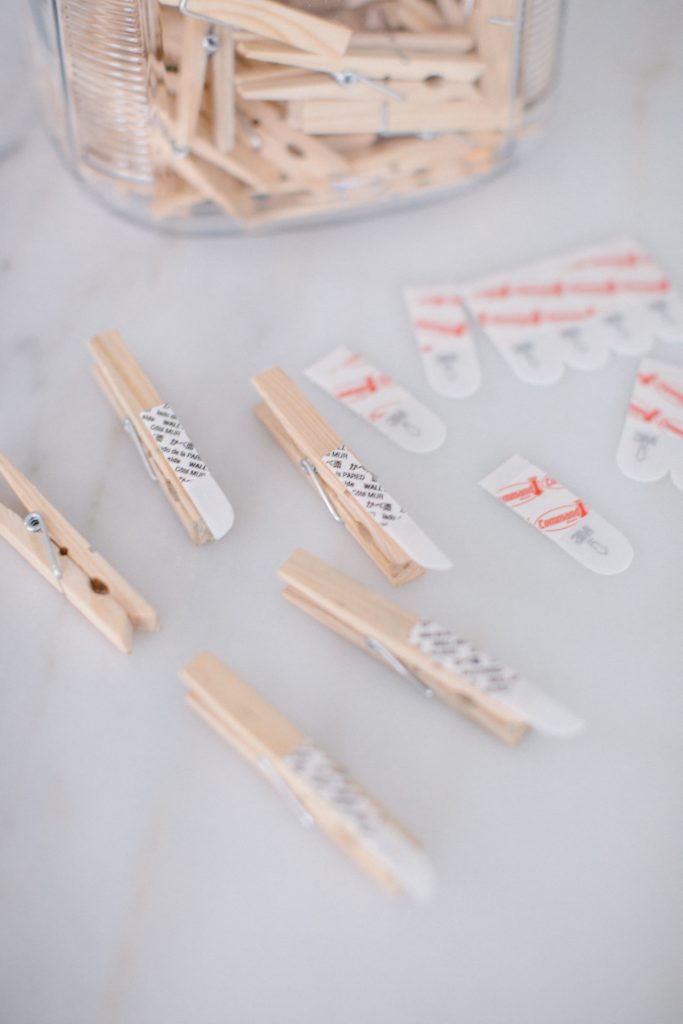
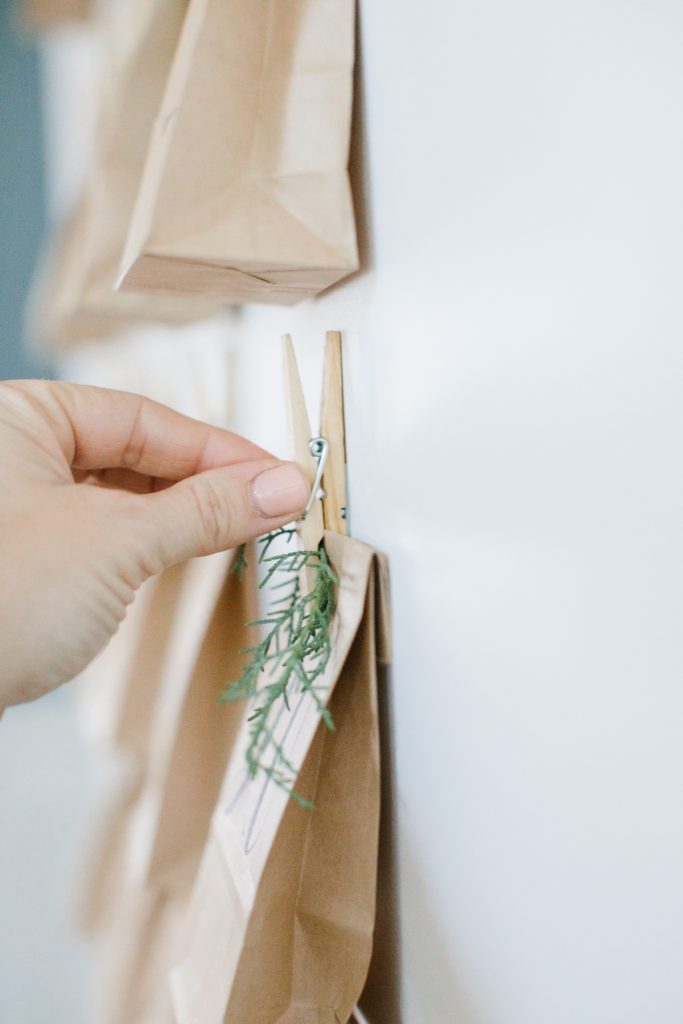
Trust me when I say it was really simple to make. We achieved its clean seamless look by using Command ®Brand Picture Hanging Strips to make it look like each clothes peg is “floating” on the wall. I don’t know about you, but I have them fully stocked around the holidays. They really are essential for easily making your decorating dreams come true! All the steps are at the bottom of the post!

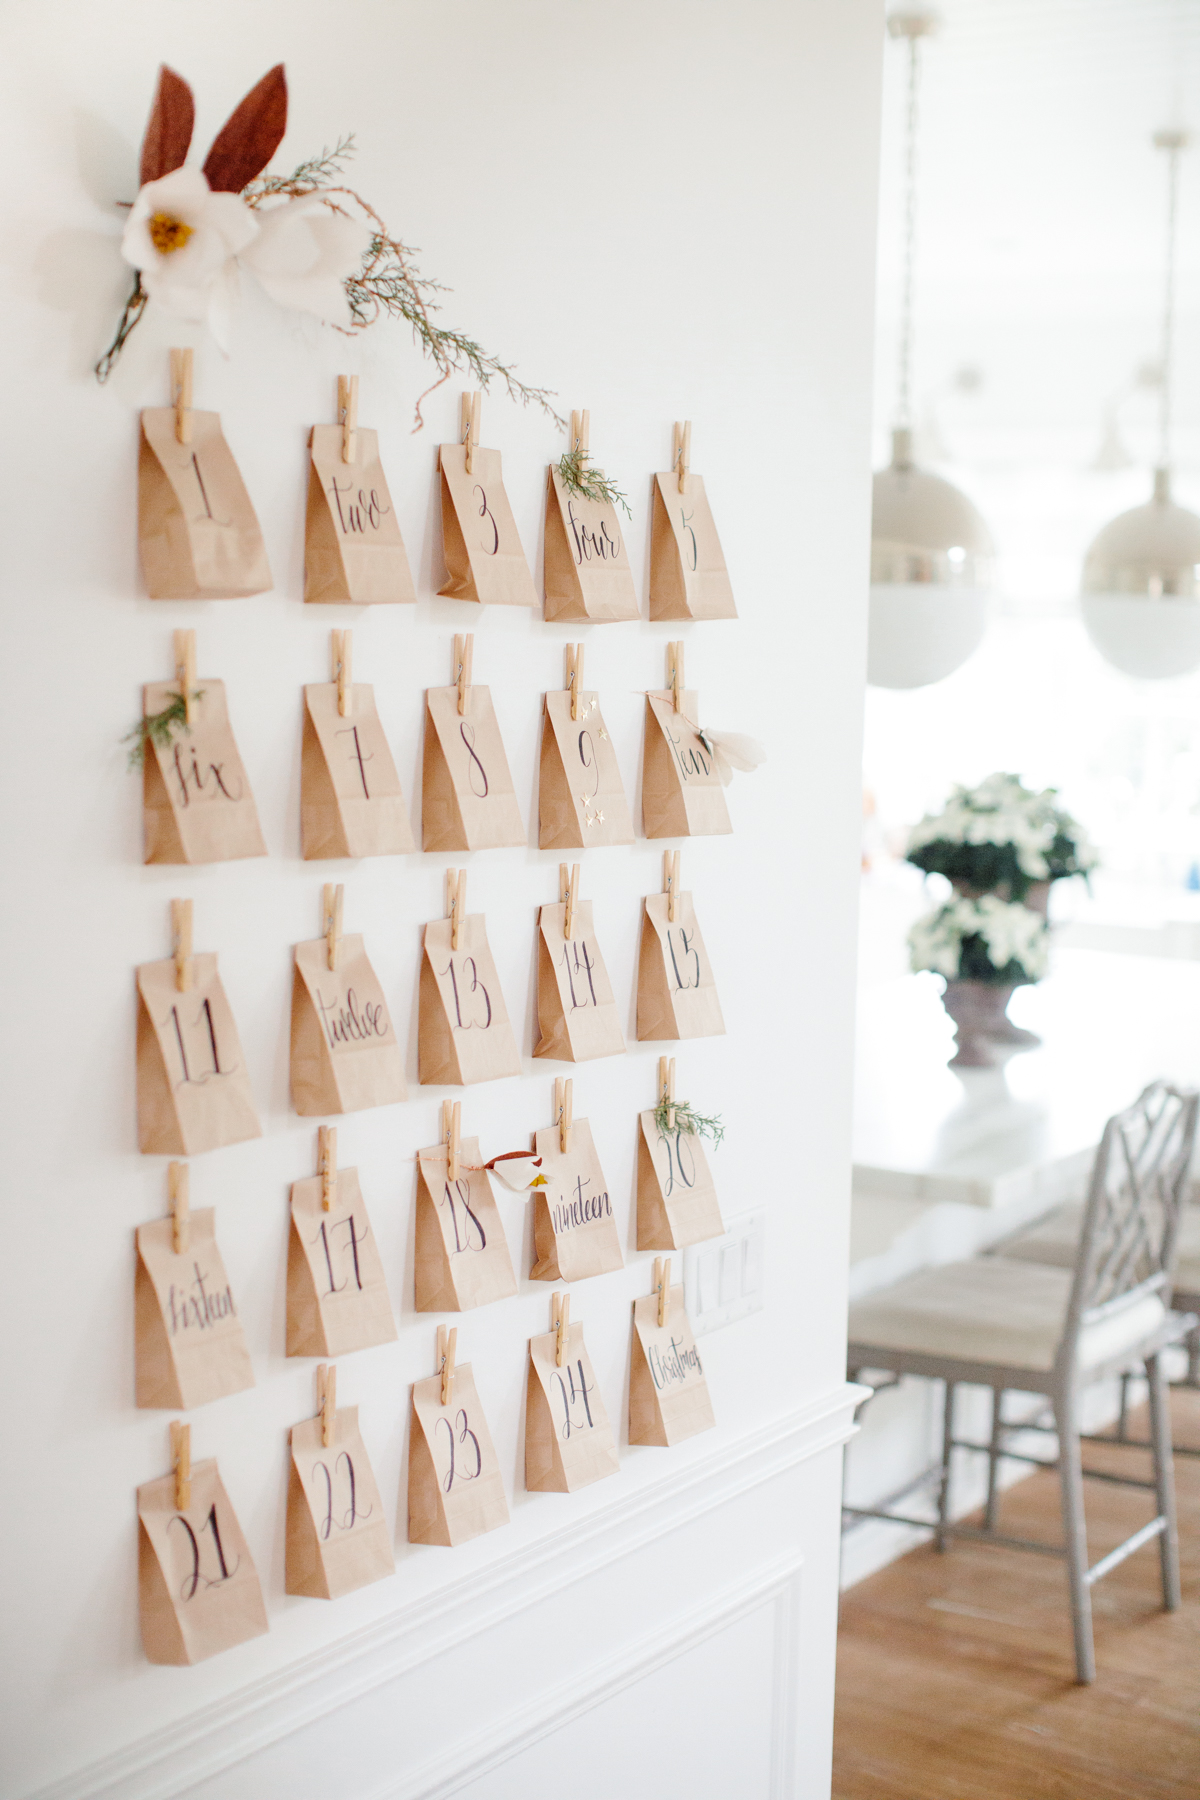 Here is a step-by-step tutorial on how we created this advent calendar:
1. Decide what kind of bags you’d like to use. We purchased these super cute craft paper bags as we thought they were the absolute perfect size and color for the look we wanted. You could also use small black or colored bags if you wanted a different look.
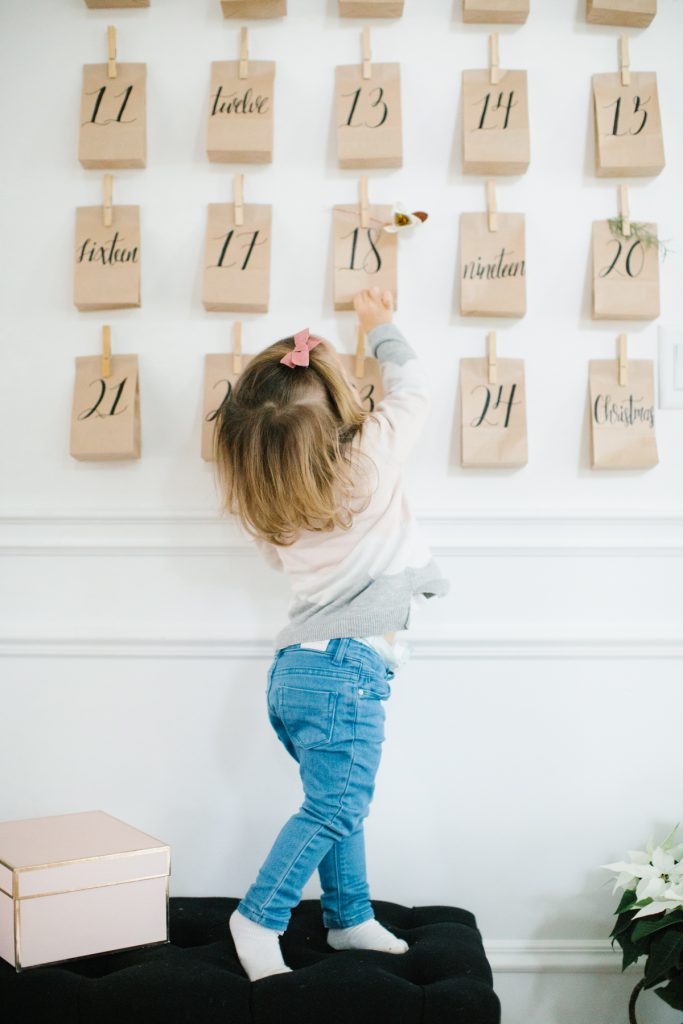
2. Write numbers on each bag using a thin black permanent marker. You definitely do not have to write it as fancy – even block numbers would look great. Another idea would be to purchase some number stickers like these that you could apply to each bag.
Our graphic designer Sarah, who wrote on these bags, has beautiful writing but she also suggested finding a free font you could trace or print out on craft paper and adhere on the front of the bags.
http://www.myfonts.com/fonts/great-lakes-lettering/asterism/
http://www.myfonts.com/fonts/rare-bird-font-foundry/rare-bird-specimen-i/
http://www.myfonts.com/fonts/rare-bird-font-foundry/rare-bird-specimen-ii/
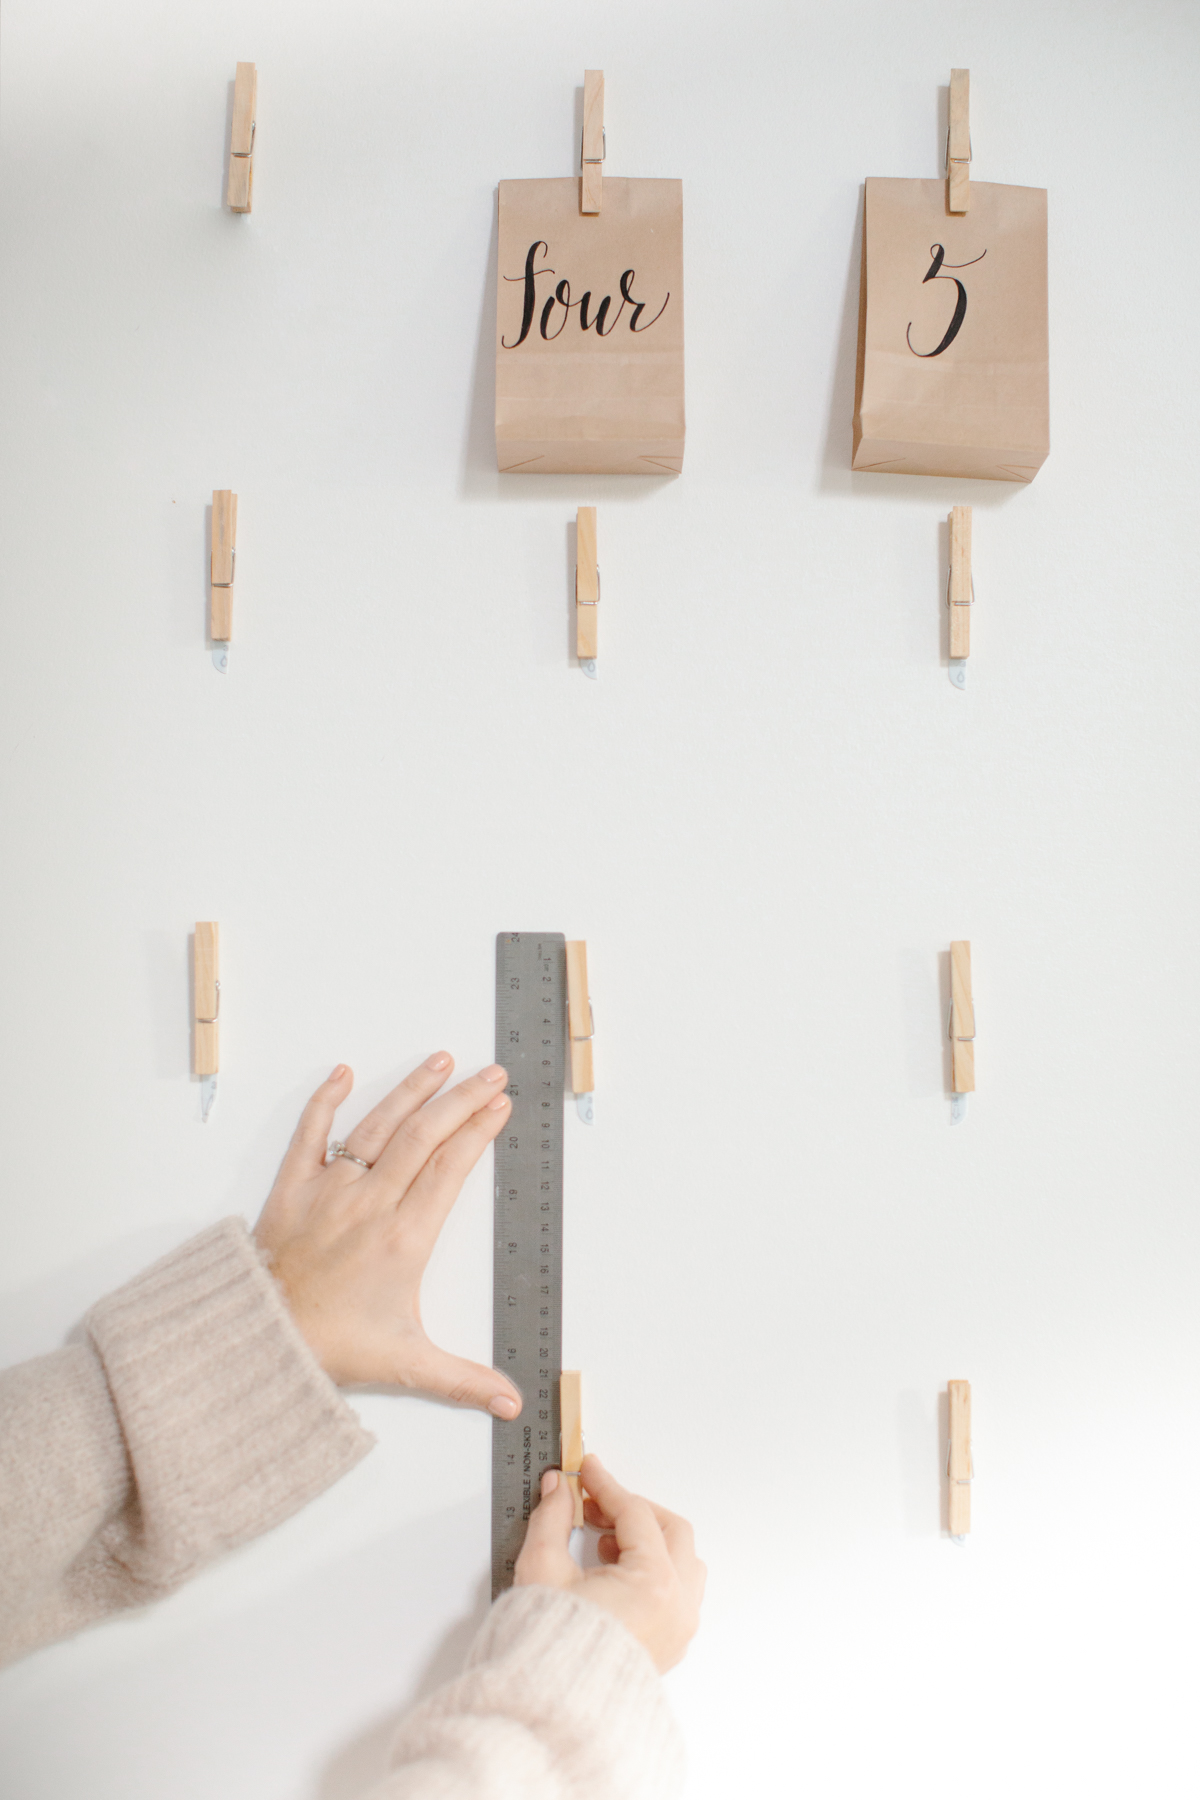
3. Measure the space where you’d like to hang the advent calendar. Plot out a similar-sized space on the floor and lay it out to determine how you’d like to space the bags. We opted for 5 rows of 5 bags, leaving around 2.5 inches in between each bag and around the same between each row.
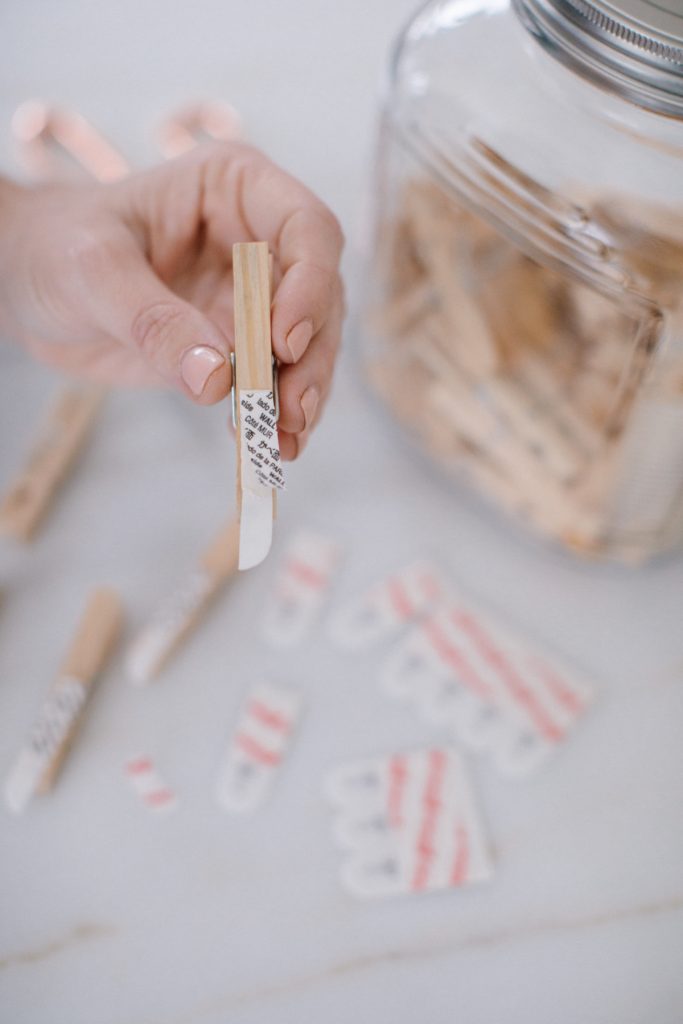
4. Cut each Command ®Brand Picture Hanging Strip in half and stick it directly to the back of the clothes peg. Remove the plastic backing and place each clothes peg on the wall according to your preferred measurements. Leave the end tail of the strip hanging past the page, so you can pull it off easily when you are ready to take it down.
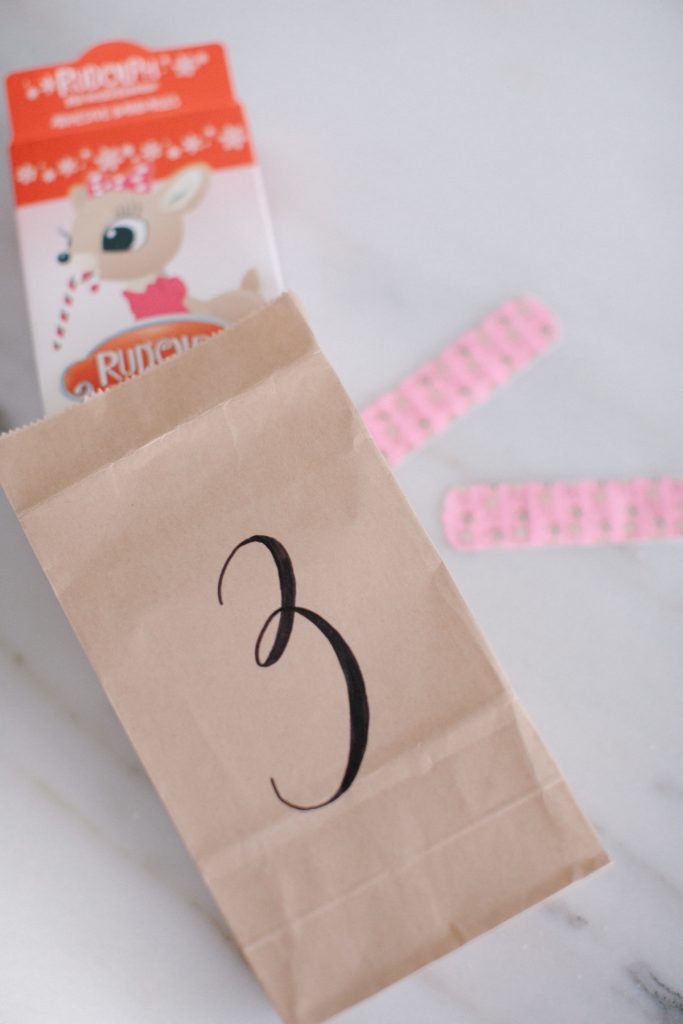
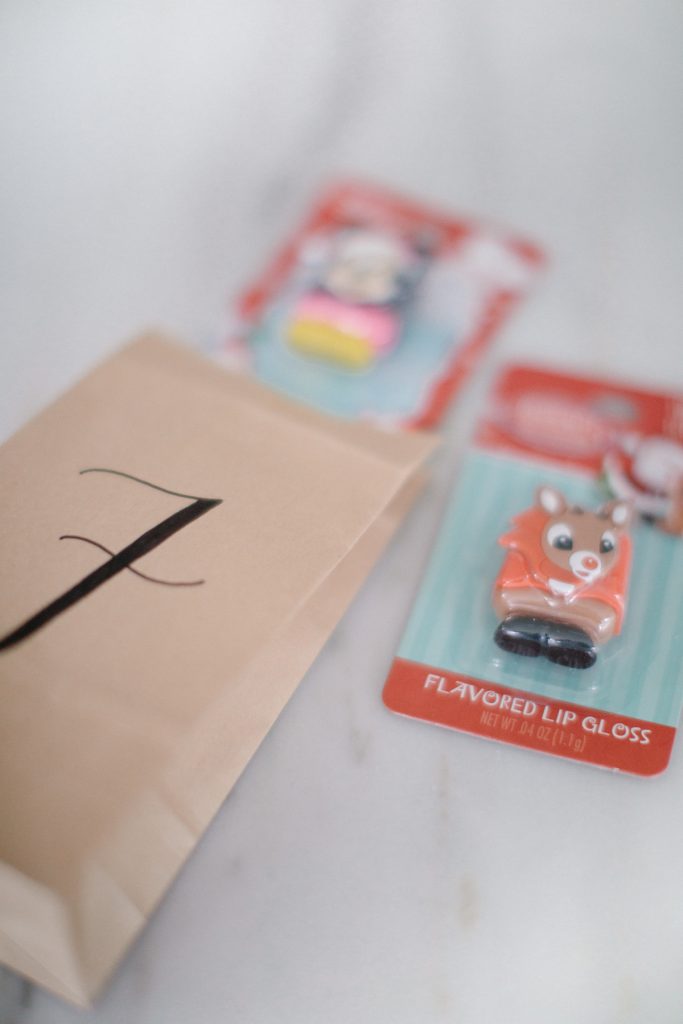
5. Fill the bags with treats. We have filled ours with small goodies ranging from tiny trinkets and toys to little chocolates and candies. Truth be told I haven’t filled all the bags yet. It’s hard to find that many small things at once especially when shopping for two! I have about half of them filled, and then when I am out and about I pick up a few extra things when I see them. I picked up mini Lego figurines for Liam, chapstick for both, Frozen characters, small packages of bandaids, toothbrushes, dental floss, mini chocolates, toy cars, stickers, mini My Little Ponies for Lilly, mini pens, and, honestly, little things that, yes, may cause a bit of clutter but I made sure they were things that they absolutely loved so they would be excited for them and taken care of and not just thrown in the corner. I also decided to pick up a few larger things like books and slippers, hide them under the pillow and leave a note in the paper bag with a clue to find them. I think I might also put in a fun family activity like a movie night or festive activity to do around town. I also found it cheaper and easier to purchase a box set of toys and split them up amongst the days, such as this Frozen one or this Cars 3 pack.
We hope you’re inspired to make your own DIY advent calendar. It’s simple and sweet, adding a little extra festive touch to your decor and gives you an opportunity to make your Christmas countdown a little more special. Don’t worry too much about the gifts inside either. It’s really just little things to excite them first thing in the morning. Like I said, I included bandaids and dental floss! It still excites them!!
