Homemade Bread
This week I made my very first loaf of bread!!!! A very exciting moment in my very own family kitchen. I have to say it was so satisfying and rewarding! My bestie sent me a photo of her first loaf, and I was inspired! (Thanks Mary… and for the carb overload over here!) On that I did stock up on lots of flour and yeast, so I was pretty prepared to enter into the world of bread making. A bread recipe is VERY simple: flour, water, yeast and salt!! However, even with the most simple of ingredients, I still felt like a newbie and had so many little questions along the way. I certainly did not want to mess up my first loaf. Some of my questions were: “Activated yeast vs. instant yeast”, which comes along with tricky yeast conversions. Bread flour or All Purpose Flour? Wanting to know about the wait time of the dough rising. Could I add in other simple ingredients such as garlic, cheese, olives, herbs? I was amazed that I still had so many questions, despite following a super simple bread making recipe.
Good thing our very own MH food editor Erin (aka: Trained Pastry Chef!!!), was able to jump in and guide me through some of the roadblocks I had encountered along the way. Together (social distancing in our own homes and all), we put together a very detailed blog post, on how to make the perfect loaf! One thing I’ve learnt already is that each loaf will be a little different, but all turning out delicious. My family has already requested that I make this bread every morning! (Reality check, this won’t be happening, mostly for the sake of my waist line!!)
Talk about bringing back the basics of baking in our homes. I’m so thrilled with our new love for bread baking, and that we can enjoy and appreciate the very basic elements of our daily bread. Hope you enjoy this post. xo
Tips before you get started that will set you up for success!
Cooking Vessel
Find the heaviest pot you own, that has a lid! This is what you are going to cook the bread in. It helps to create a perfect environment within your oven for a crusty loaf of bread. If you have an enamel cast iron pot, such as a dutch oven- This is the time to use it! These types of pots will help to retain heat extremely well, but don’t worry if you don’t have one. The heaviest pot you can find that will be able to hold your loaf of bread, will work just fine. (I myself do not own a dutch oven (yet!!), I used a large heavy pot with a glass lid, which worked out great! Don’t worry if you don’t one either, grab a pot you think that will work and give it a try.)
A little bit about Yeast
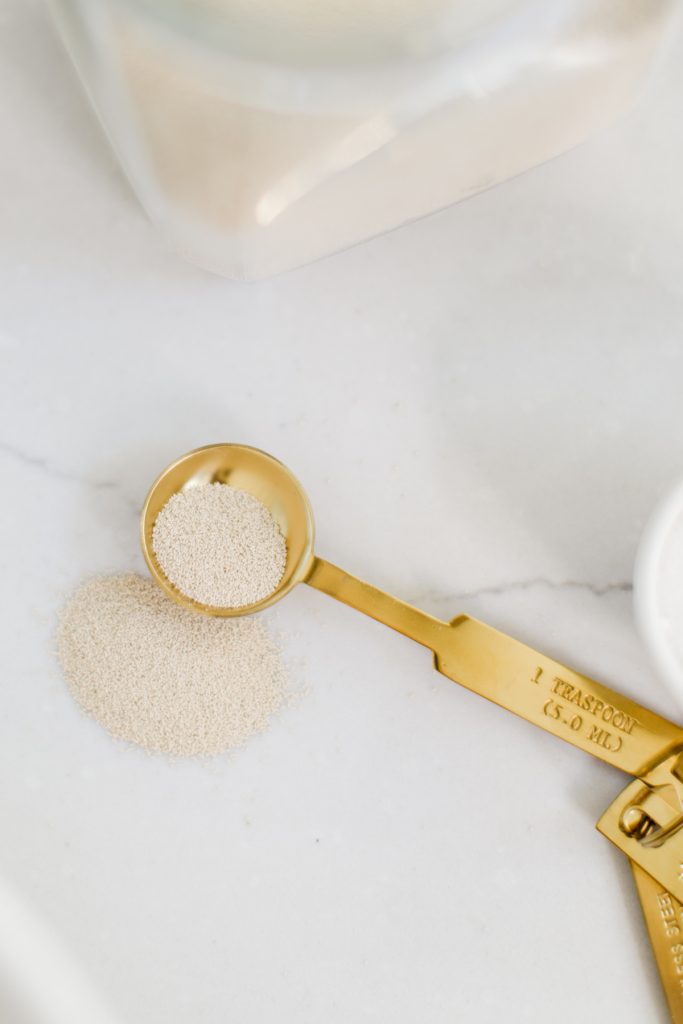
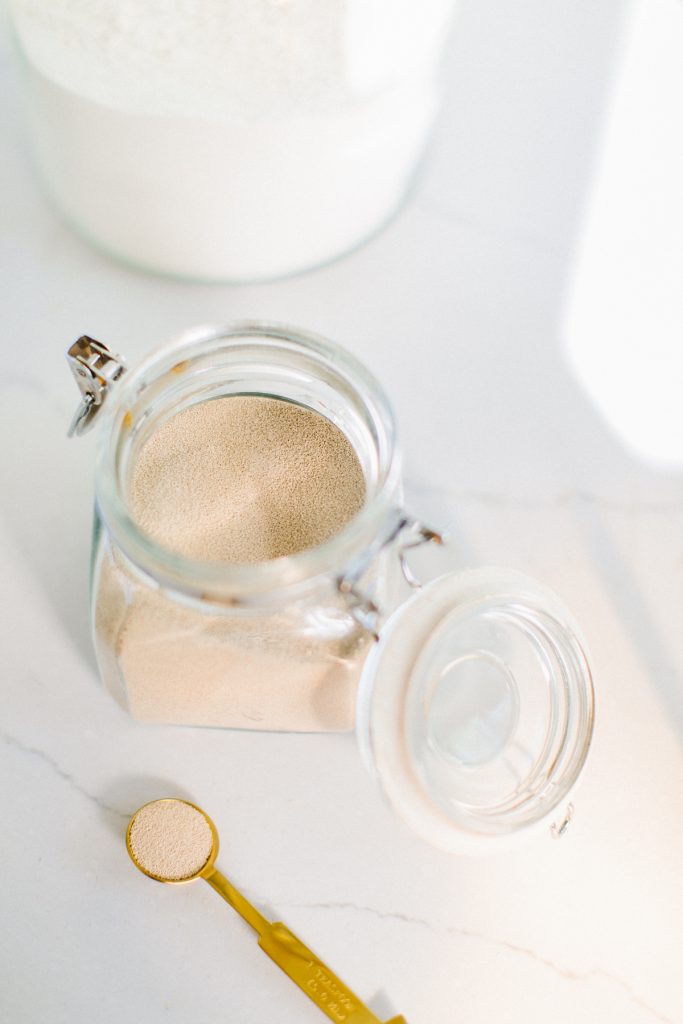
Yeast is what will make your bread rise, it is a very important ingredient and of course, bread would not be bread without it. In the recipe below, we will give you both conversions for active dry and instant yeast so you can use whatever you may have on hand! (You’re welcome!!! Took me a few minutes to figure this conversion out.) If you are using active dry yeast you need to activate it before mixing you do this by using the water from the recipe, make sure its lukewarm around 105F not boiling! (Very important point stressed by Erin… very important!)
Types of flour
Whether you have bread flour on hand or just all-purpose, either will work. The difference between these two is how they help to form gluten structure within the bread. I won’t go into too much about this but if you have bread flour on hand, use it for this recipe; if not, all-purpose will do the trick! Ever wanted to know what makes an artisanal loaf look the way it does? That light brown gorgeous color, the type of flour used effects its finished product. Using a bleached white flour will result in a very white dough on the inside, using unbleached will result in a little more colour and a whole grain or whole wheat is why most artisanal breads have that speckled look within the “crumb” of the loaf. (That’s the baker’s term for the inside of the loaf). Make sure not to use cake or pastry flour as it will not work, this type of flour has too much fat in it, resulting in a heavy dense dough.
If you are local, I would highly recommend you get your hands on Anita’s organic flours.
Mixing techniques
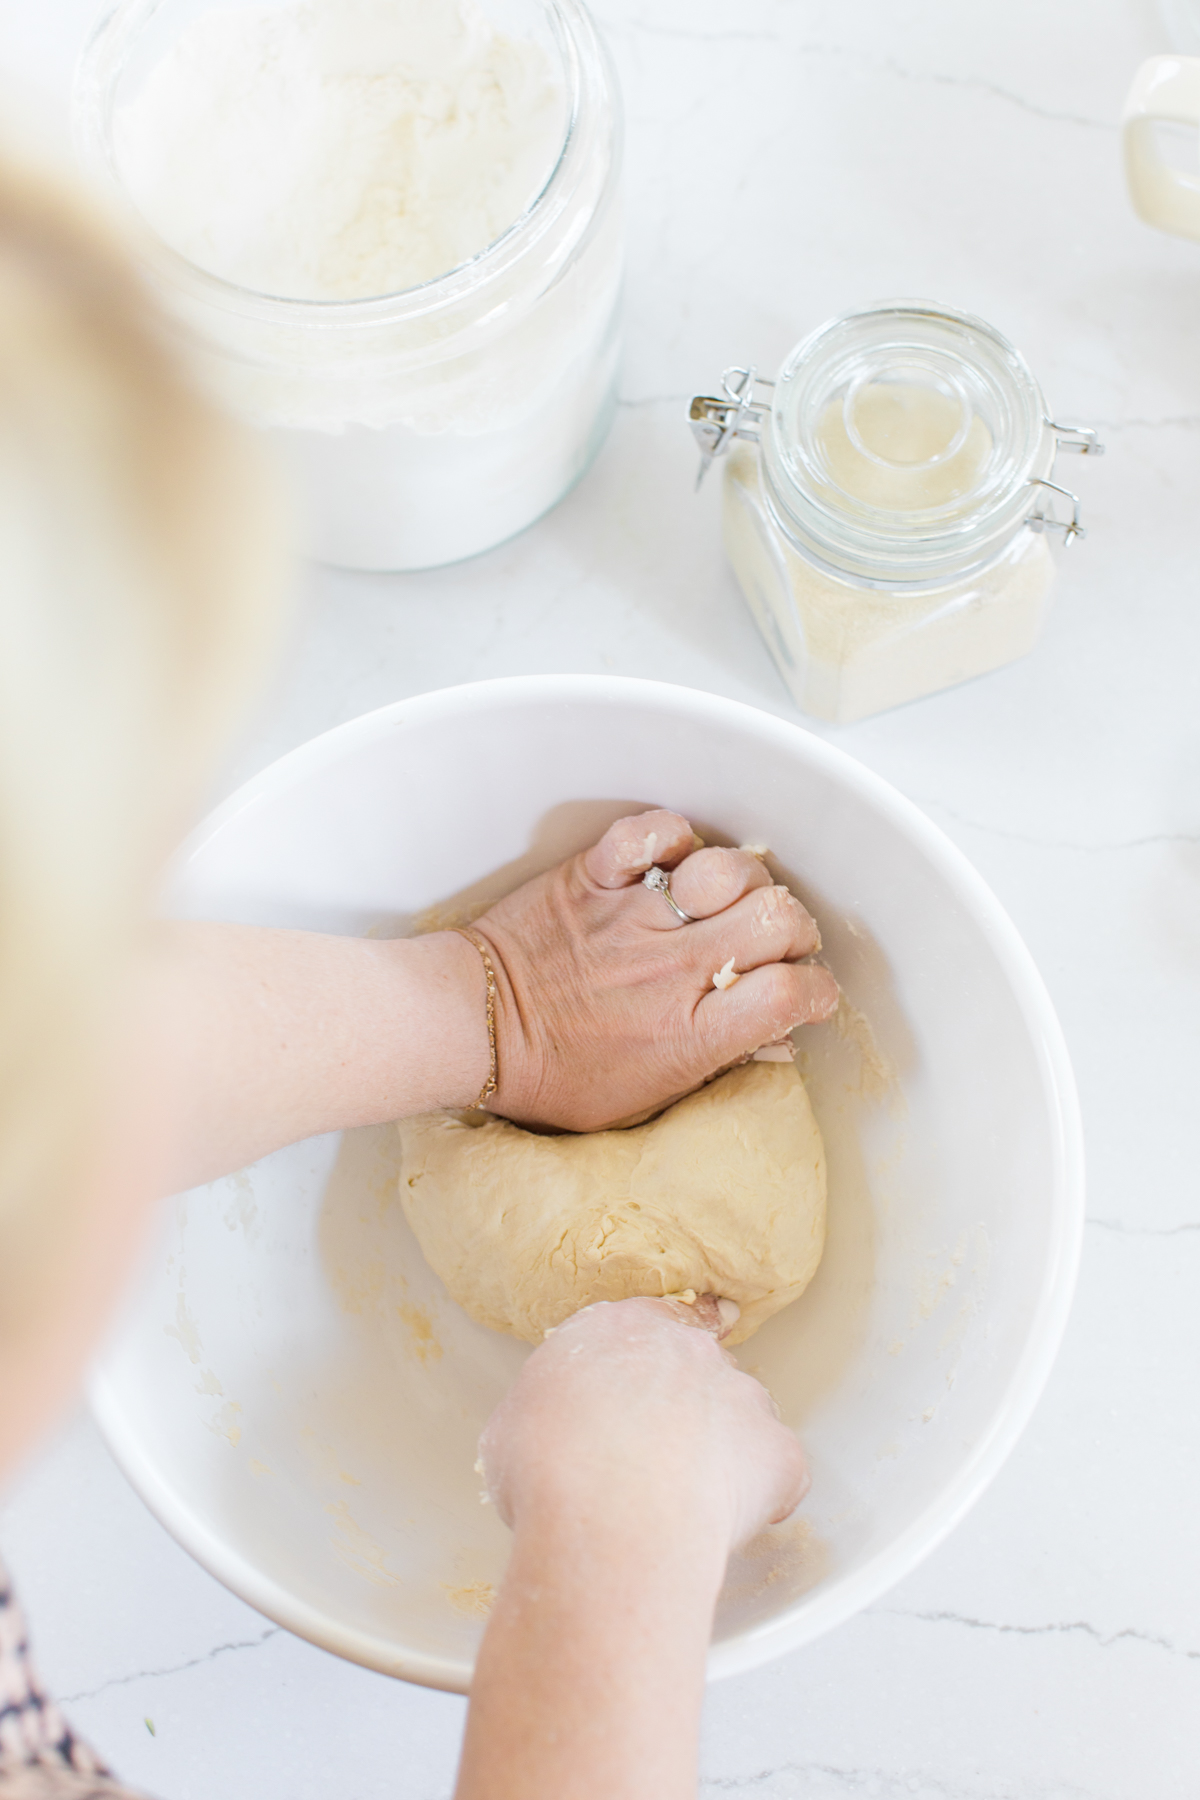
You can use a standup mixer fitted with the dough hook or you can mix by hand, both will work. You do not need to over kneed this dough, so it is quite simple in that sense.
Possible Problems
Bread making has lots of variables and the environment in which you are making it can change things. If it is a hot humid day, to dry, or a cold winter’s day; these temperature variables will affect how the flour and water react together. You can use the same ratios, yet it may look different every time! There truly is a science to bread making. Again, let’s keep it simple here. Use your judgment, if the dough is looking really dry slowly add a little bit more water. Your dough should have a slight “tacky” feeling to it.
Have some patience, bread making takes a bit of “time”, and simply just takes a lot of waiting around. If you plan ahead you can have a beautiful loaf for your dinner time or freshly baked for breakfast.
Below are the steps on how to make this super simple recipe!
Makes: 1 round loaf
Prep time: 10 minutes
Inactive time: 4-5 hours
Baking Time 40-50 minutes
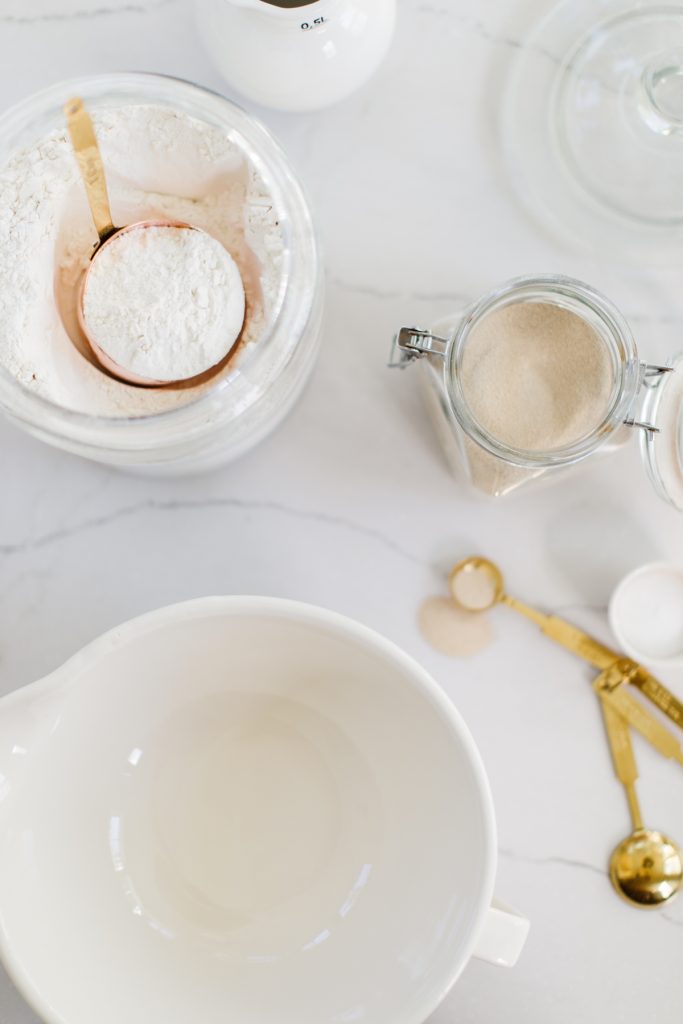
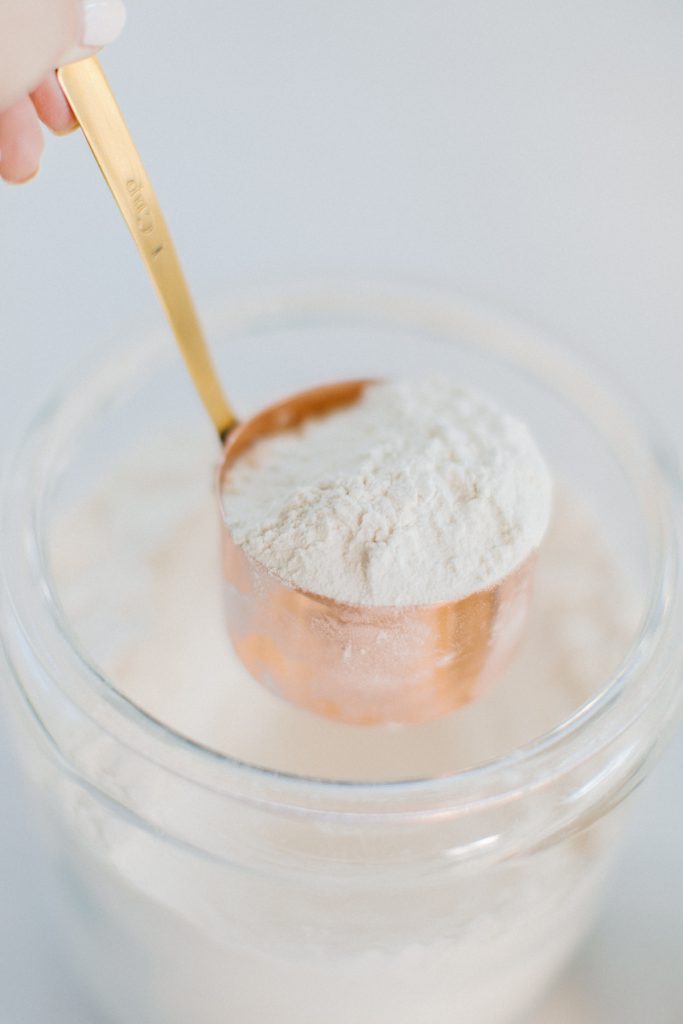
3 cups (750 mL) bread or all-purpose flour
1 1/2 cups water (warm just above room temp)
1 3/4 tsp salt
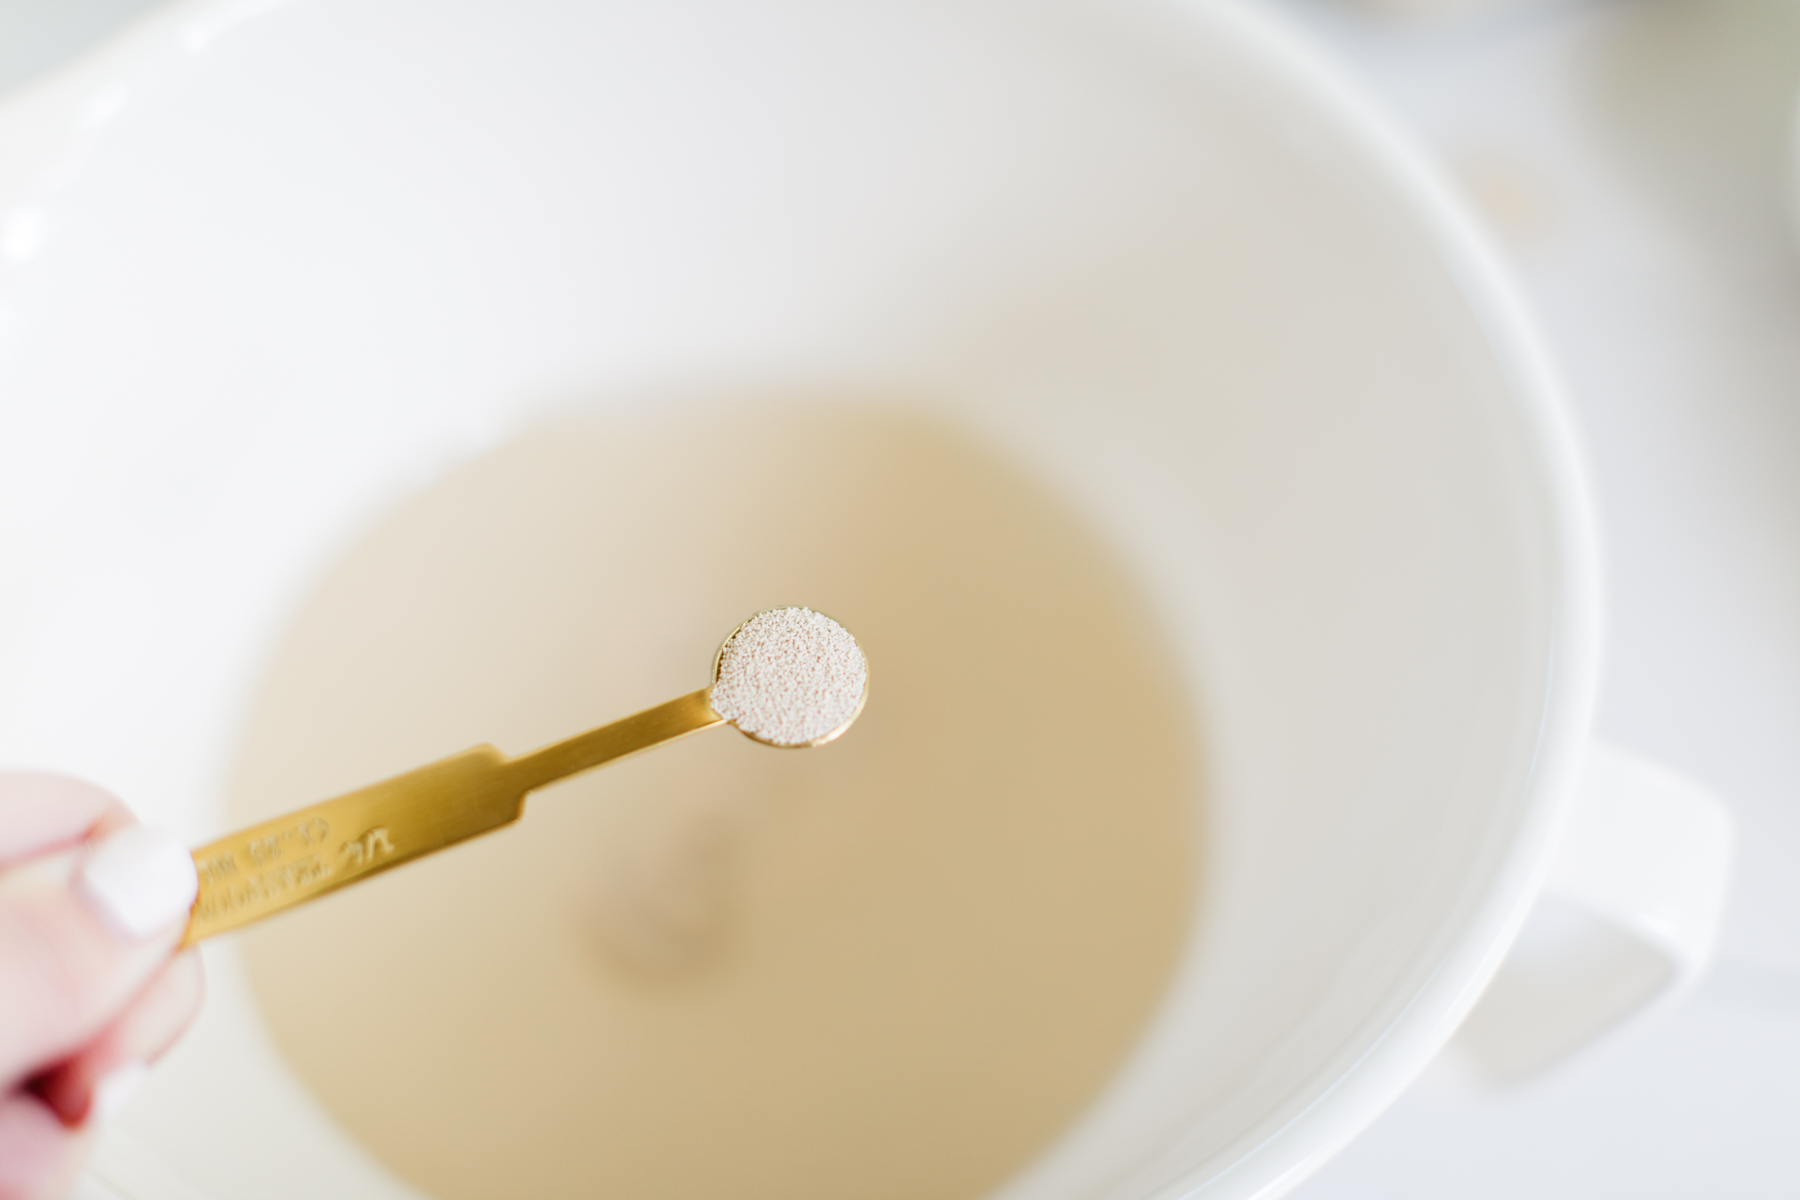
2 3/4 teaspoons active dry yeast or ( 2 1/4 teaspoons) instant yeast
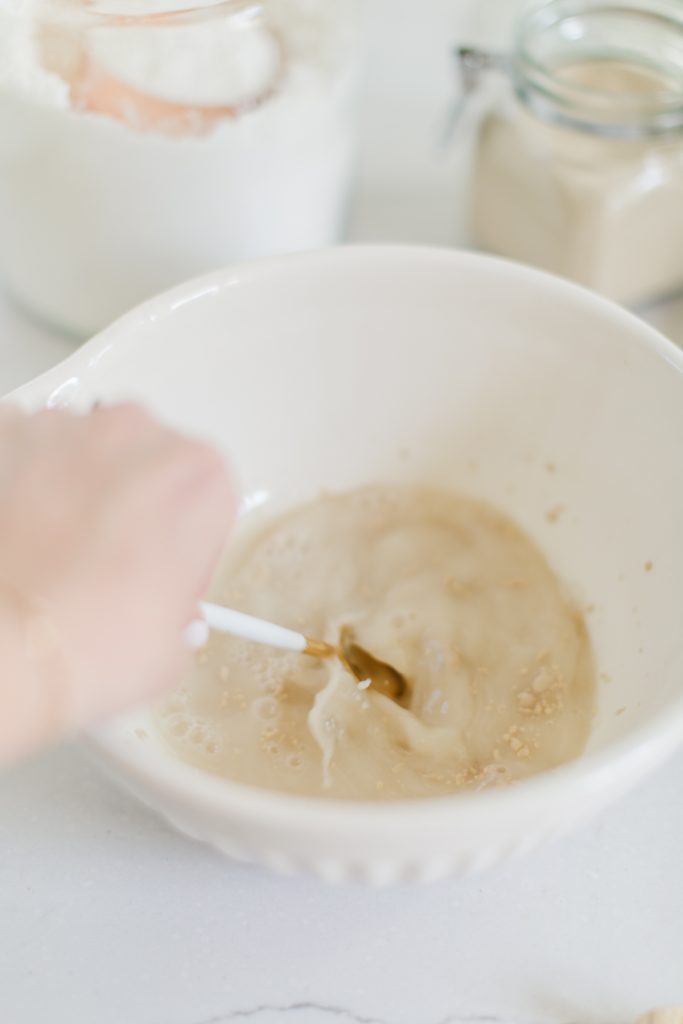
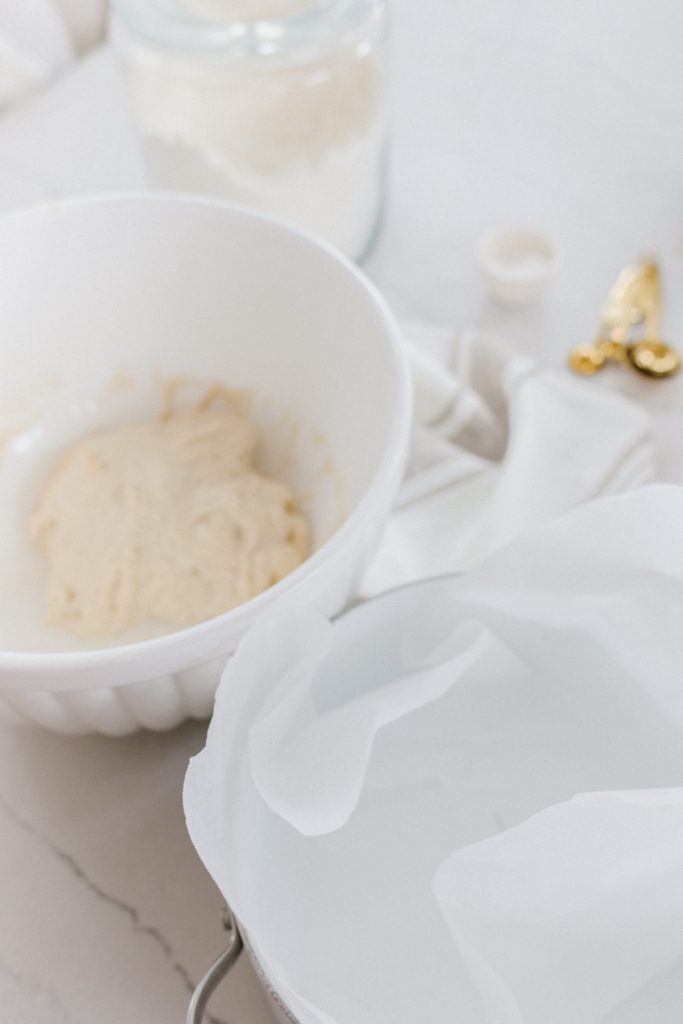
1.) In a large bowl or in your mixer fitted with the dough hook place the water and yeast, give it a quick mix and leave it to sit for around 5-10 minutes to let the yeast activate. (If you are using instant yeast you do not need to wait.)
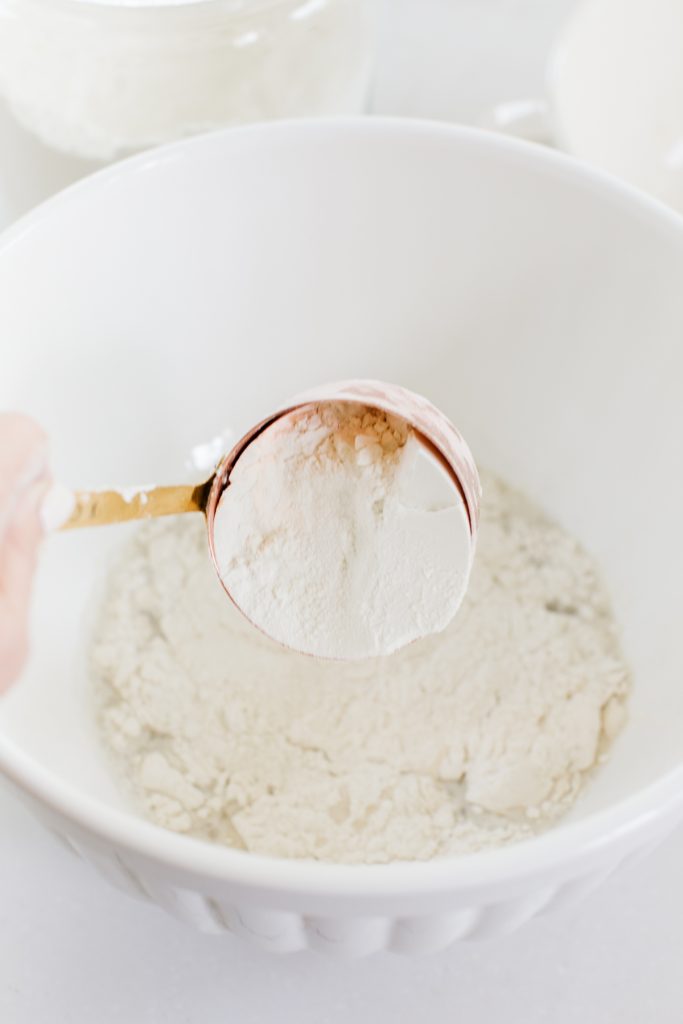
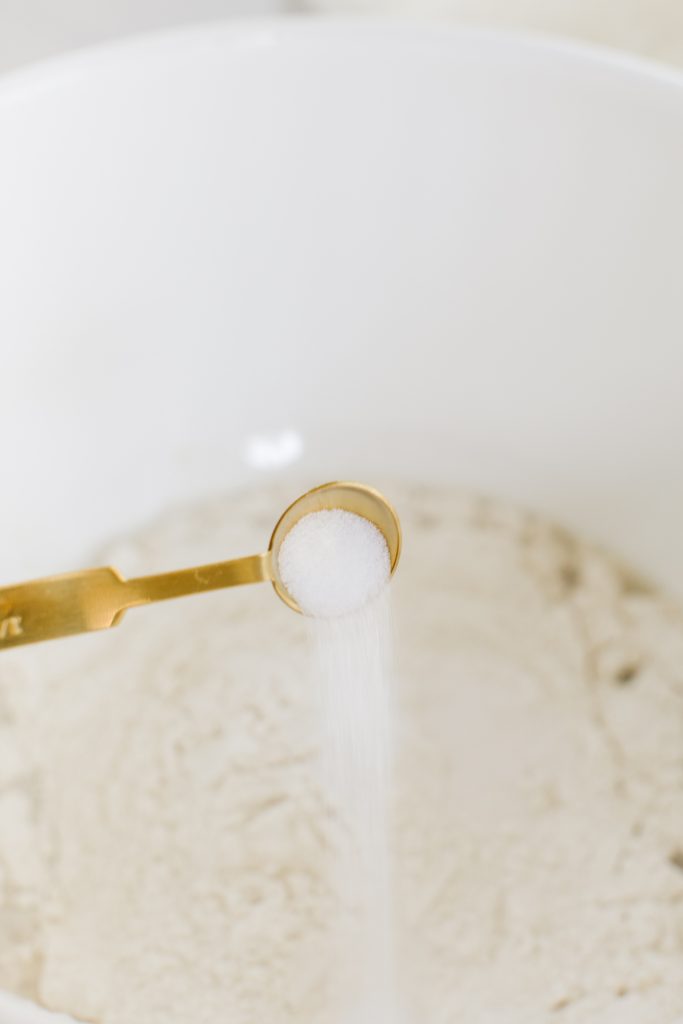
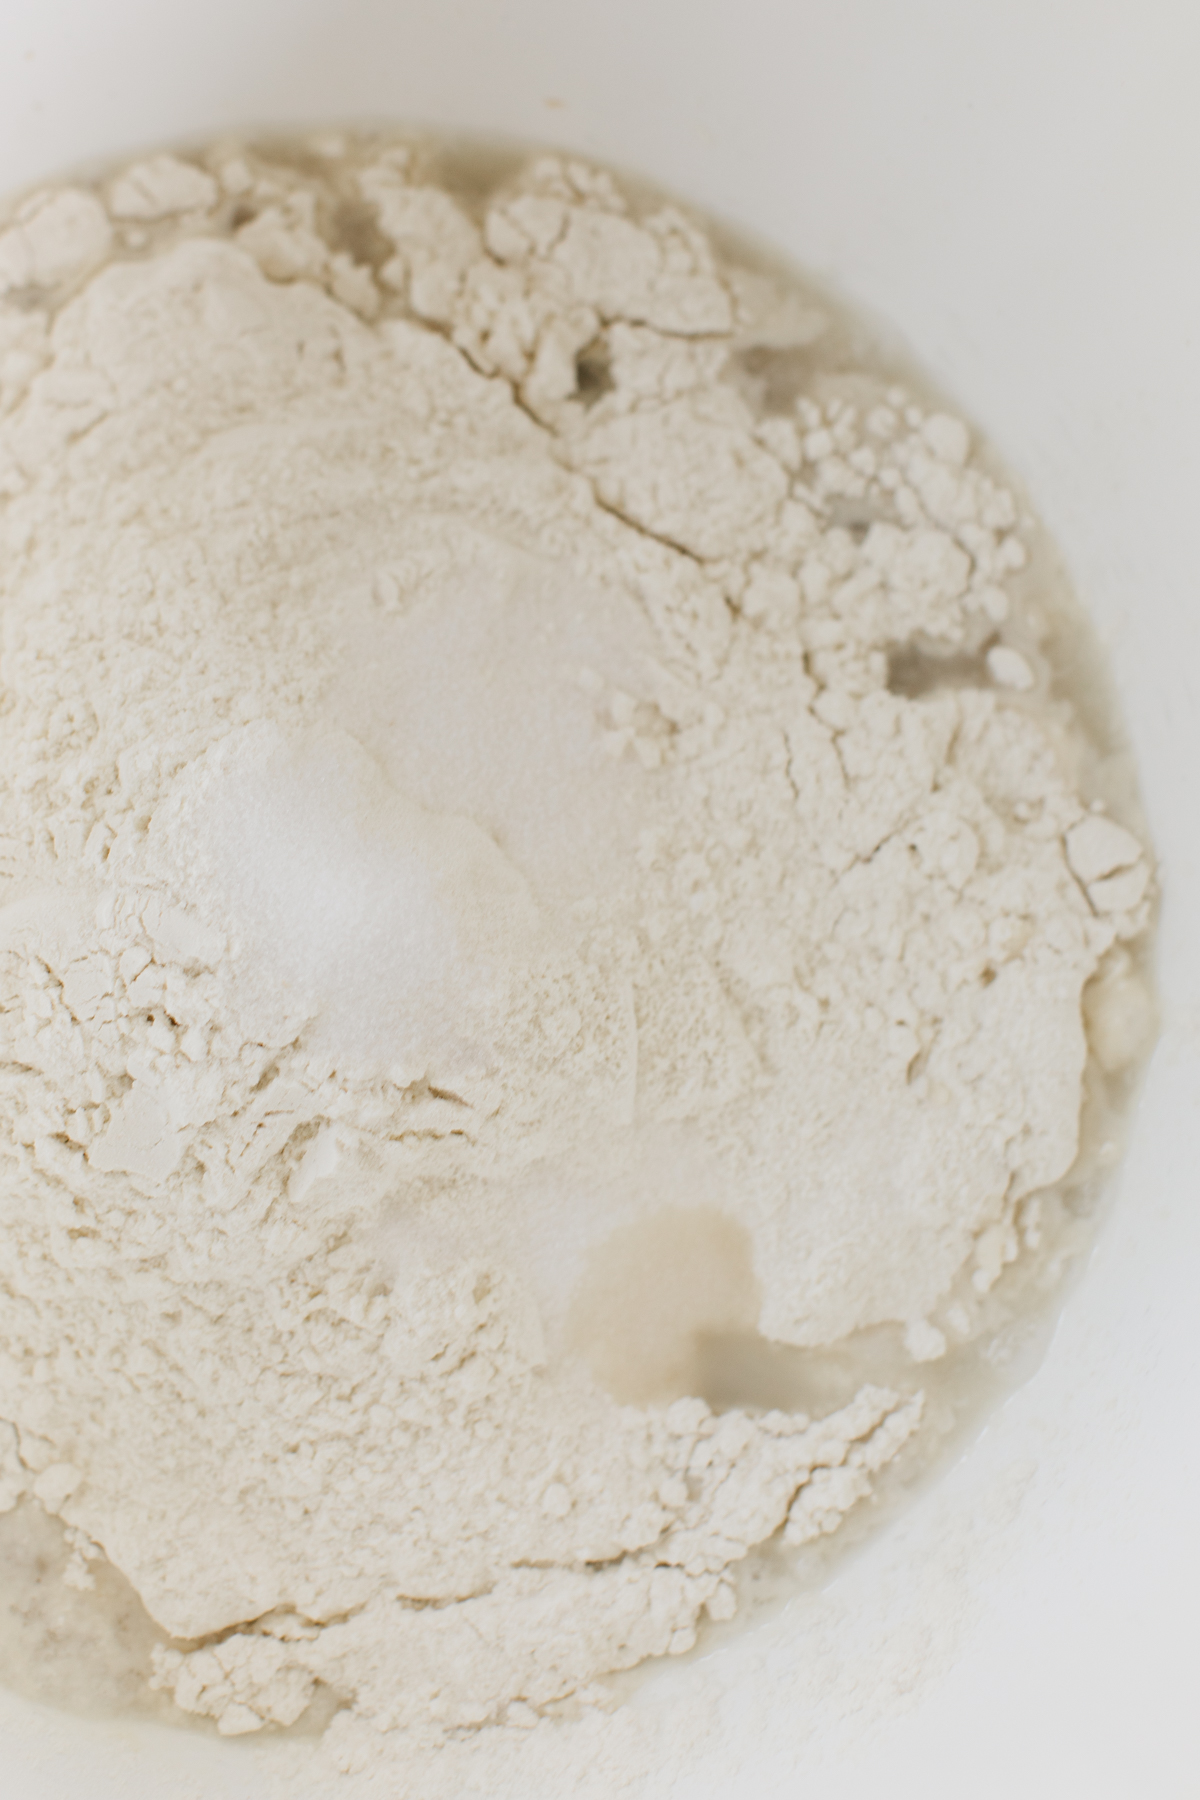
2.) Once you notice some bubbles start to form on the top from the yeast, add in your flour, followed by the salt on top of the flour, you don’t want to put the salt indirectly with the yeast.
3.) Mix on low speed till the dough comes together, now is the time to check if you have added enough water, slowly add a little bit more water, your dough should be “tacky.” (You can hand mix as well, as mentioned in the technique notes above. )
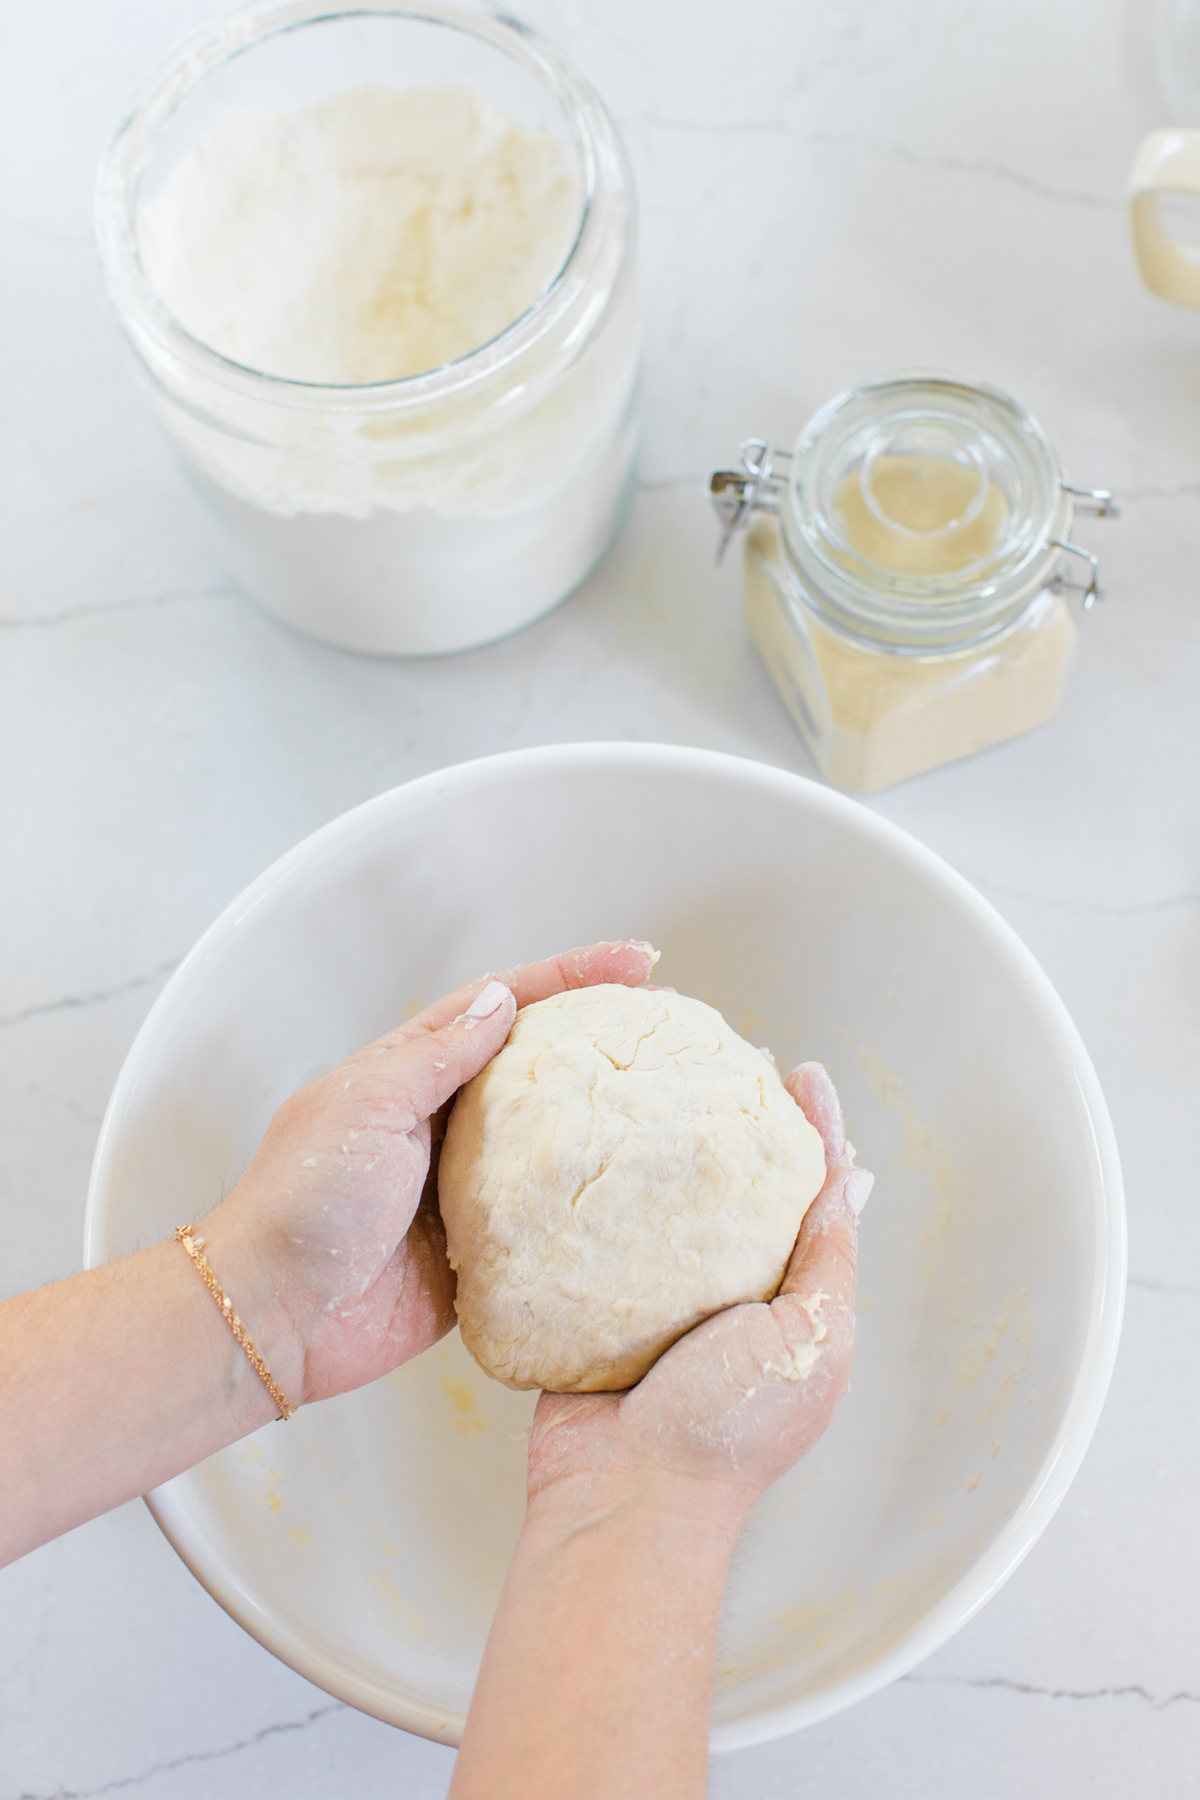
4.) Once your dough comes together let it sit for about 5 minutes, this helps to let the gluten rest. Then you can kneed again so the dough is a bit more smooth just a couple of minutes or so. ( Now would be the time to add in fruit, nuts, cheese or herbs if you want to add some extra goodness to your loaf!)
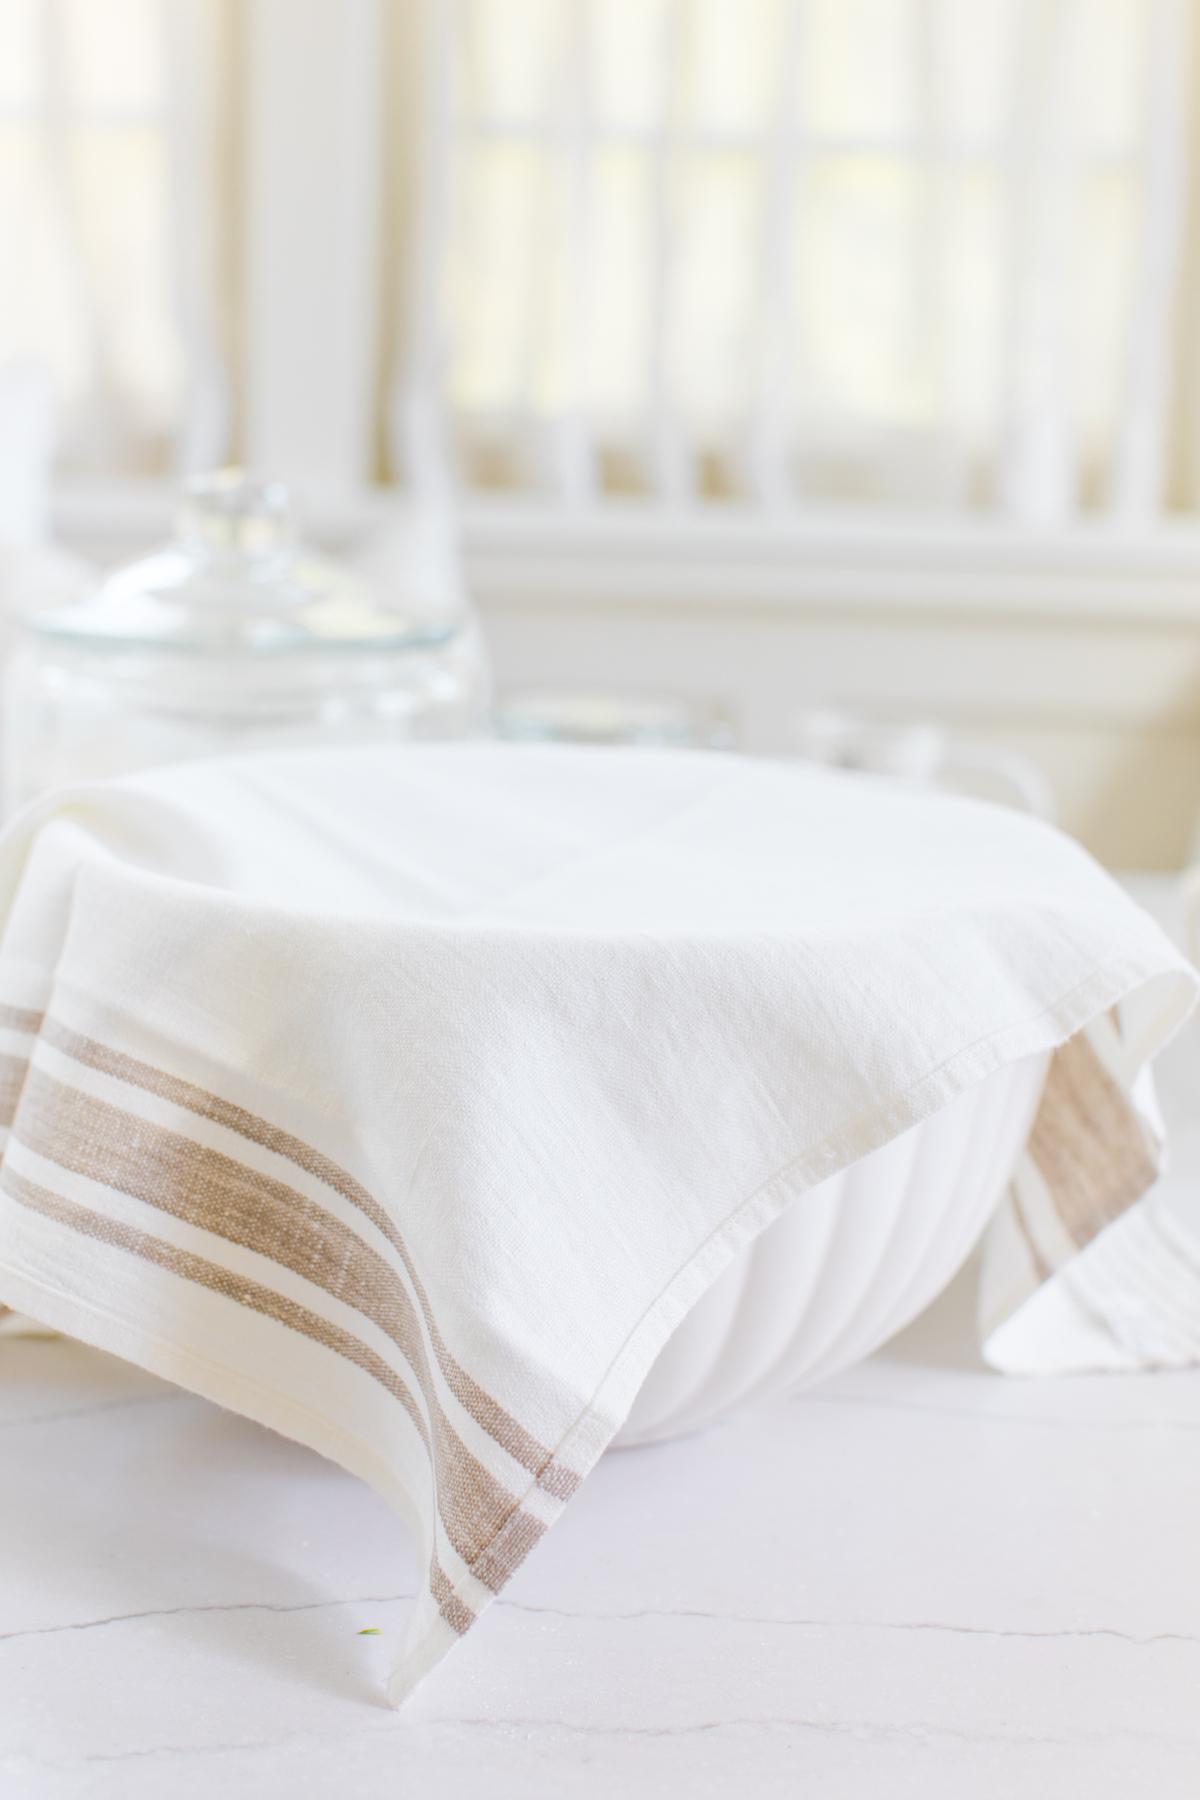
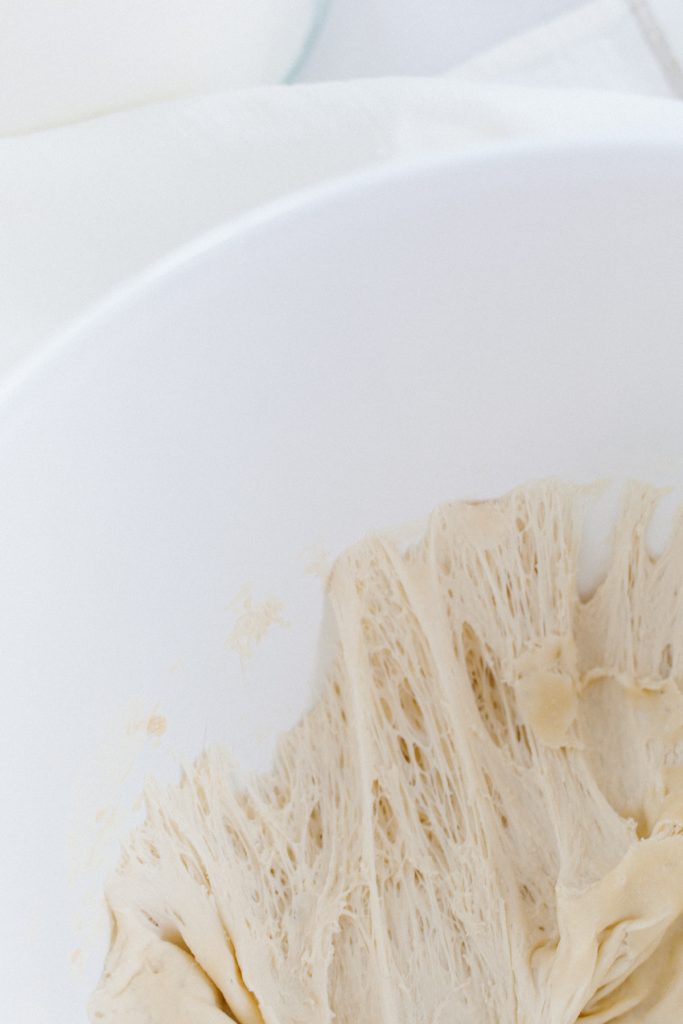
5.) Shape into a ball and place it into a larger bowl. Cover with plastic wrap or a cloth and put it somewhere where it can prove in a warmish temperature for at least 4 hours if not a bit longer.
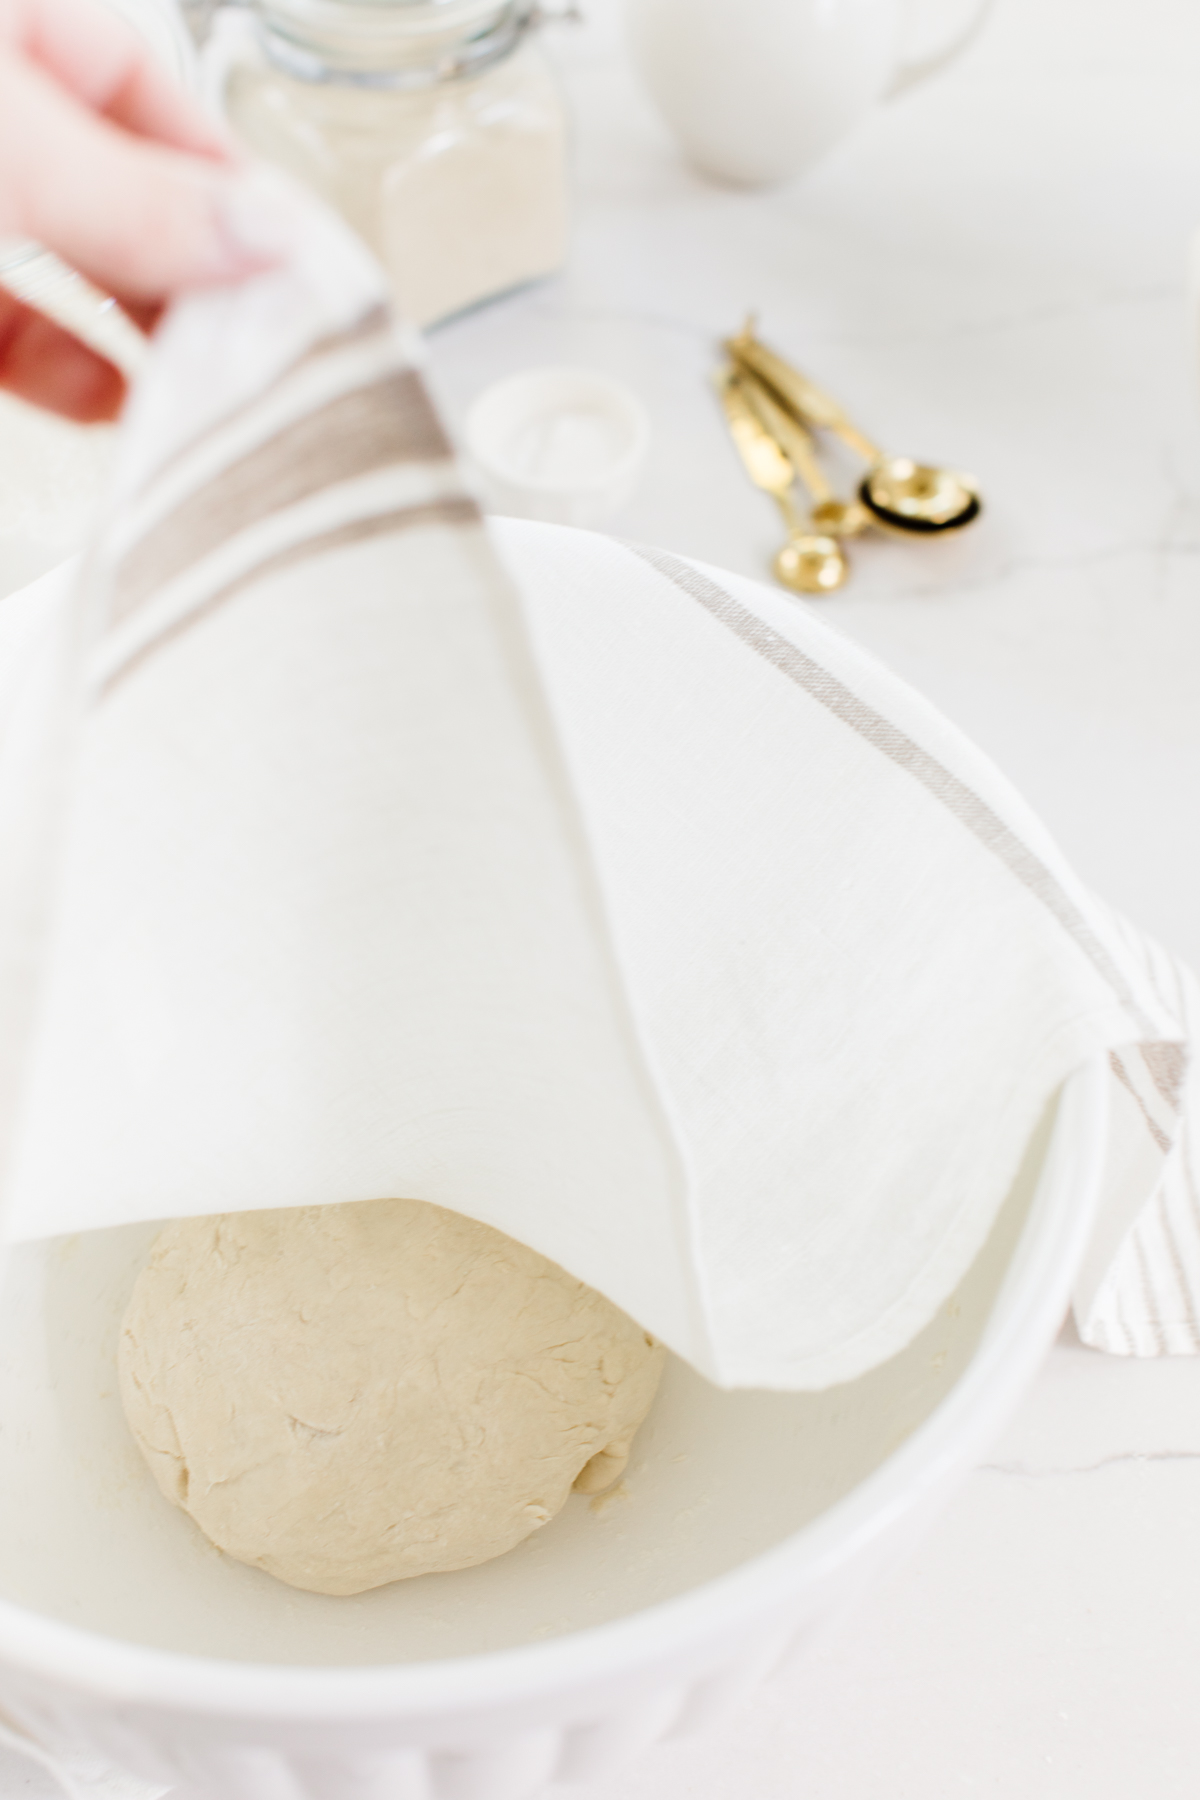
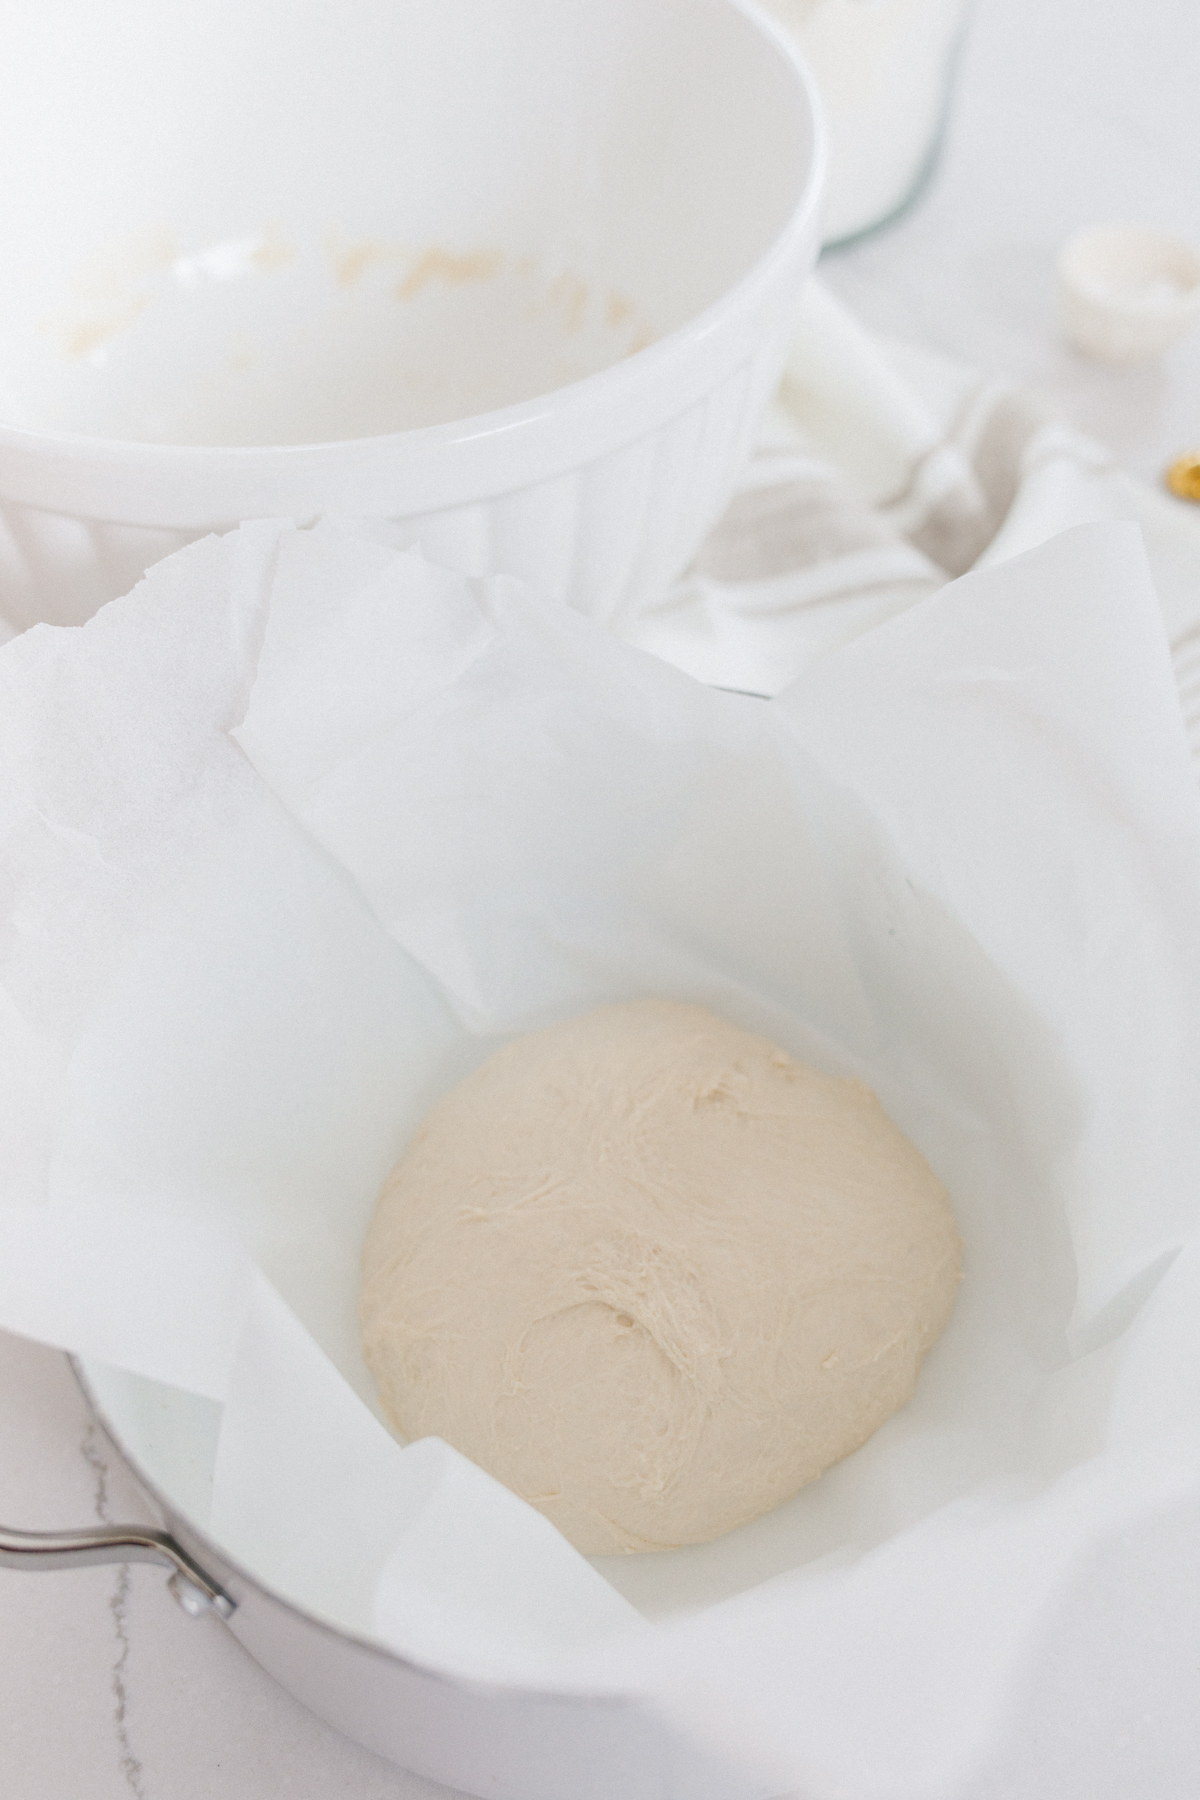
6.) Once the dough has risen you will want to “punch” it down, basically pressing out the air. This helps to release the gasses that have formed- An important part of bread making. On a very lightly floured surface shape it into a ball and place it on a piece of parchment paper that will fit into your pot This step will help you lower it into the pot and also ensure it does not stick to the bottom. Sprinkle the top with some flour and cover with a tea towel.
If you don’t have parchment paper, lightly drizzle a little olive oil in your pot. Placing your ball of dough on top, helping it not stick to the bottom of your pot.
7.) Let it rise again while you pre-heat the oven.
8.) Place your pot in the oven and turn it on to 450 F. Once it has fully preheated, you know that the pot is hot enough to cook the bread in. Carefully pull it out of the oven…careful it will be extremely hot! Remove the tea towel and lower your bread using the parchment paper into the pot.
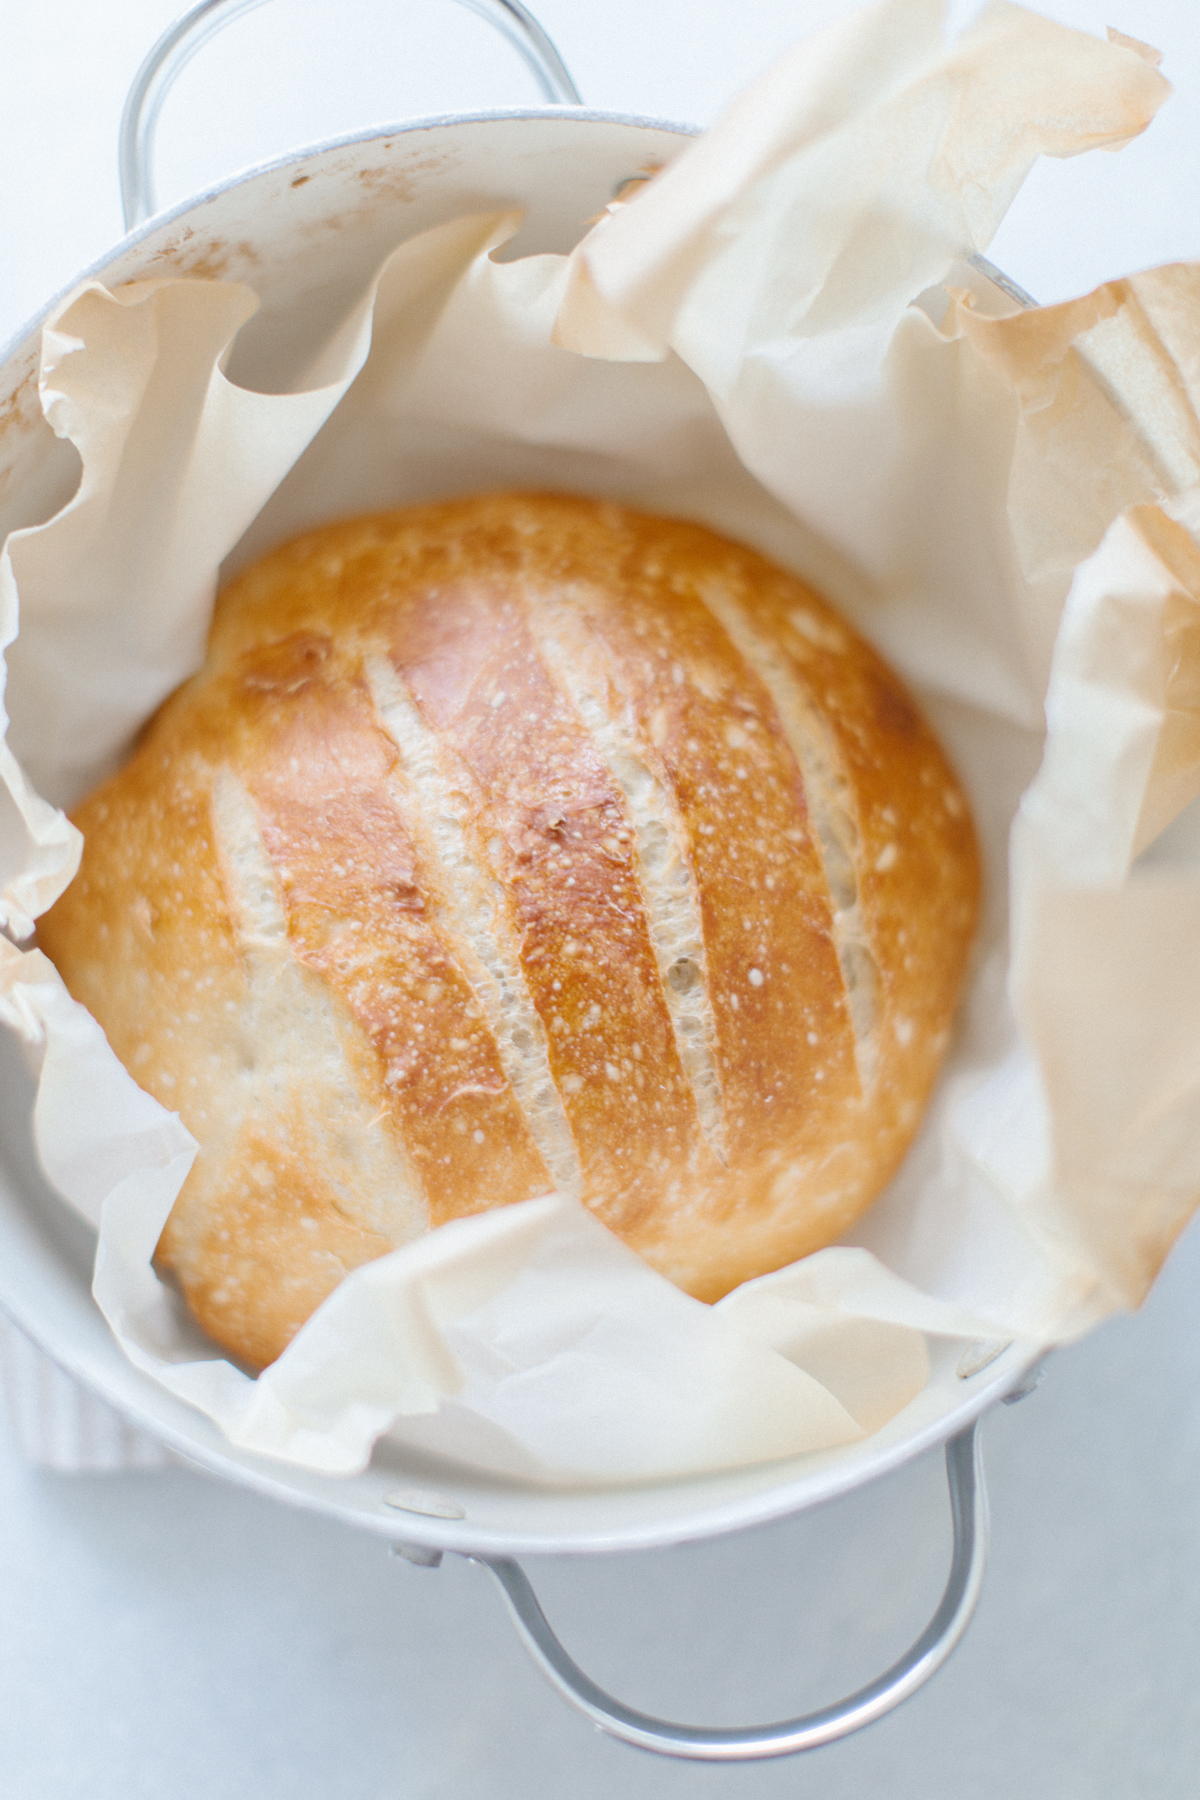
9.) Using a small paring knife score the top of your loaf two to three times with a sharp knife. This allow the steam to release while baking.
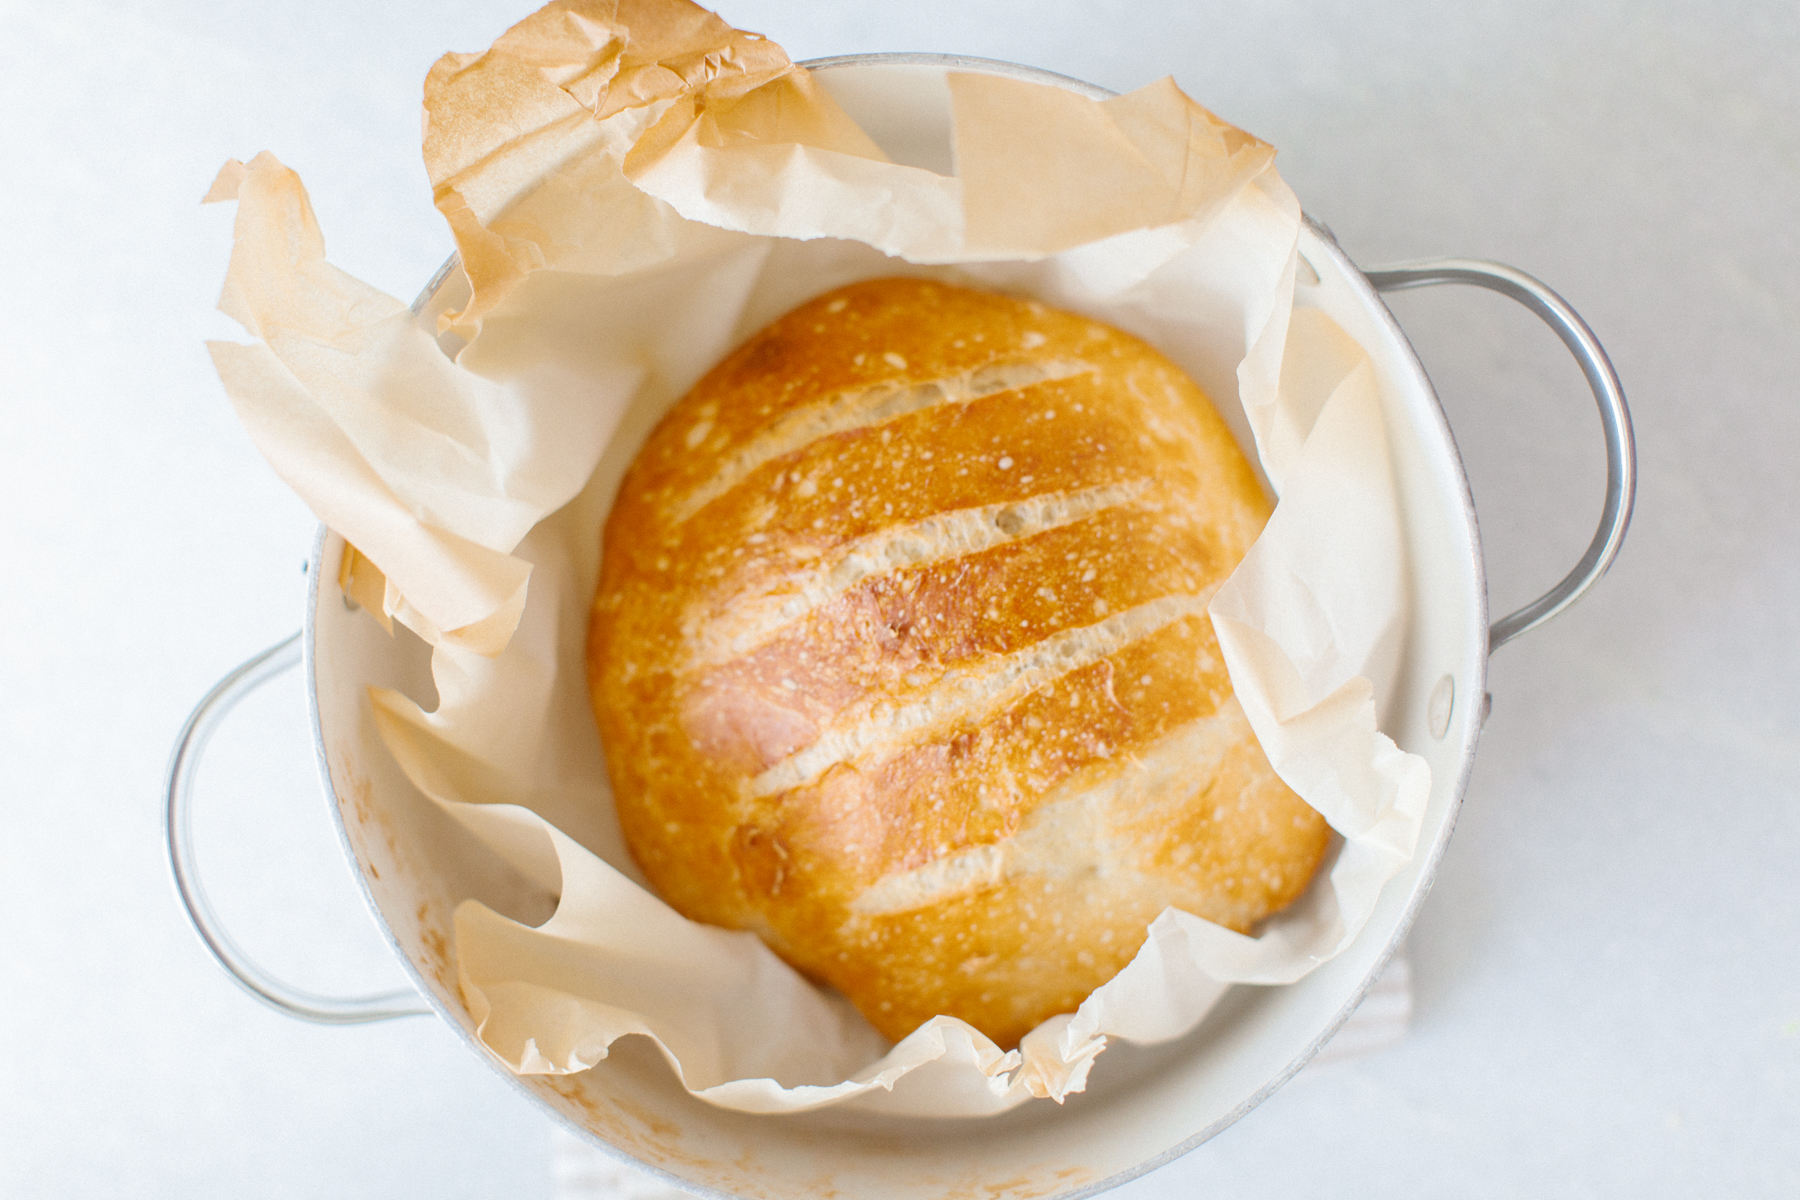
11.) Bake for 30 minutes, then remove the lid and continue to cook the bread for another 20-25 minutes. Your loaf should be golden brown. Remove from the pot with the parchment paper and let cool on a wire rack. If you want to know if your bread is ready simply turn your bread over and tap on the bottom you should hear a hollow sound.
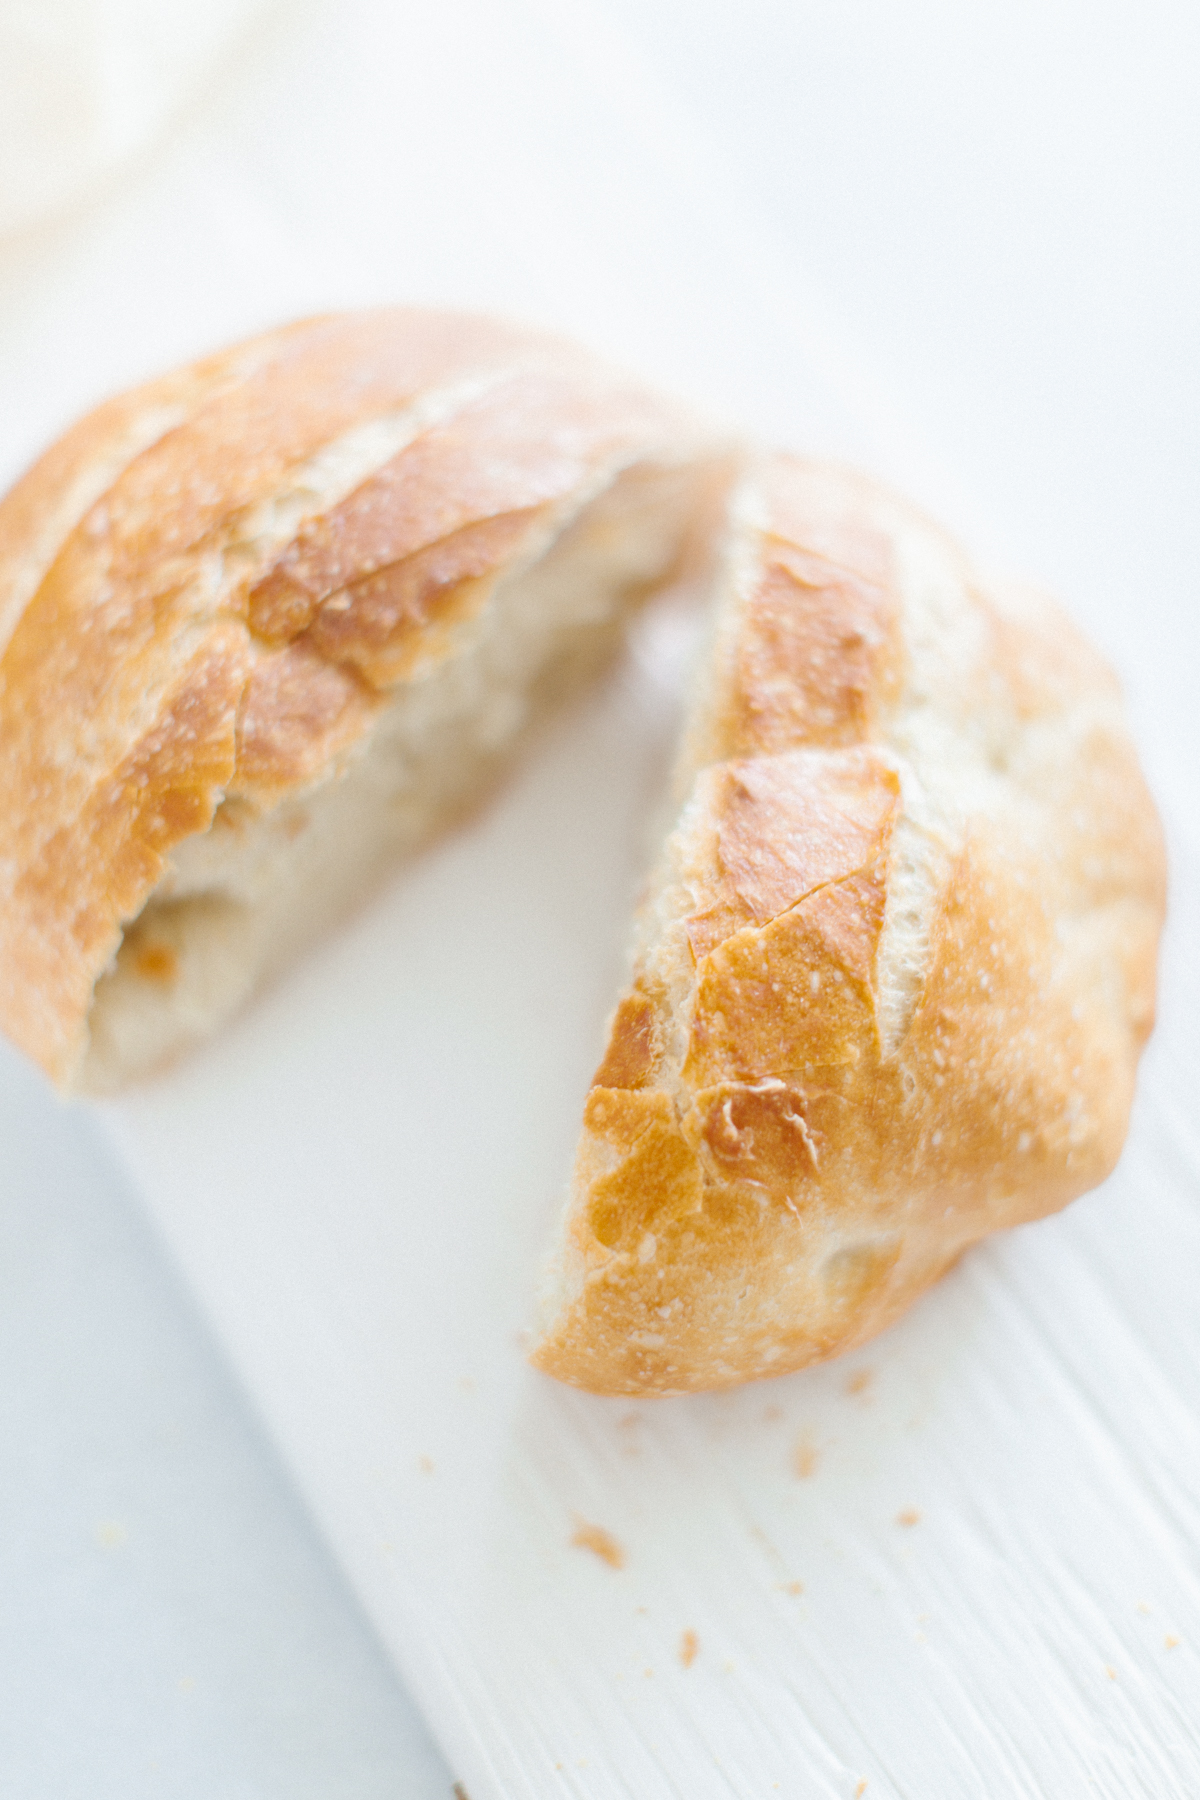
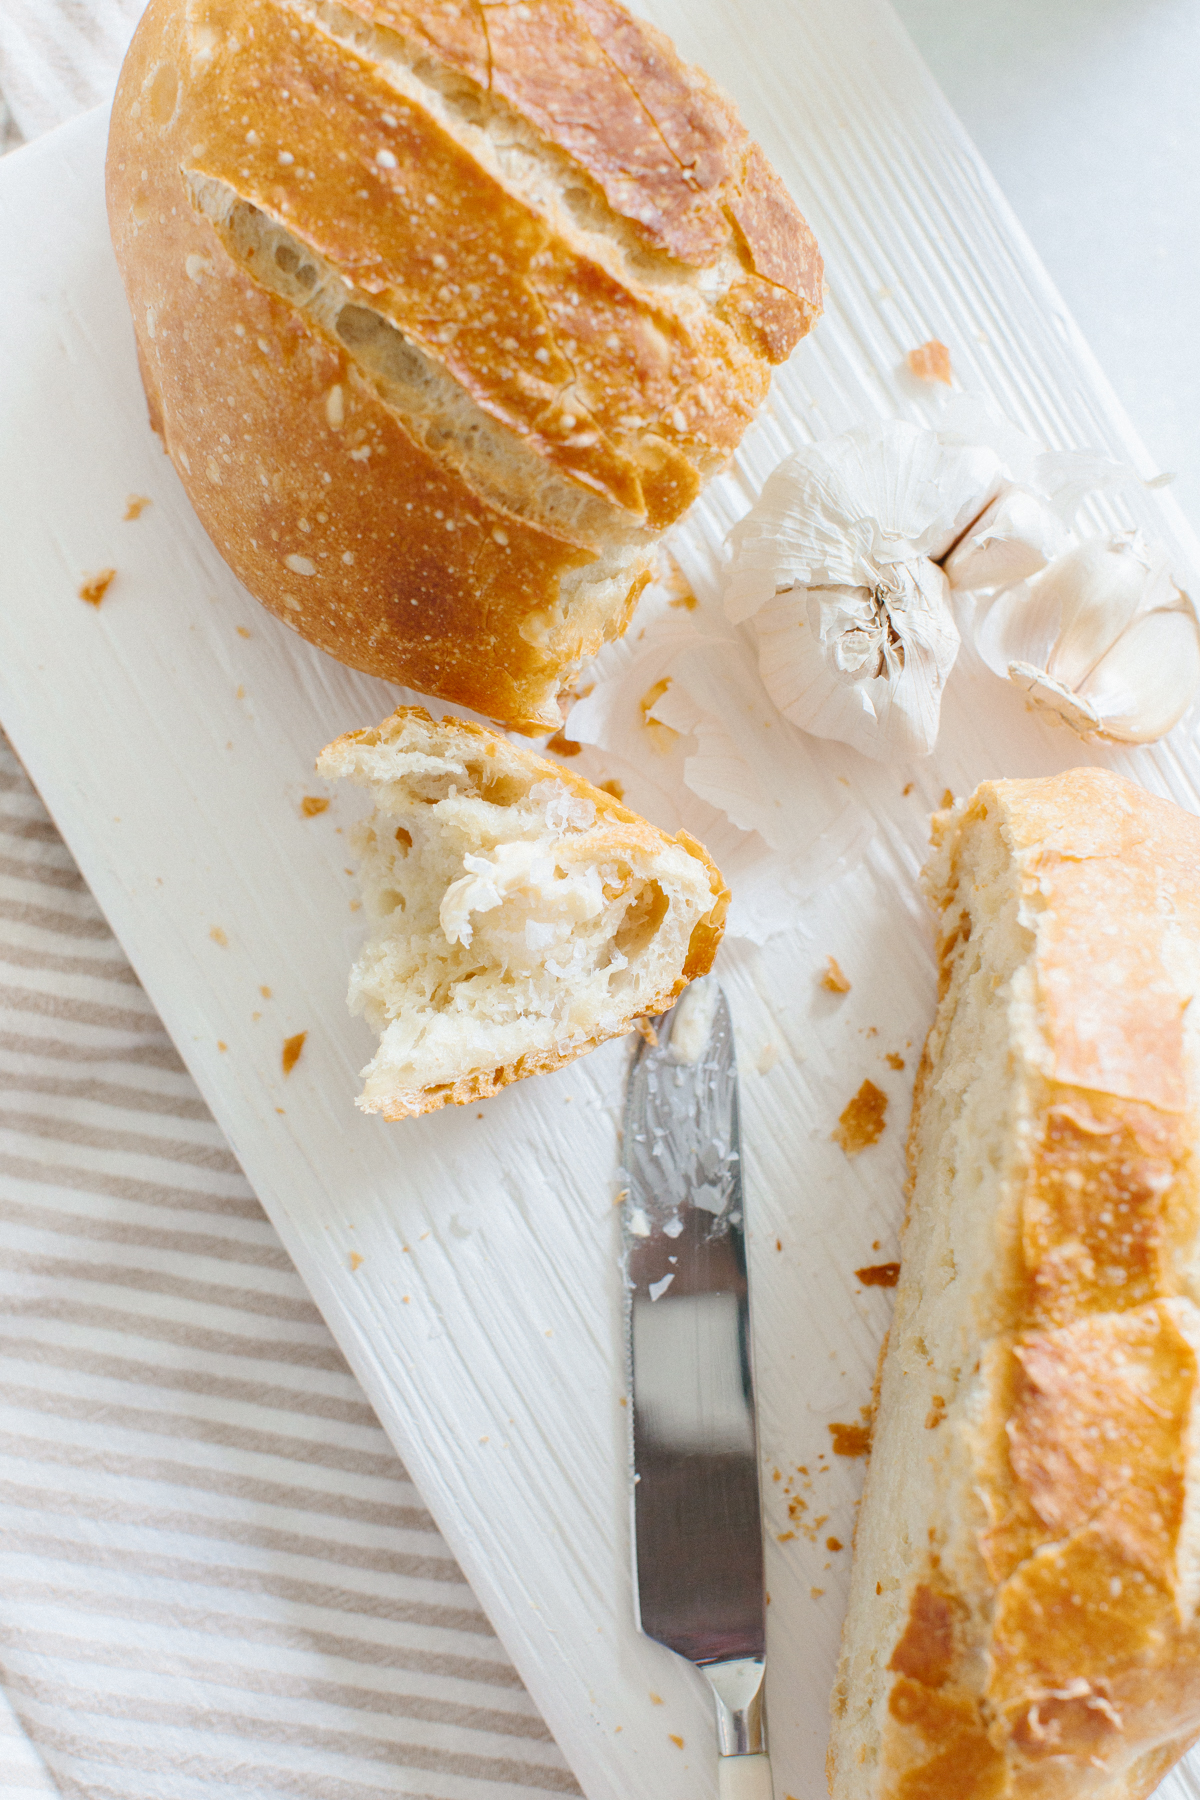
When and how to cut your loaf. You never want to cut into a loaf that has just come out of the oven. It is going to be full of steam, because it is technically still cooking. Hold off a good 30 minutes before digging into your beautiful creation.
Fresh bread is enjoyed within the first day or two. This is not store-bought bread, full of preservatives that last for weeks. If you want to “refresh” your bread simply pop it back in the oven for a couple of minutes, or slice and pop it into the toaster!
Ideas on how to be creative with your flavours
Why not add in some cinnamon into the dough and some raisins, for a breakfast bread.
Cranberry walnut would be lovely!
Rosemary, roasted garlic and cheese ( I like little cubes of cheese in mine they create lovely little pockets of melted cheese in the bread
Add in the inclusions at step 4!
Closing Thoughts
We hope this brings you a little bit of joy in these uncertain times within our world. Bread is such a staple food across the whole world, in some countries it is served daily. The notion that bread itself with water can sustain us is an amazing thing, it has been around for centuries!
If you are looking for an interesting show about bread I would recommend Cooked Season 1 Episode 3 (Air) on Netflix, it shows you how bread is made with a natural levain (sourdough starter) and using only 4 ingredients you can create something that is such a big part of our daily meals across the globe. It also touches a bit on gluten intolerance, as well and how some areas do not really have it as they are eating bread that is created with natural yeast, whole grain flour, salt and water. The belief is the preservatives we see in store-bought bread that make it last for weeks on the shelves is what our bodies don’t agree with it. This, however, is not taking into consideration celiacs of course.
Enjoy the fruits of your labour and then do it all over the next day!
Items from this post: Brass Measuring-spoons, water pitcher, mixing bowl, copper measuring cups, MH Linen tea-towel, white wooden board are all items from Monika Hibbs Home Store.


