Cherry Love Bombs
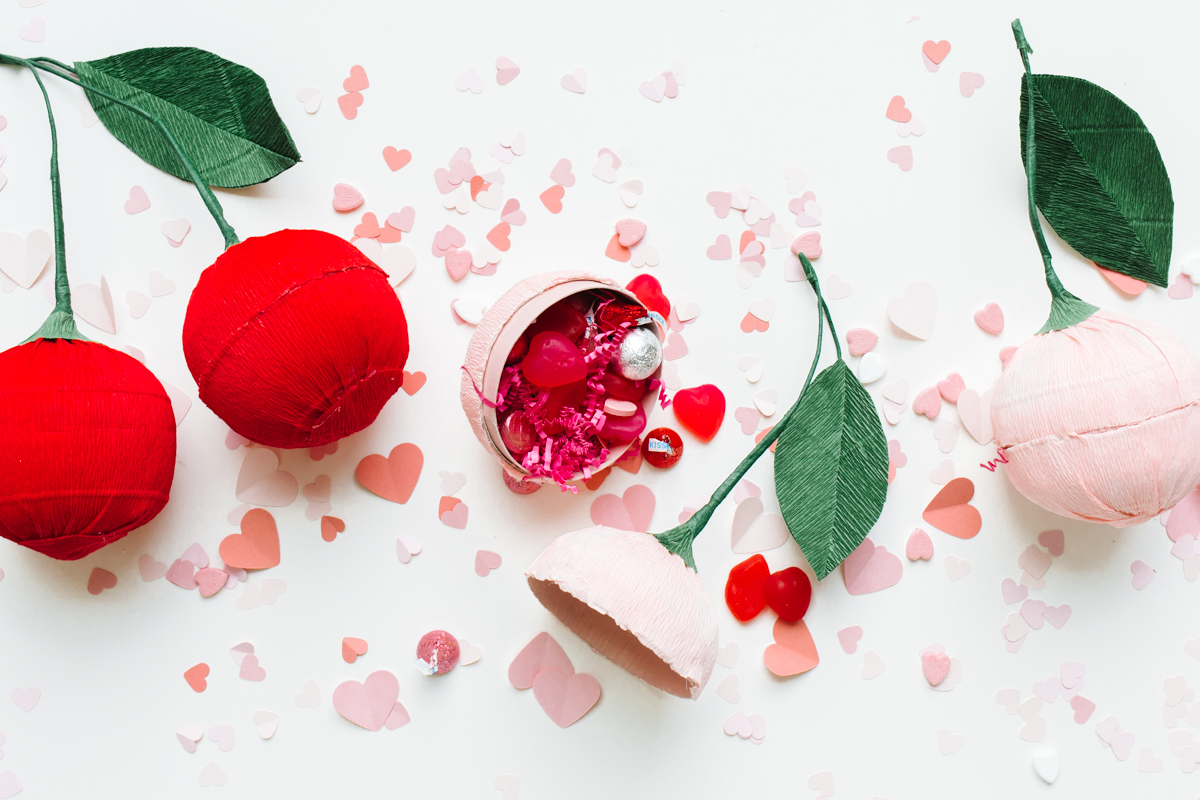
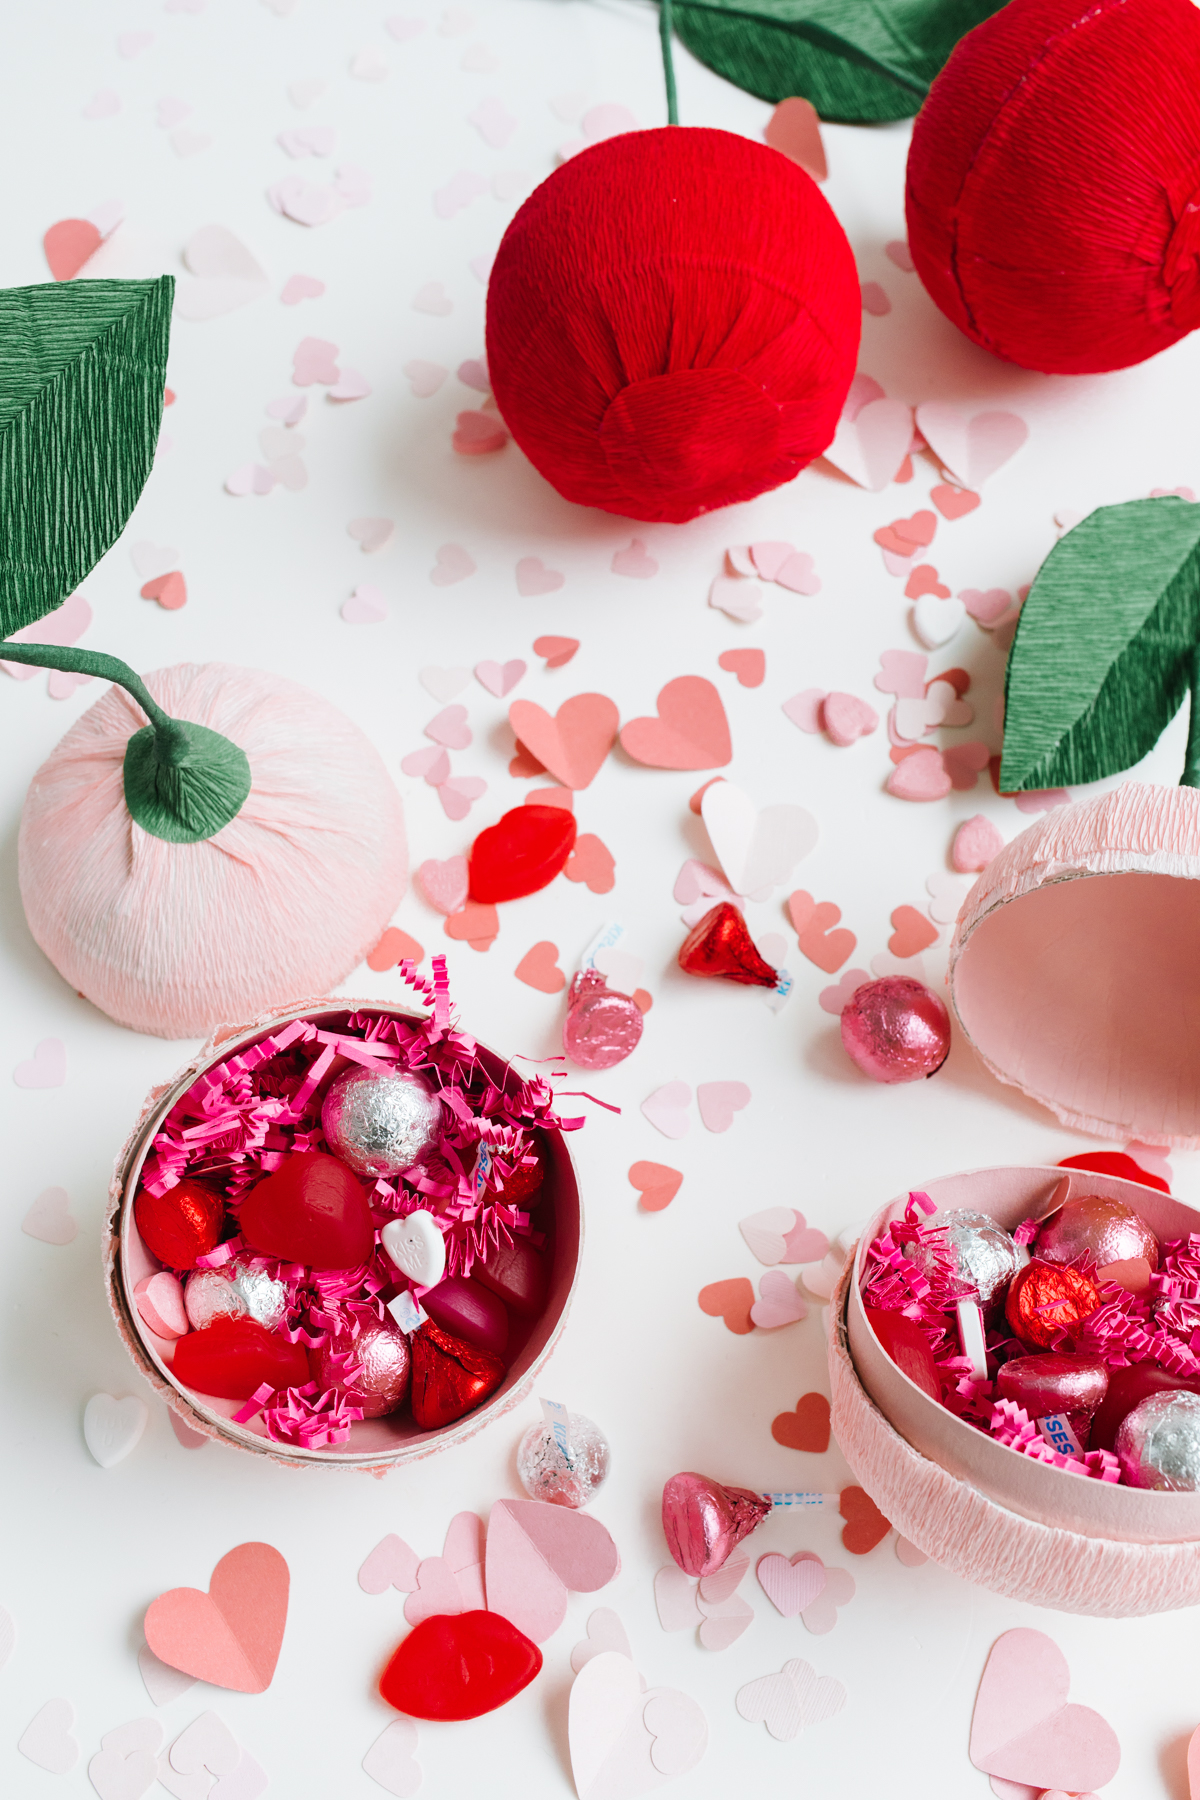
Every Valentine’s Day we try and dream up a fun and playful DIY for you all, this year we created these Cherry Love Bombs filled with candy. They might just be one of my favourite DIY’s to date. These crepe paper cherries are simple to make and are fun way to gift candy or small little gifts, extra fun with your Valentine’s Day chocolate kisses and heart shaped treats. Gather your girlfriends and kids, because you’ll be loving making these together with Valentine’s Day just around the corner. Adding a little secret note wouldn’t be a bad idea either!
Below we’ve included a template to print to make this DIY easy as pie!
Looking for more Valentine’s Posts? Click over to our past poster below:
Heart Pancakes Recipe, Valentine’s Entertaining Inspiration, A Valentine’s Day Brunch, Heart Shaped Marshmallow Recipe, Free Valentine Cards Printables, Flower Tag Printables, Heart Glasses Digital Desktop Download and of course this year’s February Desktop & Calendar Download.
Crepe Paper Cherry Leaves Template
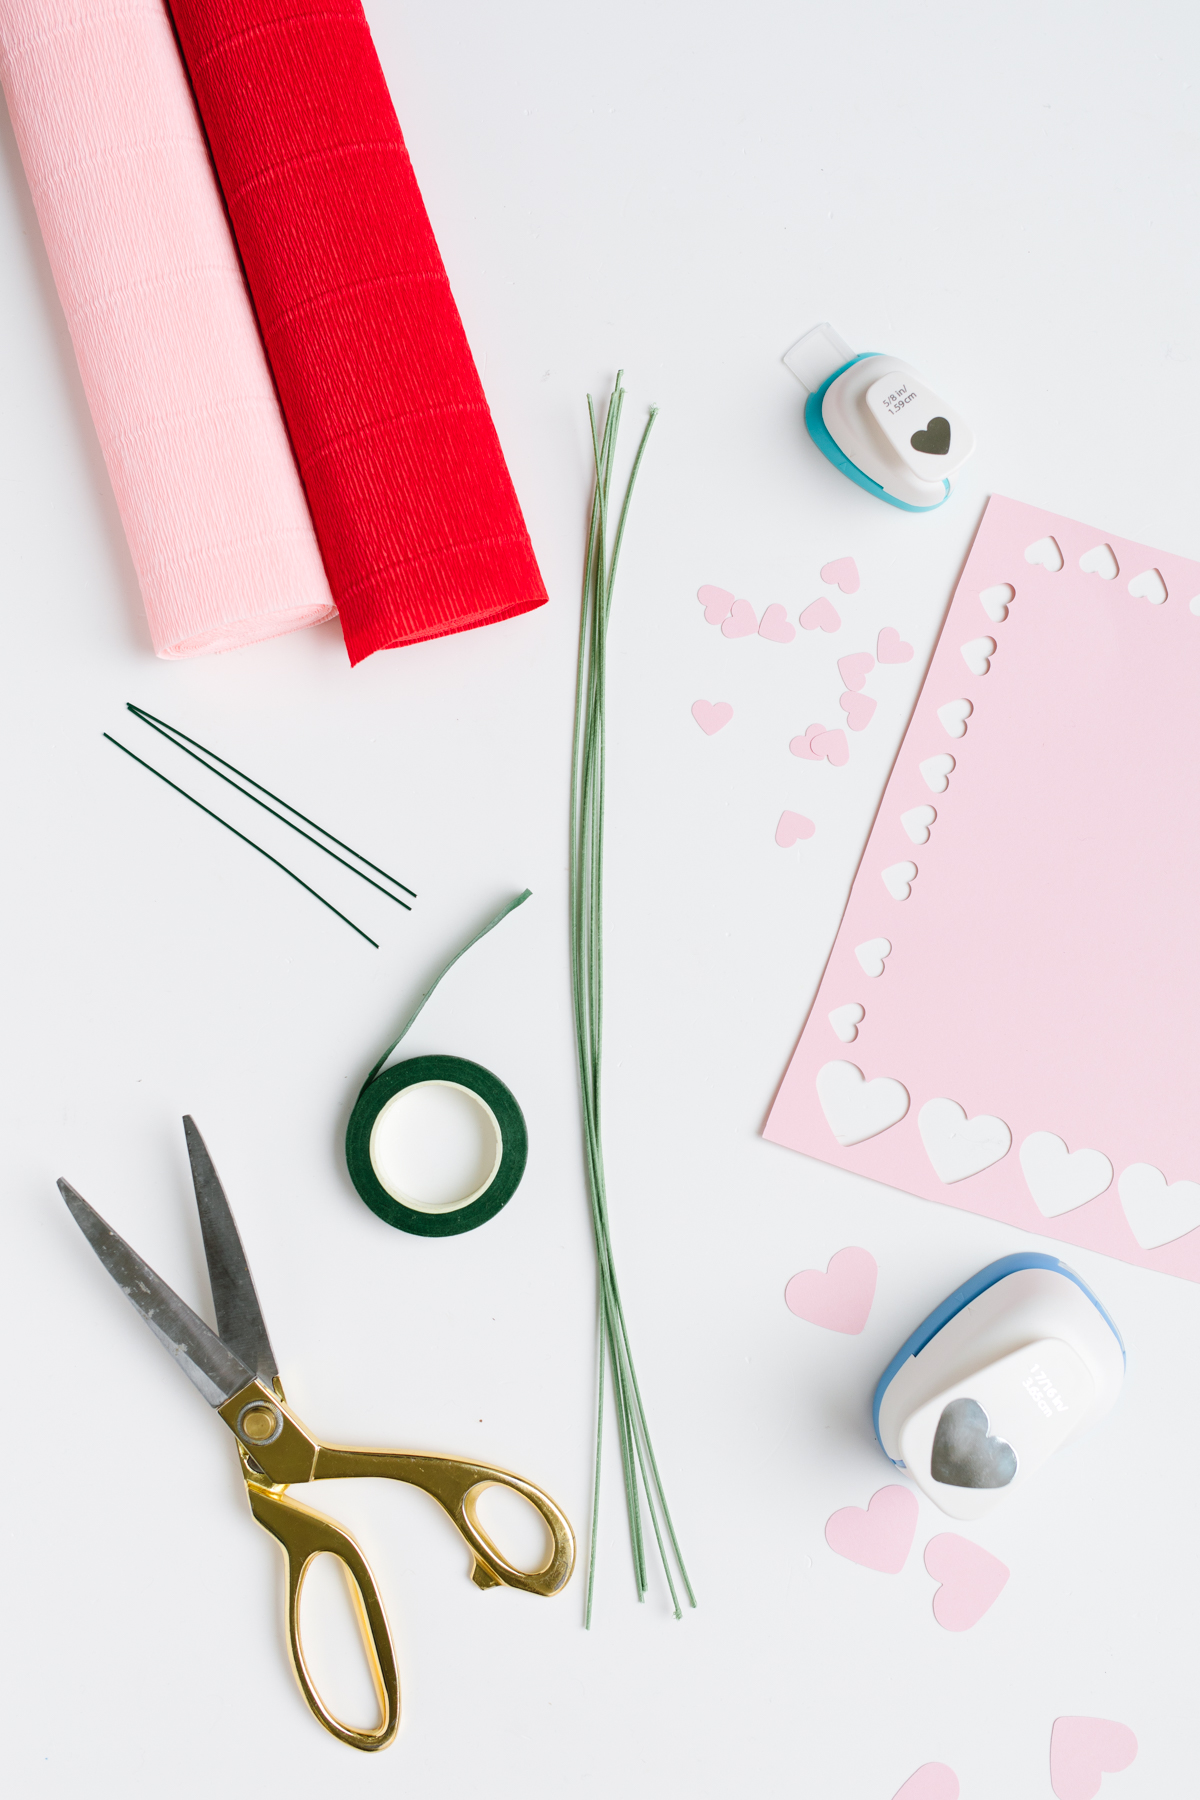
Supplies
180g crepe paper in bright red
180g crepe paper in soft petal pink
180g crepe paper in leaf green
Fabric covered floral wire
18 gauge floral wire
Floral tape
Masking tape
Card-stock in an assortment of pinks and blush tones
small Heart punch
medium Heart punch
Glue gun and glue
Scissors
Ruler
Round paper box
Paint brush
Pink and red acrylic paint
To Fill
Assortment of Valentines candy
Pink Paper fill
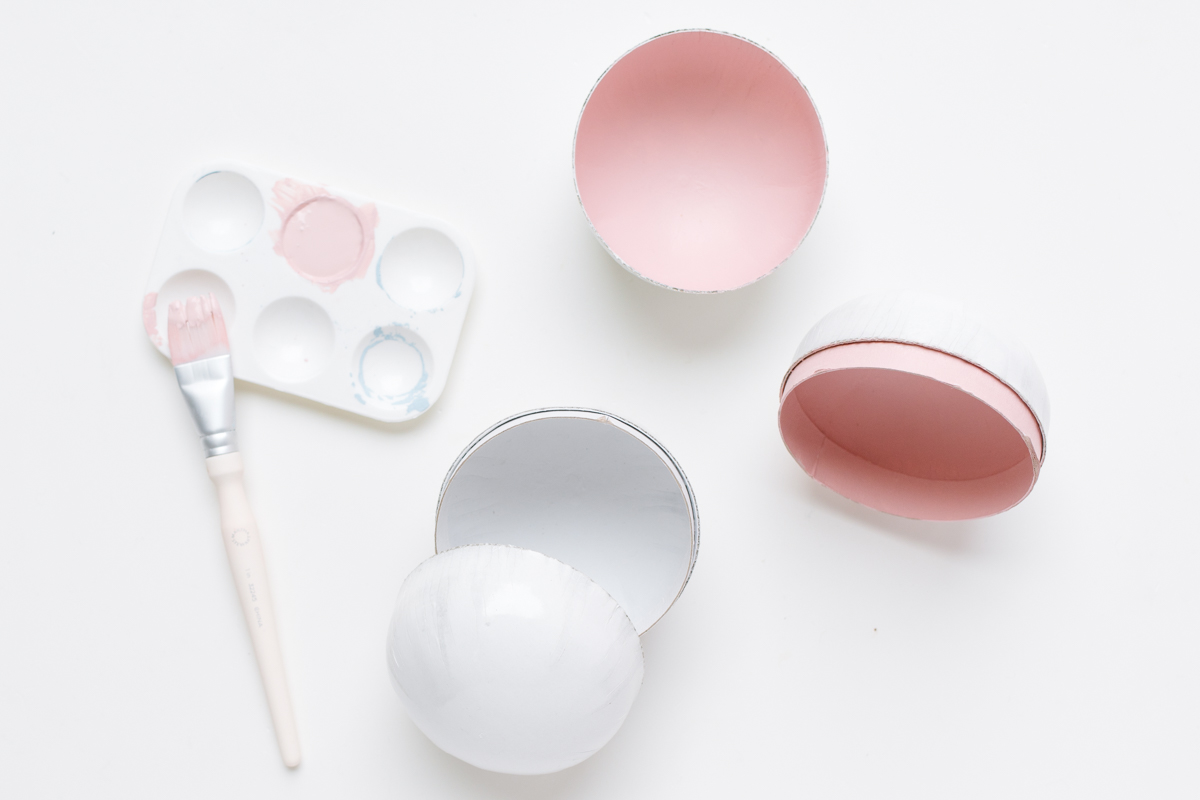 Paint the inside of the box the same colour as the crepe paper that you are using. (Either pink or red).
 Once the paint has dried, you can create your box seam. Cut a strip of crepe paper that is 9” long and 1 ¼” high.
- You will now cover the seam of the box where is closes with the strip of crepe paper. Using the hot glue gun, glue the crepe paper around the box. Glue and press little by little as you wrap the paper around the round box. Push a bit of the paper into the seam of the box, to create a dent. This will make cutting the box open easier.
 Next you will create the cherry stem. Cut three 5” pieces of wire using scissors or wire cutters. Bind all three wires together with floral tape, leaving 1” exposed at the bottom. Splay out the ends into a tripod shape, so that it can stand. Then attach it to the round box, tape the exposed splayed out wire pieces to the box at the top.

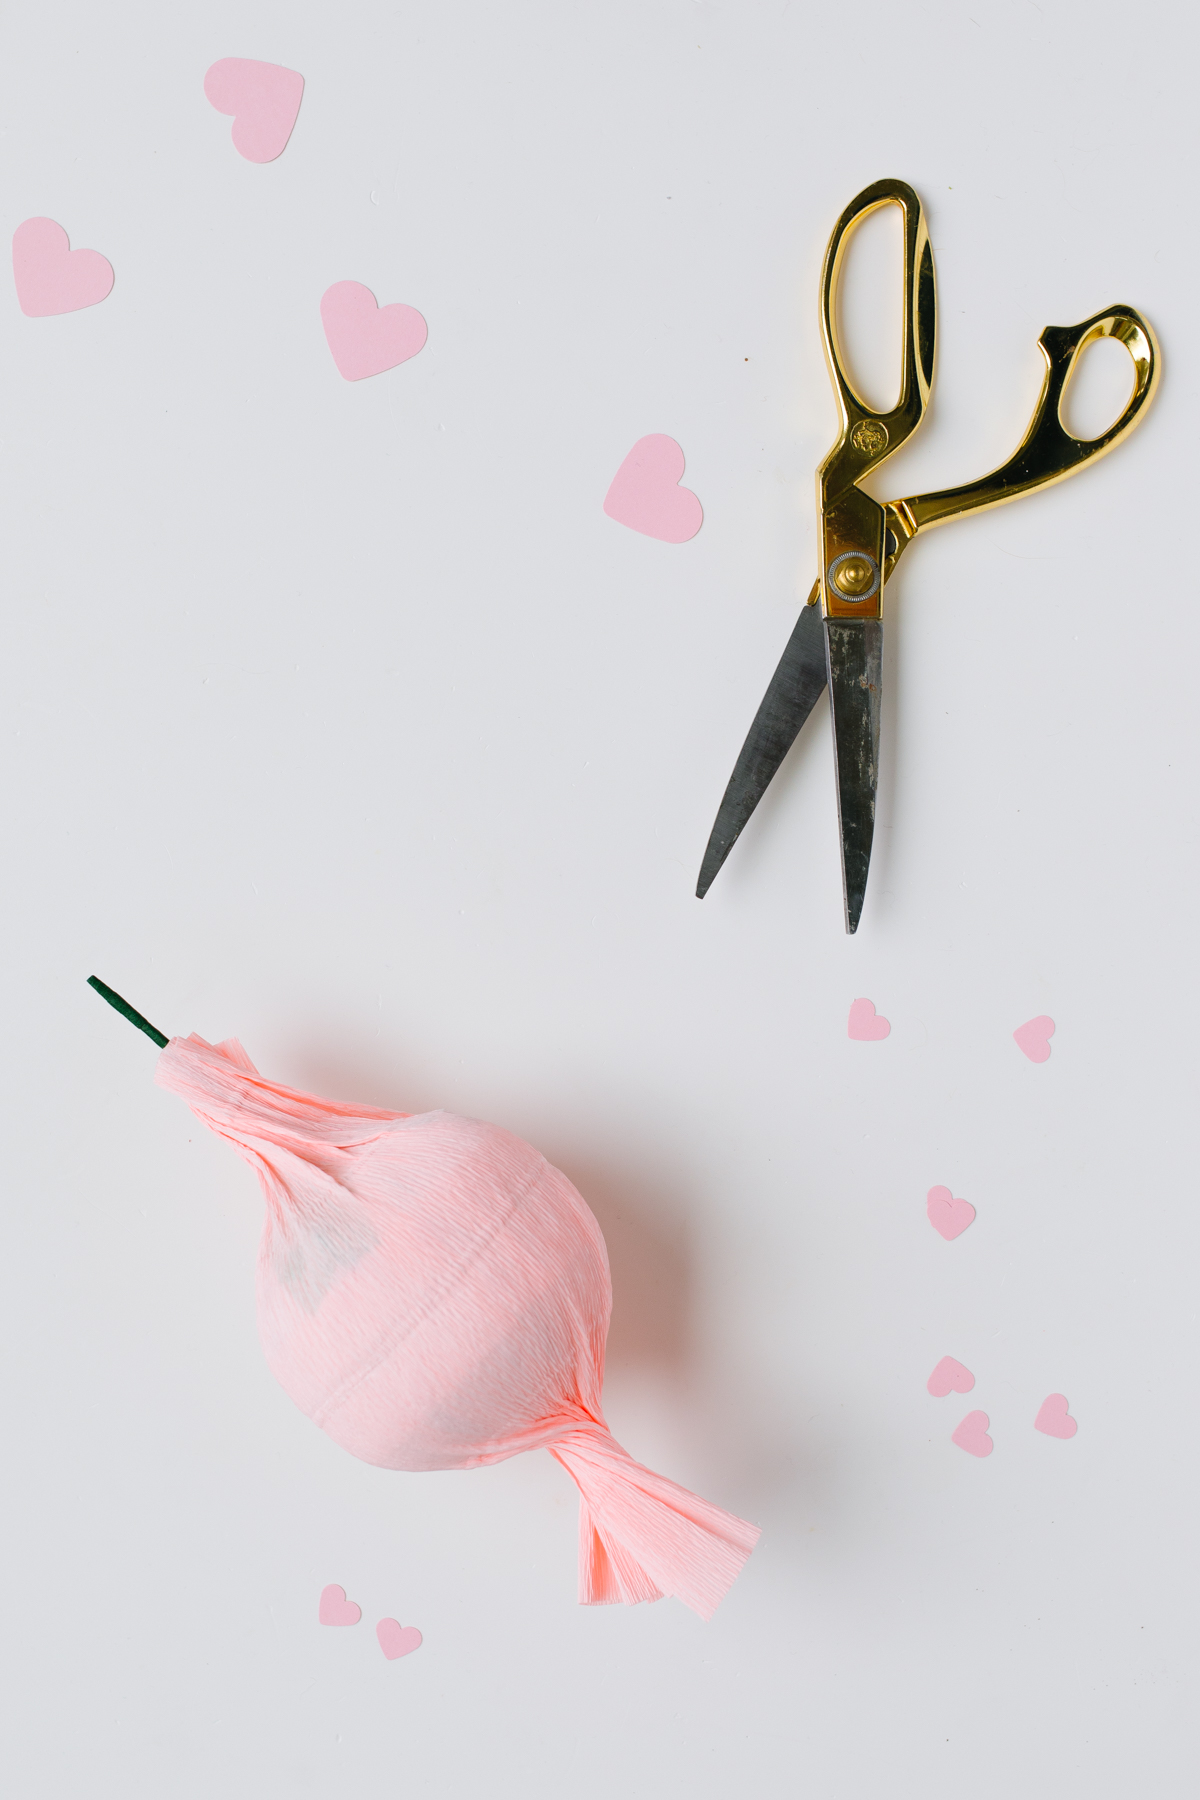 Now you are ready to cover the box with crepe paper. Cut a piece of pink or red crepe paper that is 10” long and 9” tall. Wrap the paper around the round box, you may need to stretch the paper a little. Start by gluing one edge of the paper to the box, then continue to glue and press down the paper as you work your way around the box. Glue the two seams together. Once the glue has set, twist the two ends of the box. Add additional glue under the paper where it twists if needed to secure. Trim the excess paper at the two ends and glue them down.
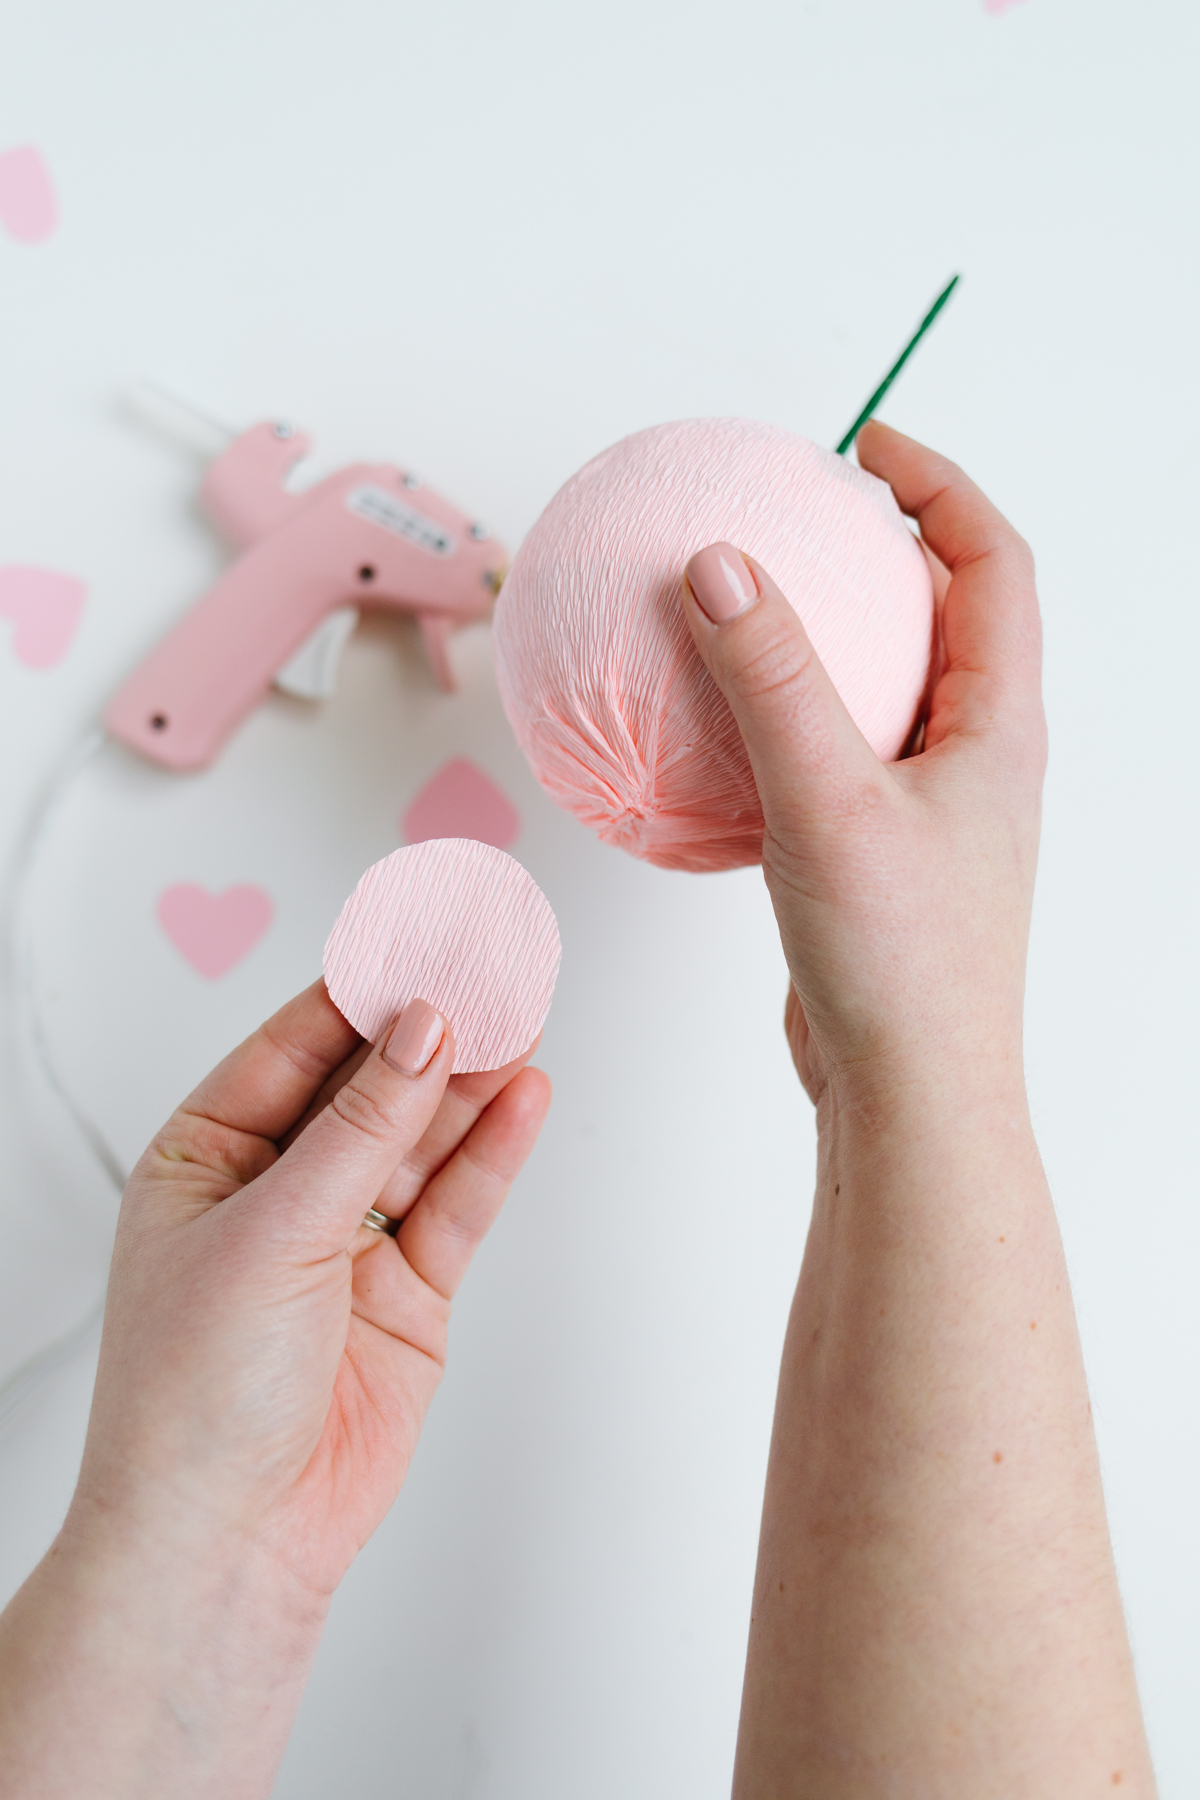 Cut out a 1” round piece of crepe paper and glue it two the base of the cherry to cover where the paper twists together. (Opposite to the stem end.) Wrap a 1” piece of floral wire around the base of the stem where the paper wraps around. This will give a finished clean look.
 Using an exacto knife, cut the crepe paper around the seam of the cherry box. You will have to use your finger to press and find the seam, where the box closes. Once you have cut the paper all the way around, carefully open the box. Trim and glue the edges to clean up the opening.
(You may also skip this step and pre-fill your cherries with treats before hand, letting your recipient cut them open.)
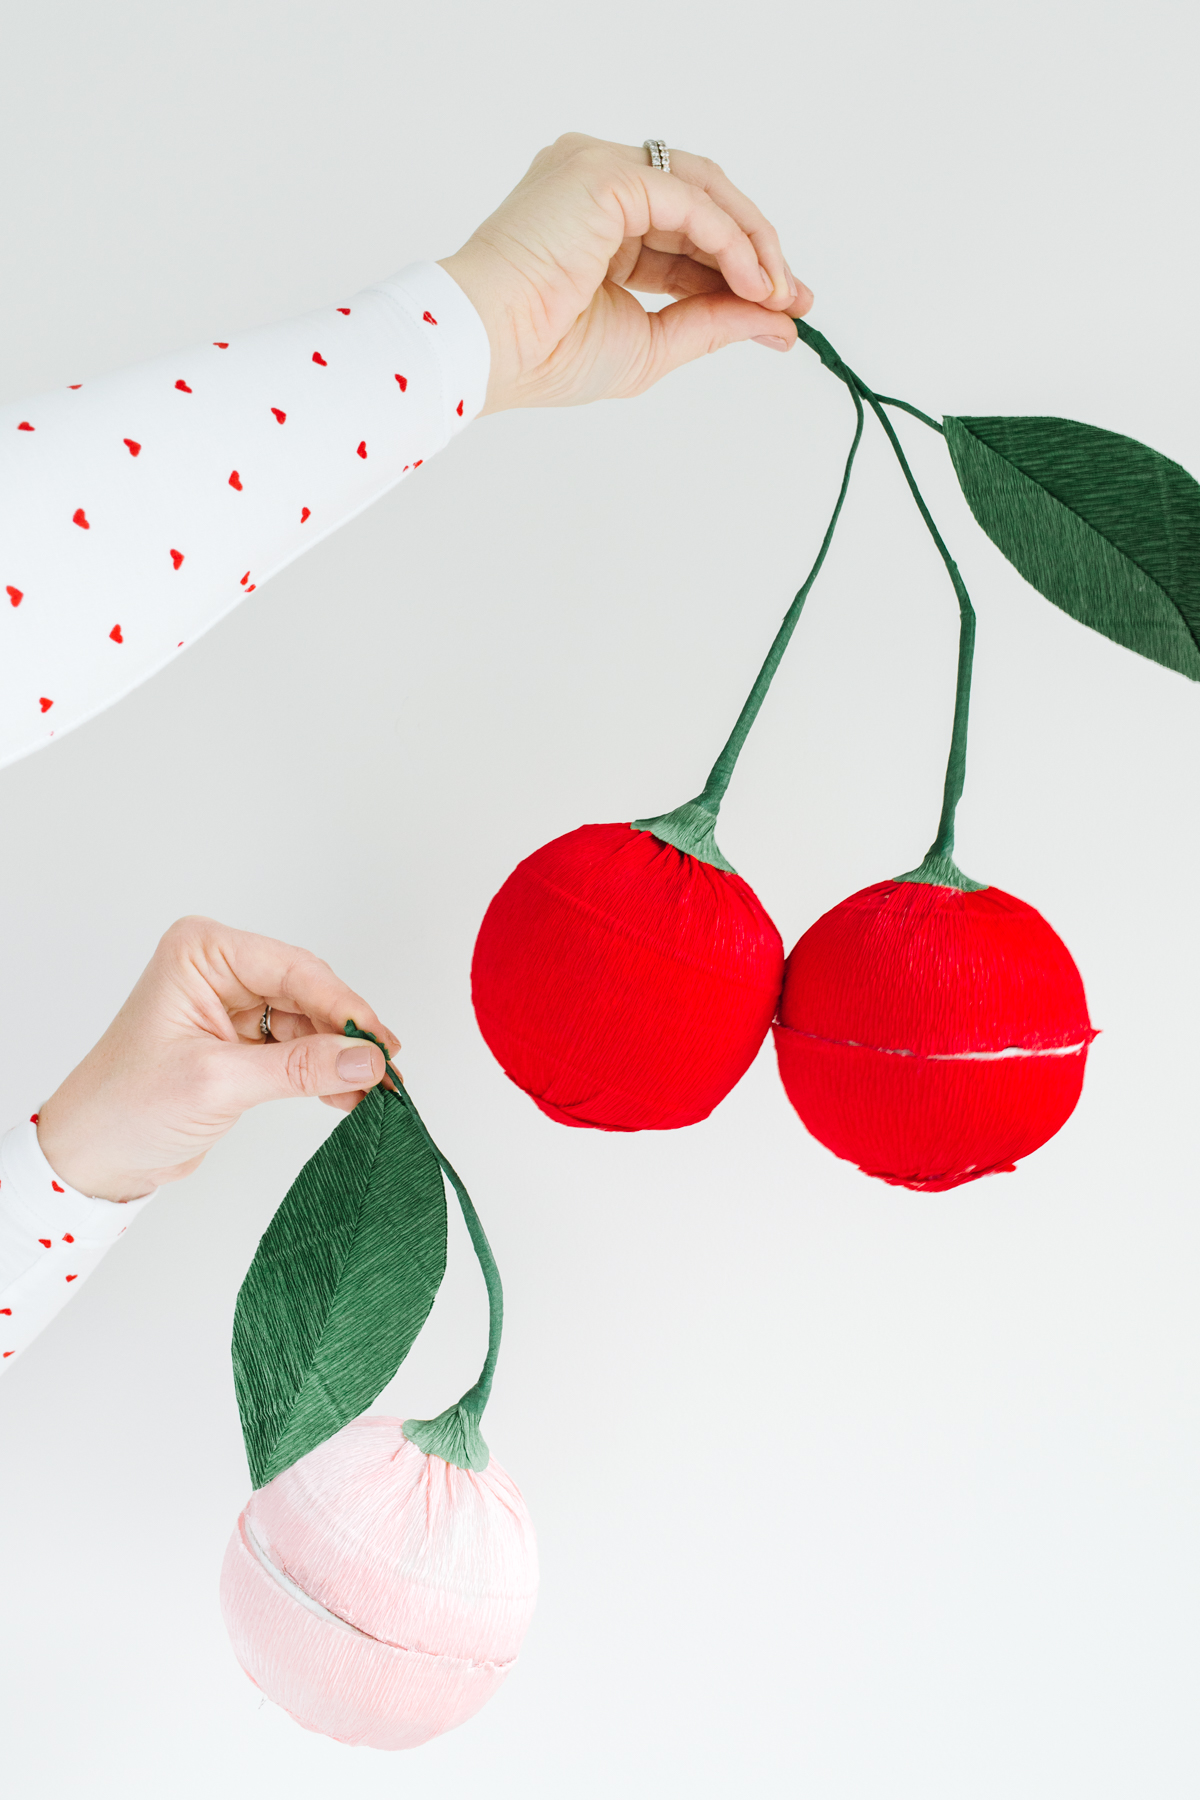
 To make the rest of the cherry stem, cover a fabric wire with floral tape. Start at one end and twist around the wire until you reach the bottom. Bind this wire to the stem of the cherry using floral wire to wrap the two wires together. Trim the stem to your desired length.
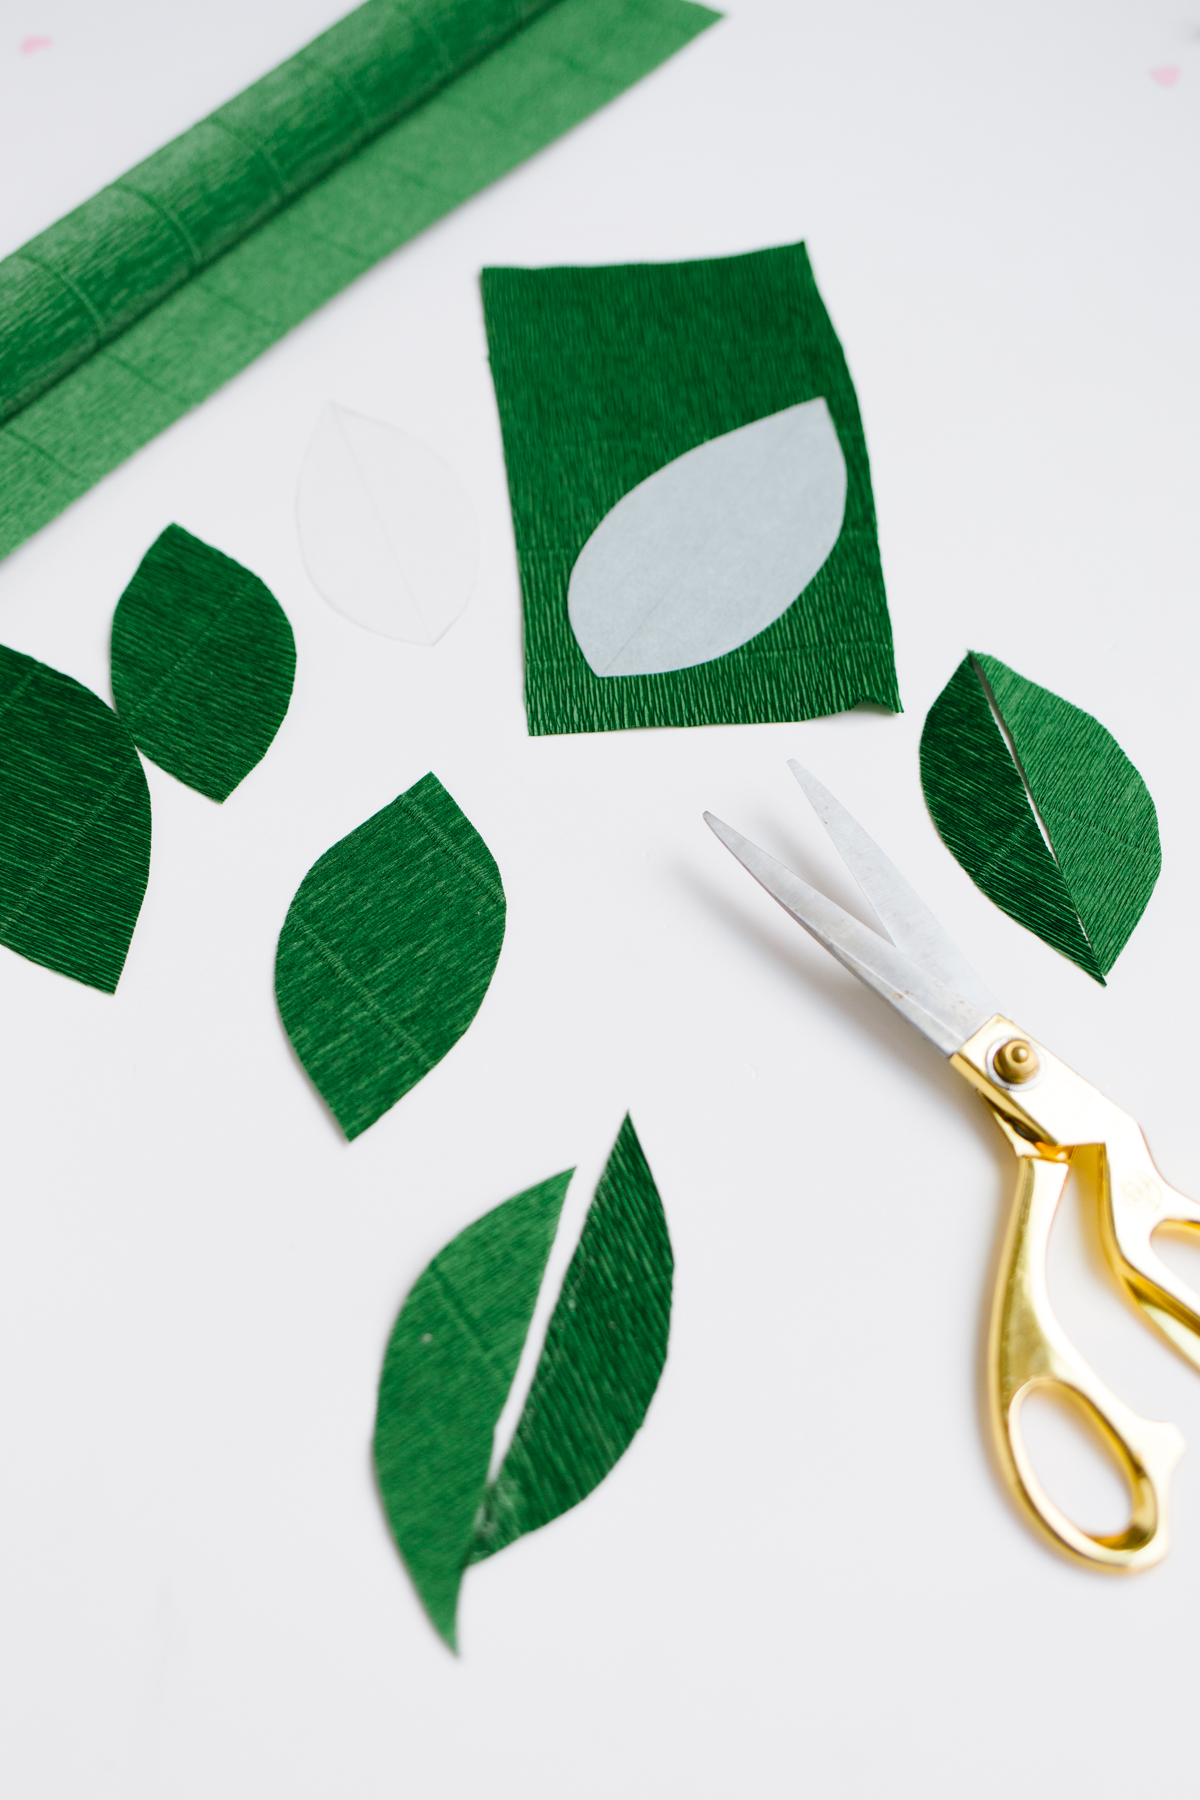 To make the cherry leaves, use the leaf templates provided above. Place the leaf template on the green crepe paper. The grain of the paper should be running at an angle. Cut out the leaf. Once the leaf is cut out cut it in half lengthwise. Turn one half and line the two pieces up so that the grain of the paper is now running inward. This will create a more realistic looking leaf. Overlap the edges and glue them together.
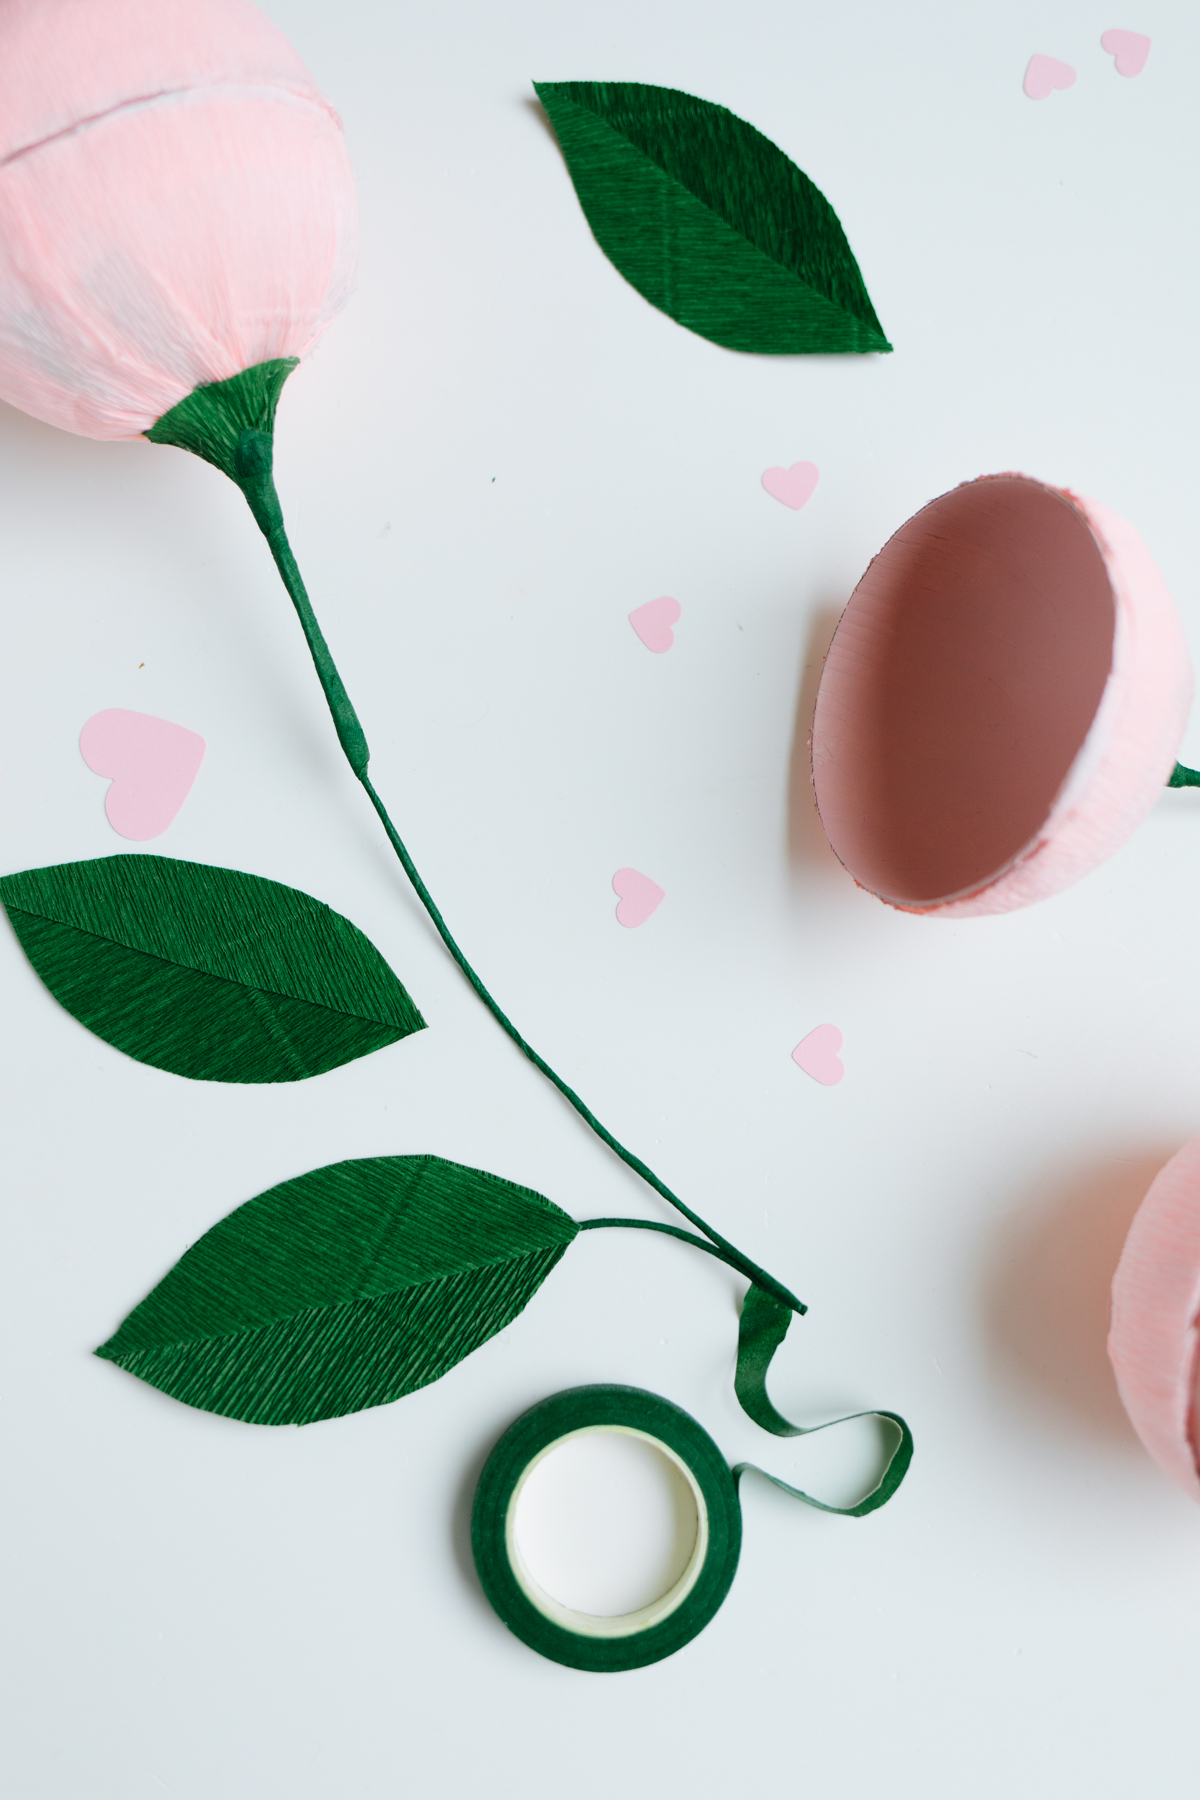
- Glue the end of the stem wire to the back of each leaf. Hold down until the glue has set.


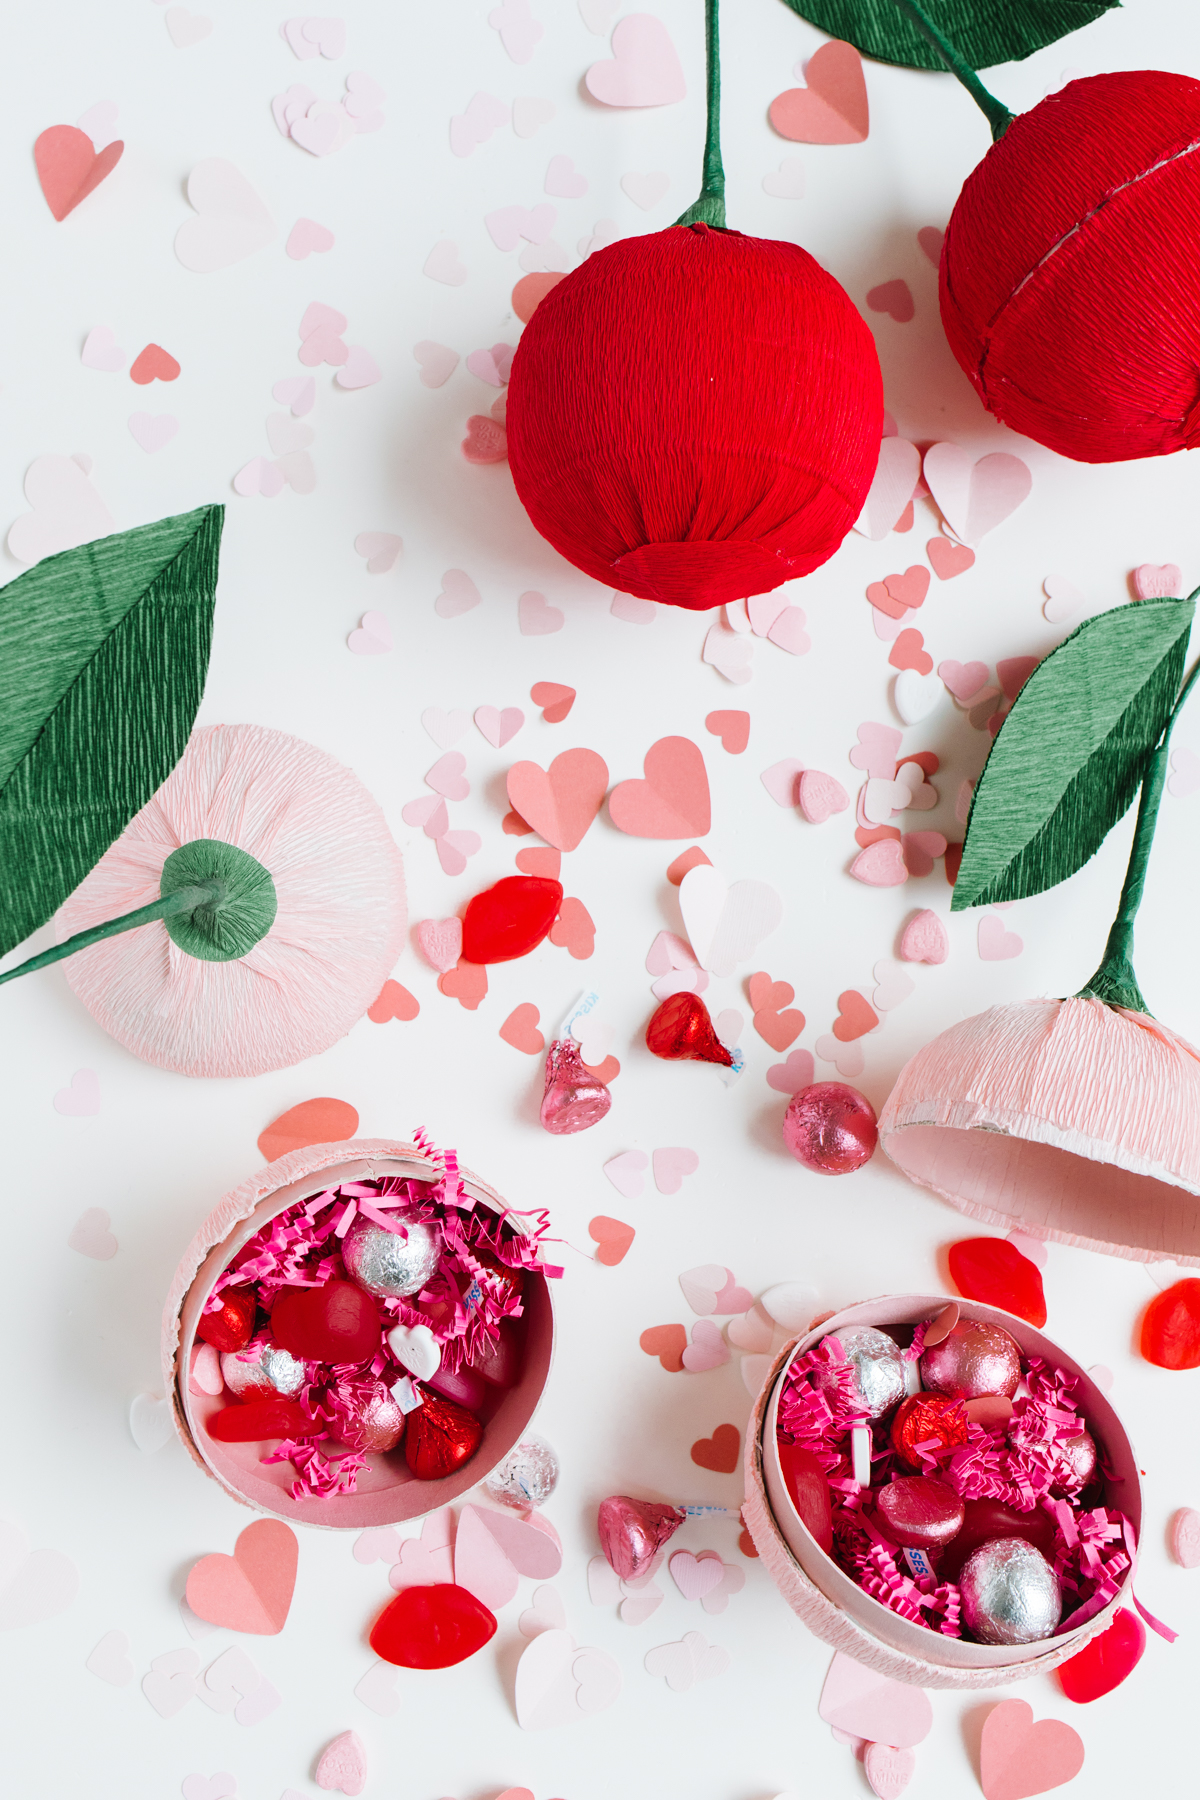
- Fill your cherry with tissue paper and Valentine’s treats. Seal for delivery with a couple pieces of tape.
- When gifting your Cherry Love Bombs, you may make sure to keep them closed by skipping the exacto knife step by pre-filling them and letting your recipient carefully cut up. You might want to add in a little note with instructions.
Shop The Post