DIY glitter glaze your nails!
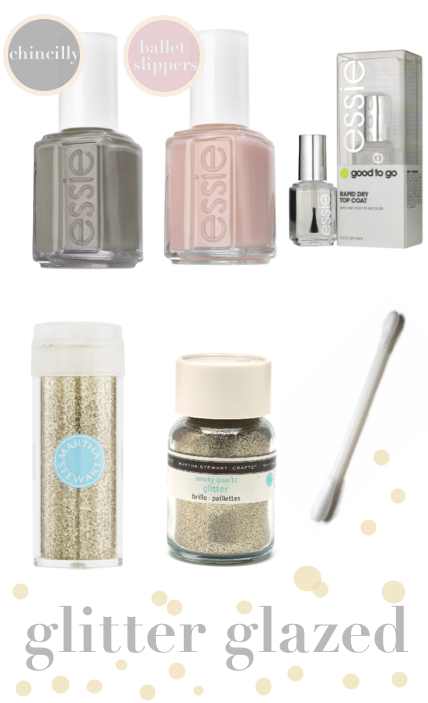
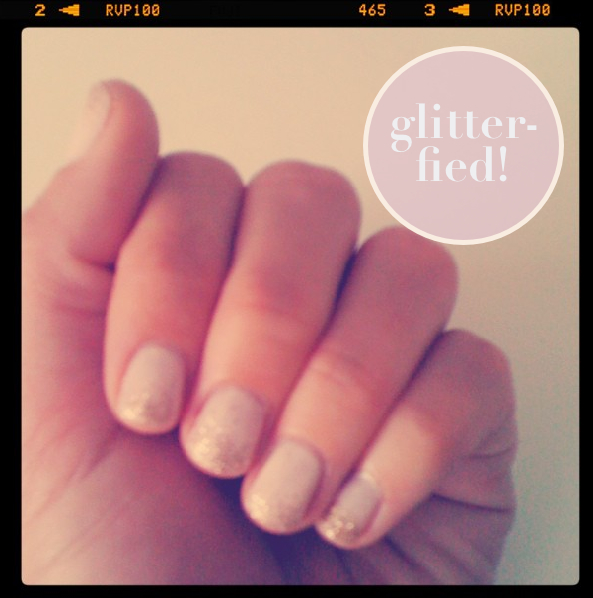
Have you noticed the glittery nail trend yet?? Gold glitter has made nails look better then ever! If you have a little extra time while painting your nails, you have to try glazing your nails with loose glitter! (I used Martha Stewart glitter, available at any craft store) I was inspired by Emily’s “Mermaid Nail’s” post on her blog Cupcakes and Cashmere. I took the look in a slightly different direction with a few different steps.
Here’s what I did.
1. Prepare your usual manicure
2. Paint first coat of your favourite polish (My two top choices above)
3. As you apply the second coat of polish (one nail at a time) take your q-tip and dab it into the glitter.
4. Tap the q-tip over the tips of your nails, creating a more dense look at the tips and fading into your nail bed.
5. Continue each nail (one at a time so the top coat doesn’t dry before you sprinkle the glitter)
6. After all your nails are perfectly glazed with glitter apply a quick drying top coat.
7. Vuala! The perfect glittery nail!
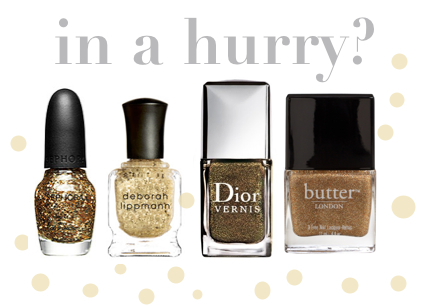
In a hurry?? Here are my top fave choices for gold polish!
1. OPI for Sephora- Only Gold for me $9.50
2. Deborah Lippmann- Boom Boom Pow $20
3. Dior- Czarina Gold Polish
4. Butter- West End Wonderland $14
My Choices of Base colour:
1. Essie Chinchilly $7.90
2. Essie Ballet Slippers $5.93

Any chance you can post another pic of your nails? I can’t really see that picture so well with the filter!! From what I can see, they look adorable 🙂
Brooke, I’ll try to post another pic later on tonight! My oldschool iphone is not doing the trick anymore! LOL
Fun! Danielle got me hooked on the OPI ‘Only Gold For Me’ & I love it! My toes and fingers are so sparkly 🙂
How awesome!!! I’ve been dying to try this new trend. Thanks for sharing.
gorgeous nails girl. i love the glittery at the end of the nail, makes it more adultlike. and essie is my go to favorite nailpolish brand!
I LOVE Essie nail polishes! and muted soft colours like these are so beautiful! <3 ooOOo and especially with glitter hehe 🙂
Love this! I have the essie mint candy apple and when i took it to my usual pedicure place the owner had the same on her toes with the silver glitter.. def. smell a new trend. Next time i go in i’ll def have to try it
Gold nails for autumn…love it! Right now I’m still in summer neons.
Great post! Love DL’s Boom Boom Pow! I’m also loving Sephora by OPI’s Looks Like Rain Dear – works well too as a base under the crackle look
love this… SO fun! i’m going to do with zoya dove and a silver full coverage glitter that i got… 🙂
Looks great! Need to try this!