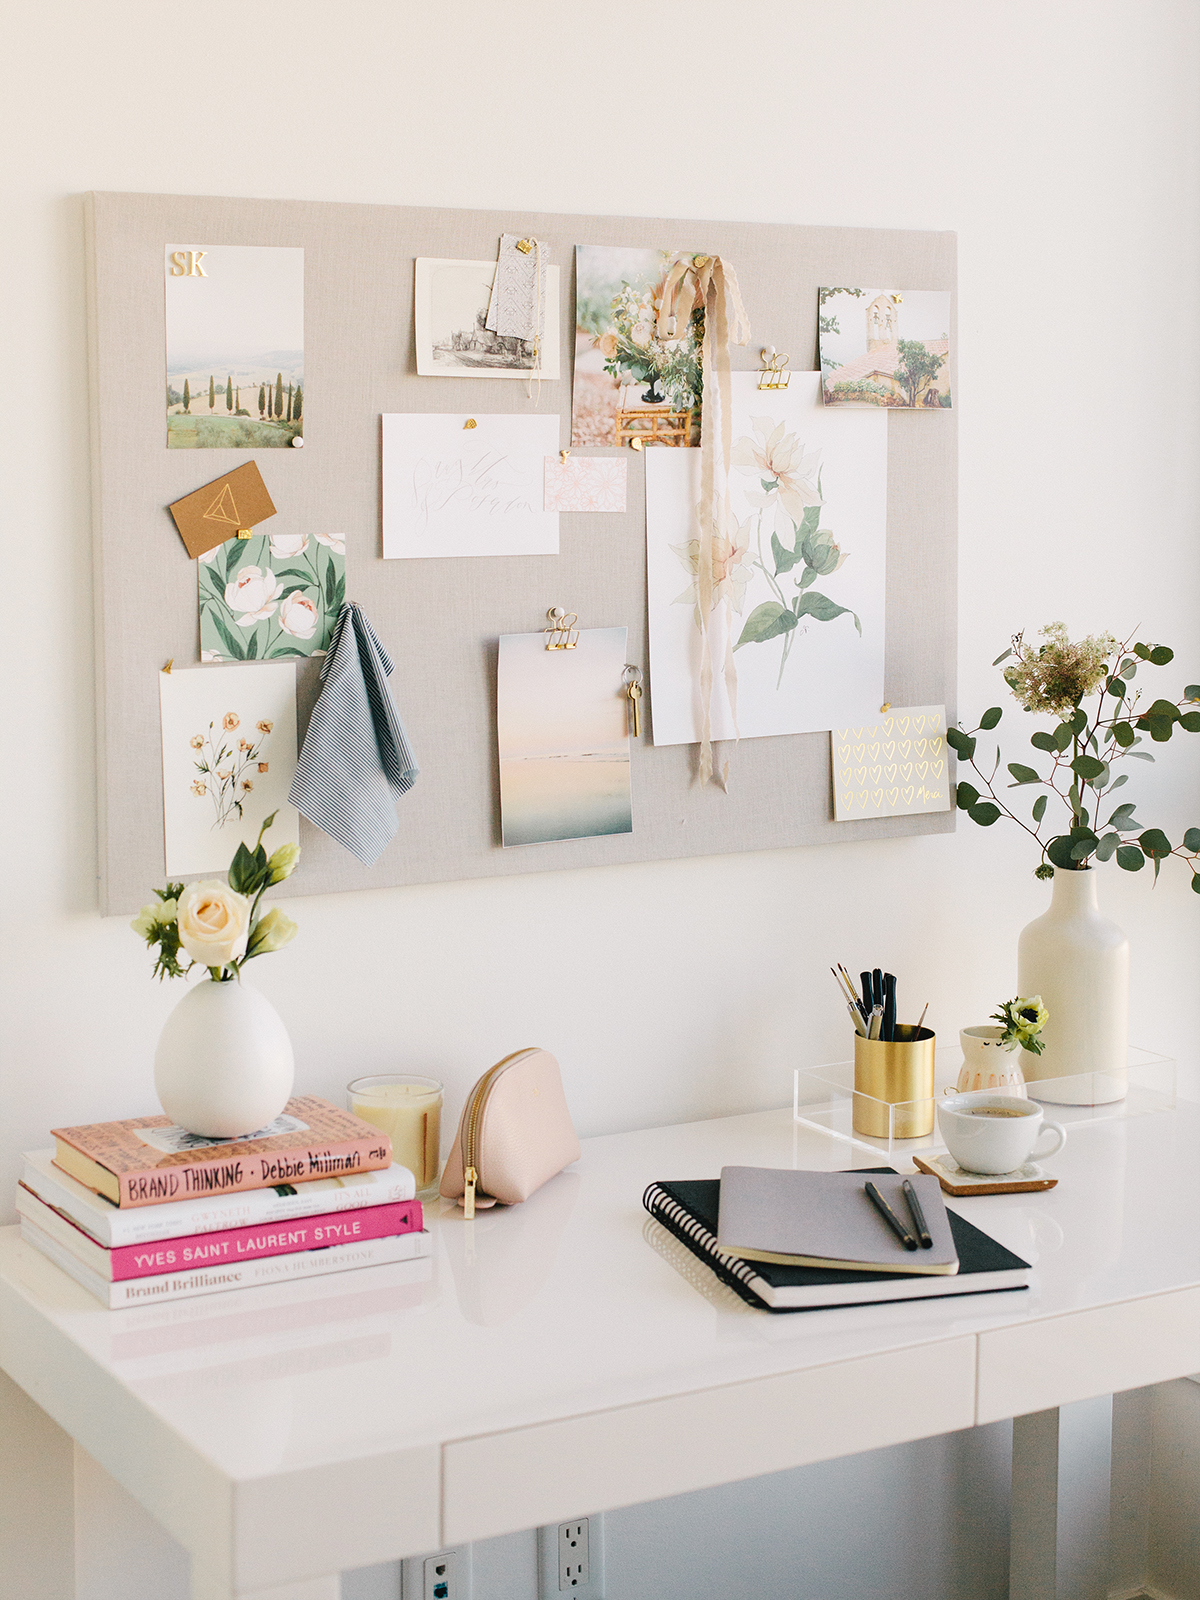
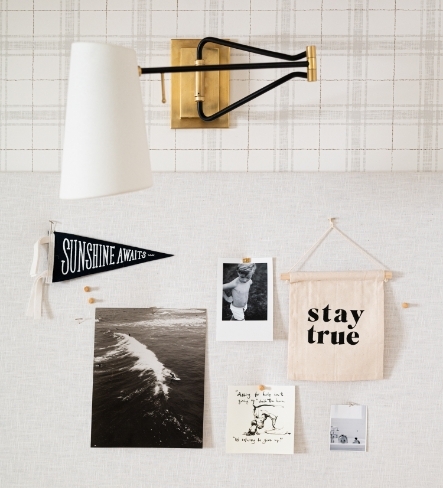
The Perfect DIY Pinboard
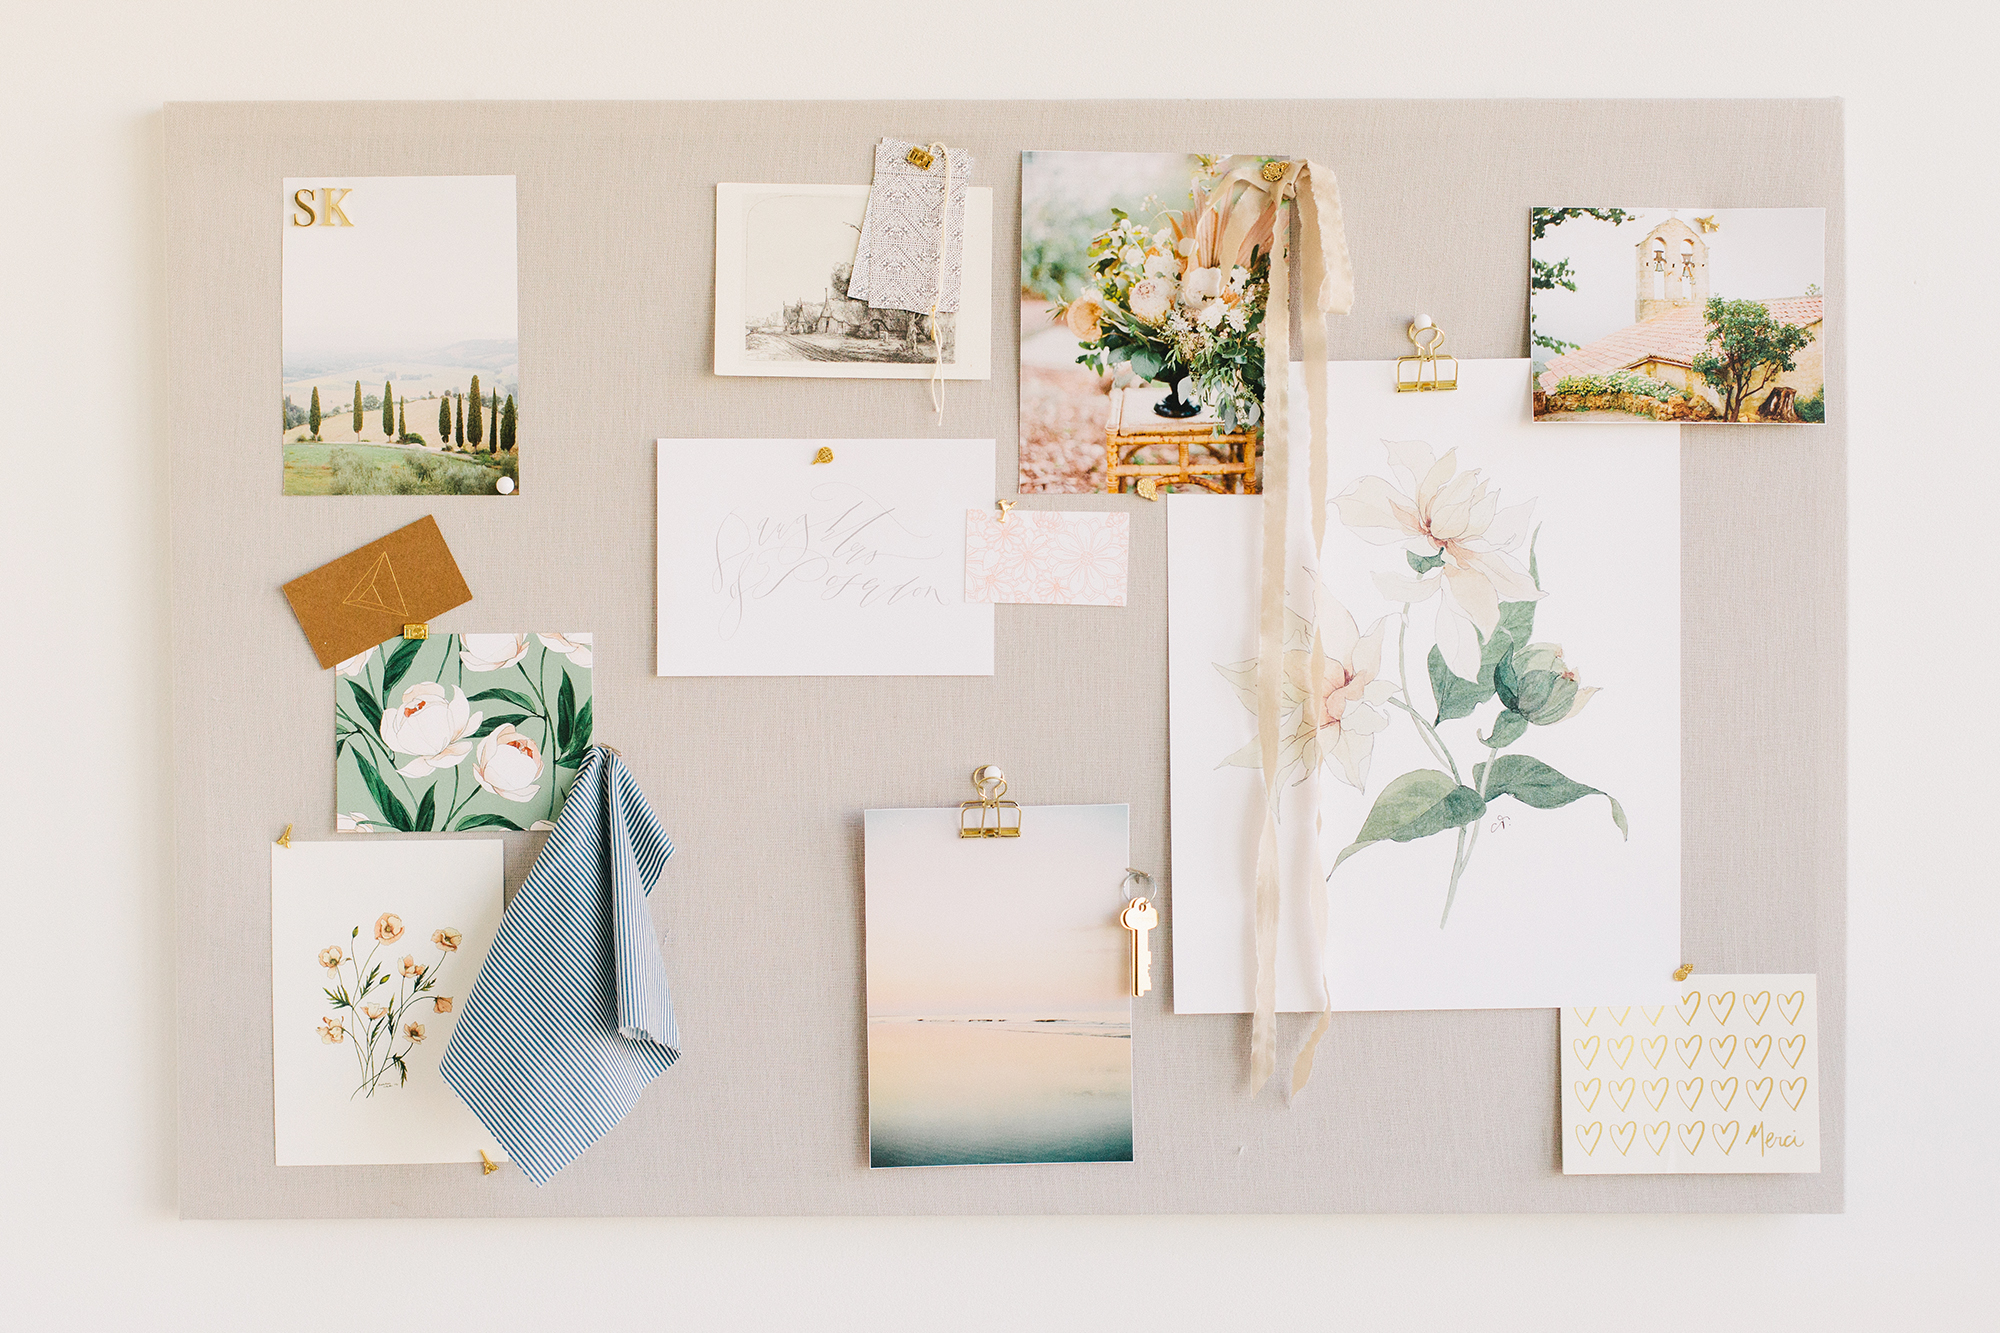
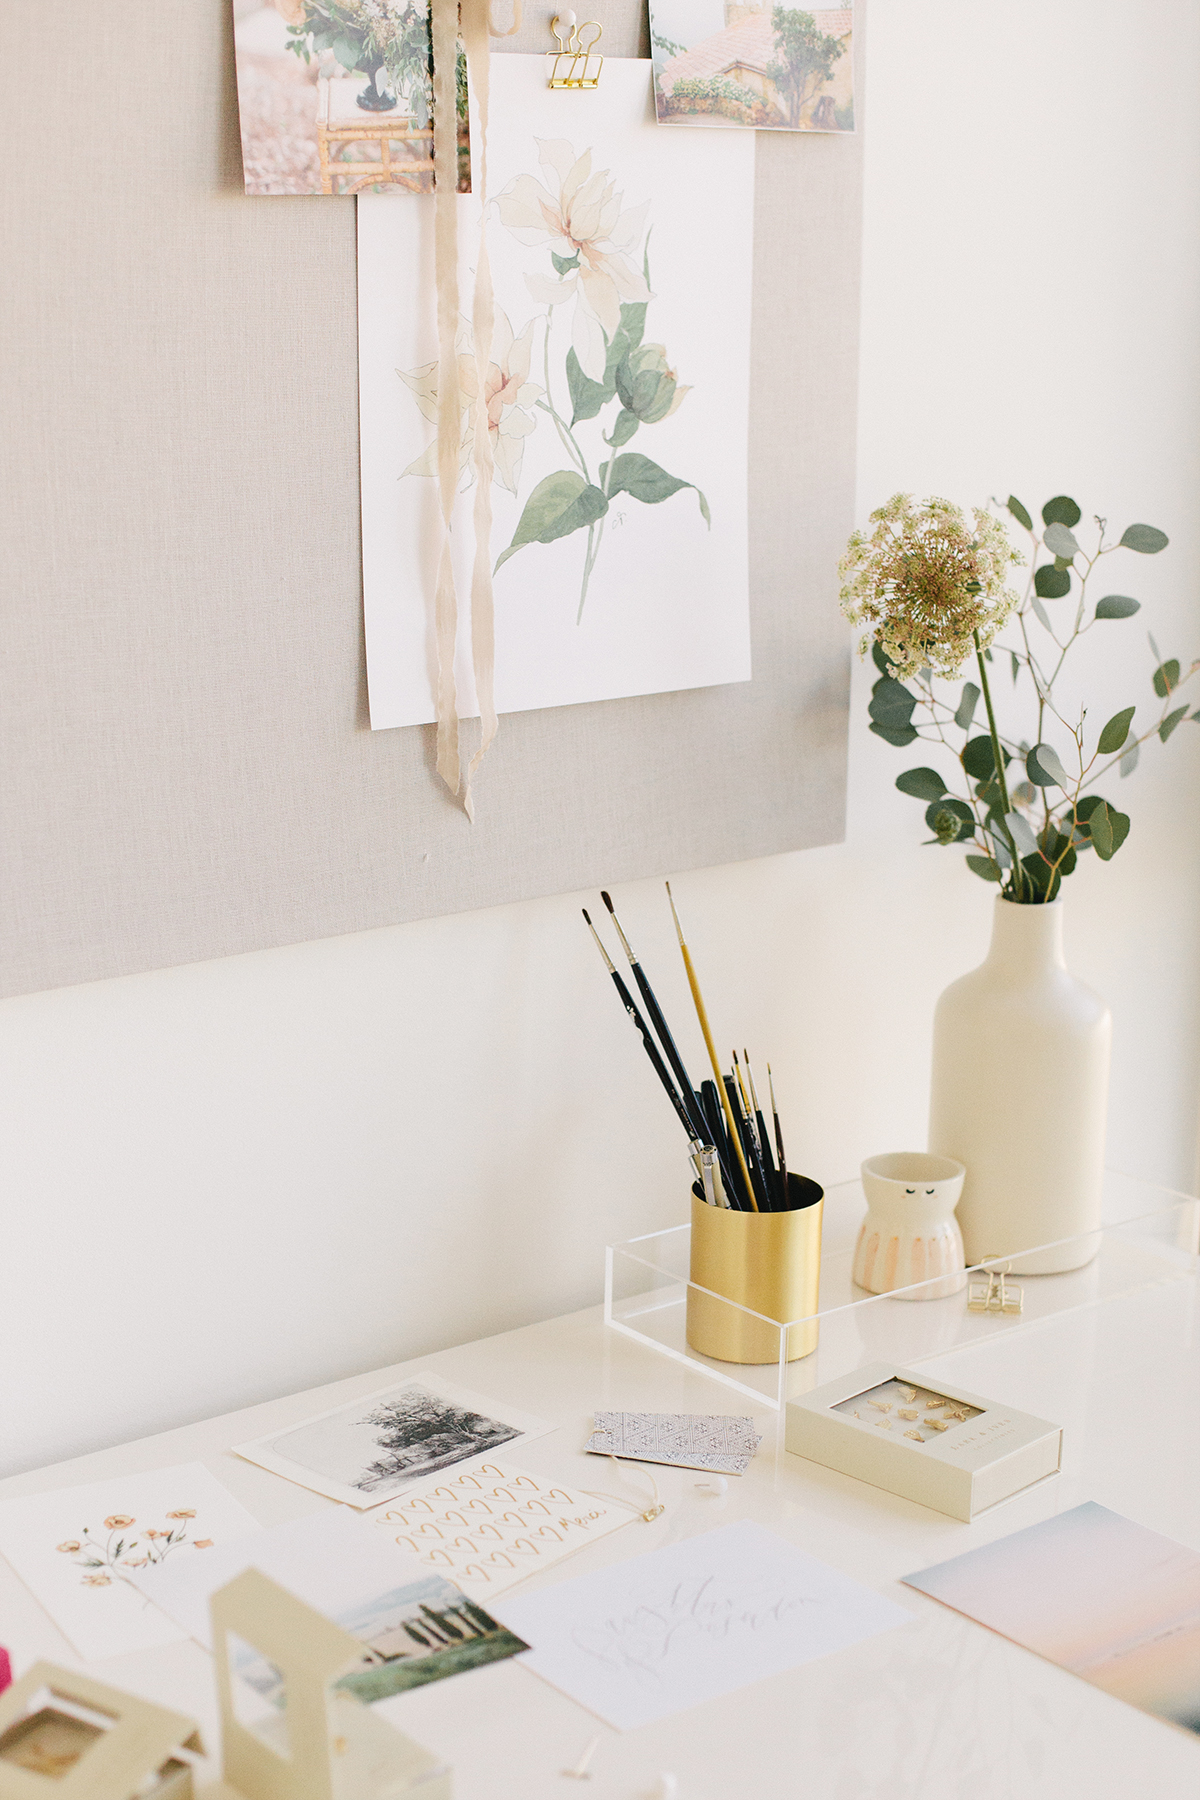
I love the look of a gorgeous pinboard, especially in an office space! I have been seeing all kinds of pinboards popping up at different stores lately and Sarah, our graphic designer, decided to try her hand at making one of her own. It turned out soooooo well! This DIY pinboard is easy to make and relatively inexpensive — she spent less than $40 — and it’s easy to customize it to your tastes by using fabric that suits your space. I love using my pinboard to hold special mementos and beautiful inspiration for future projects.
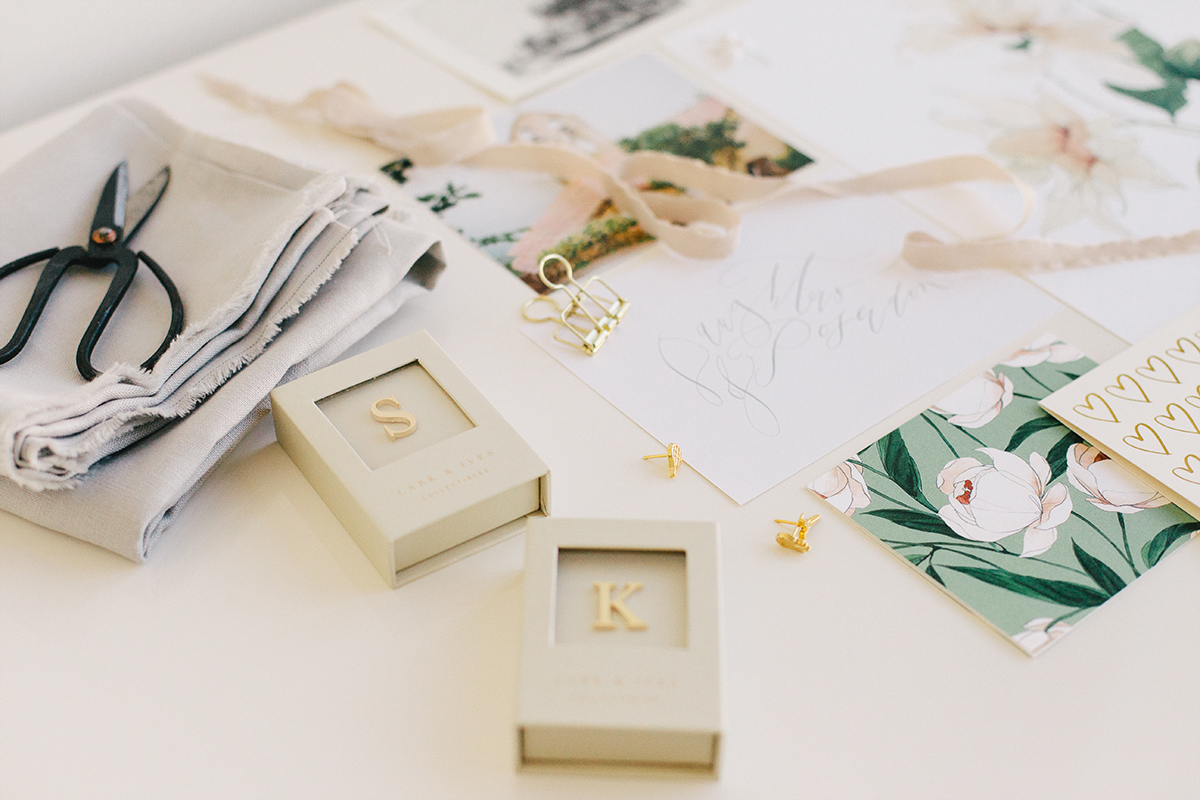
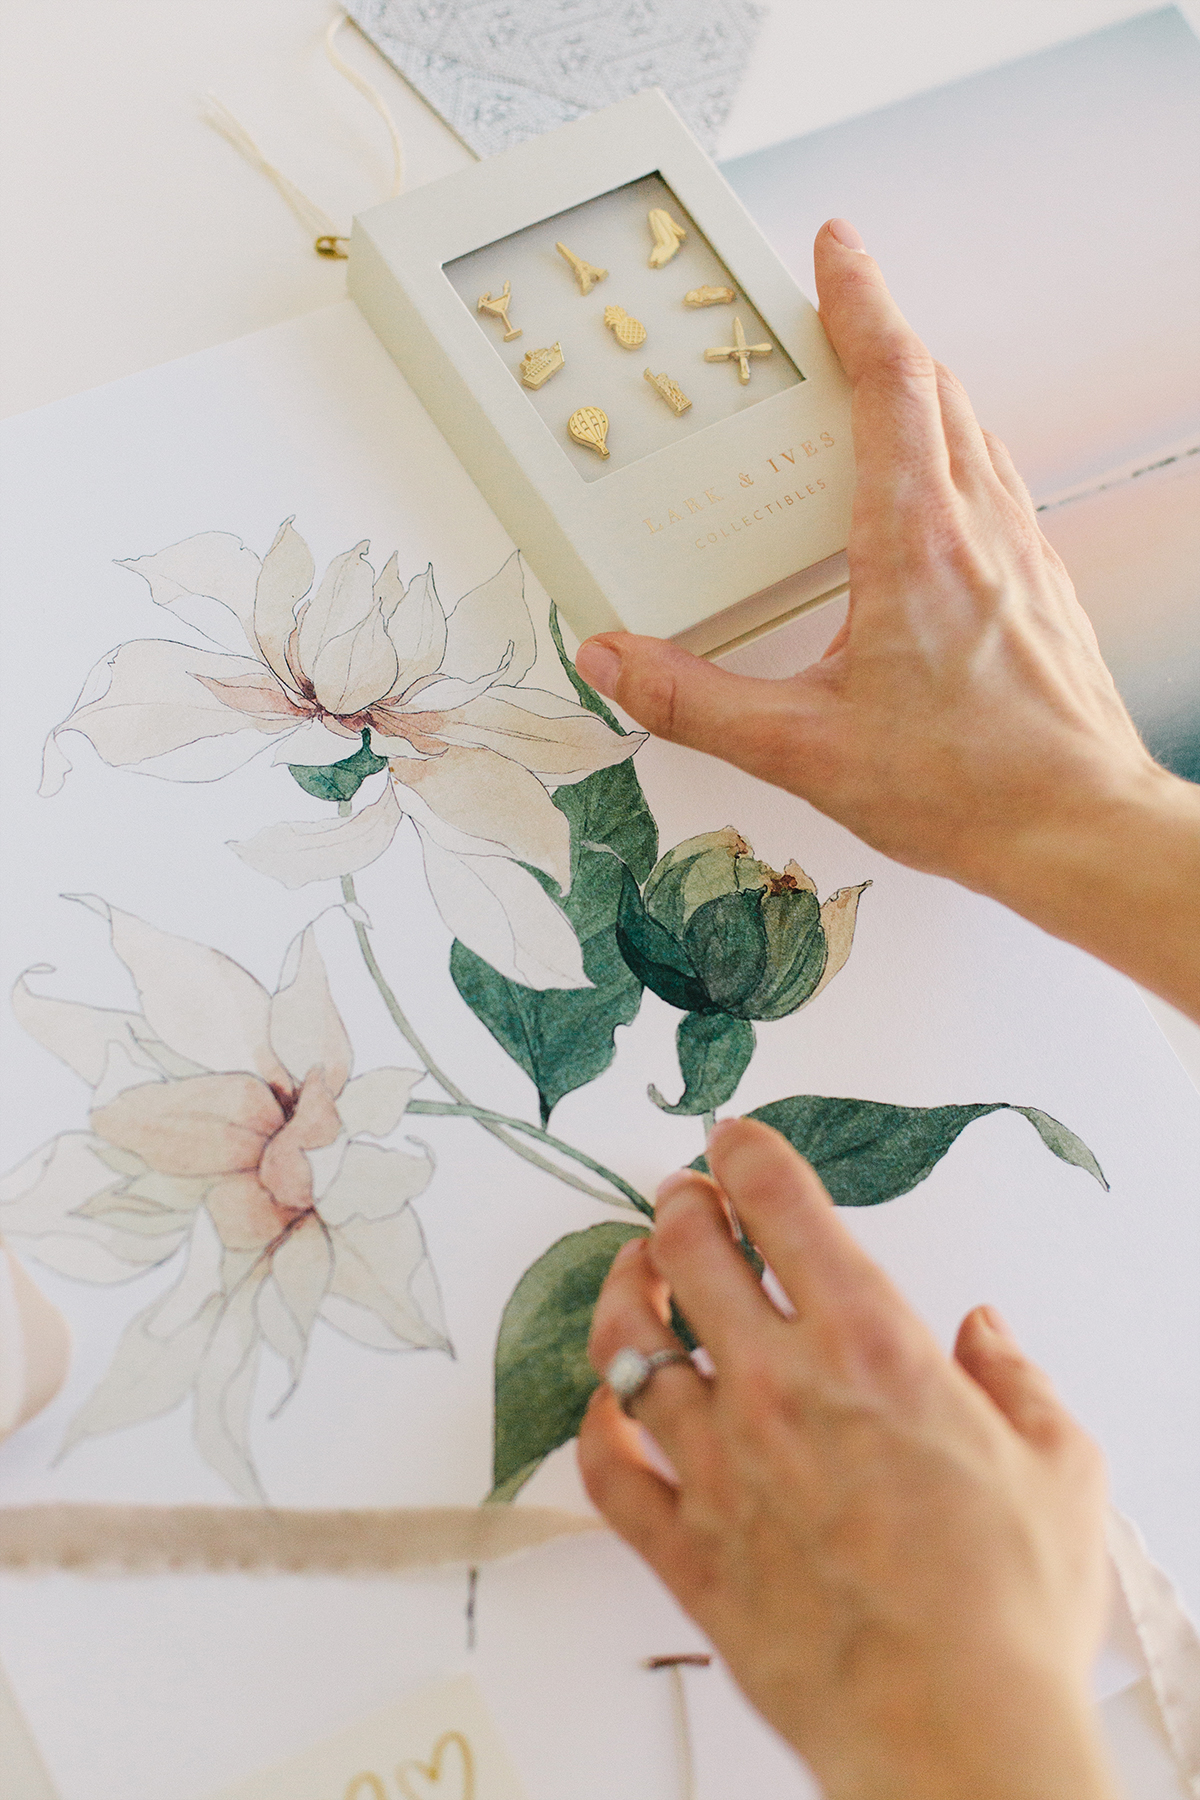
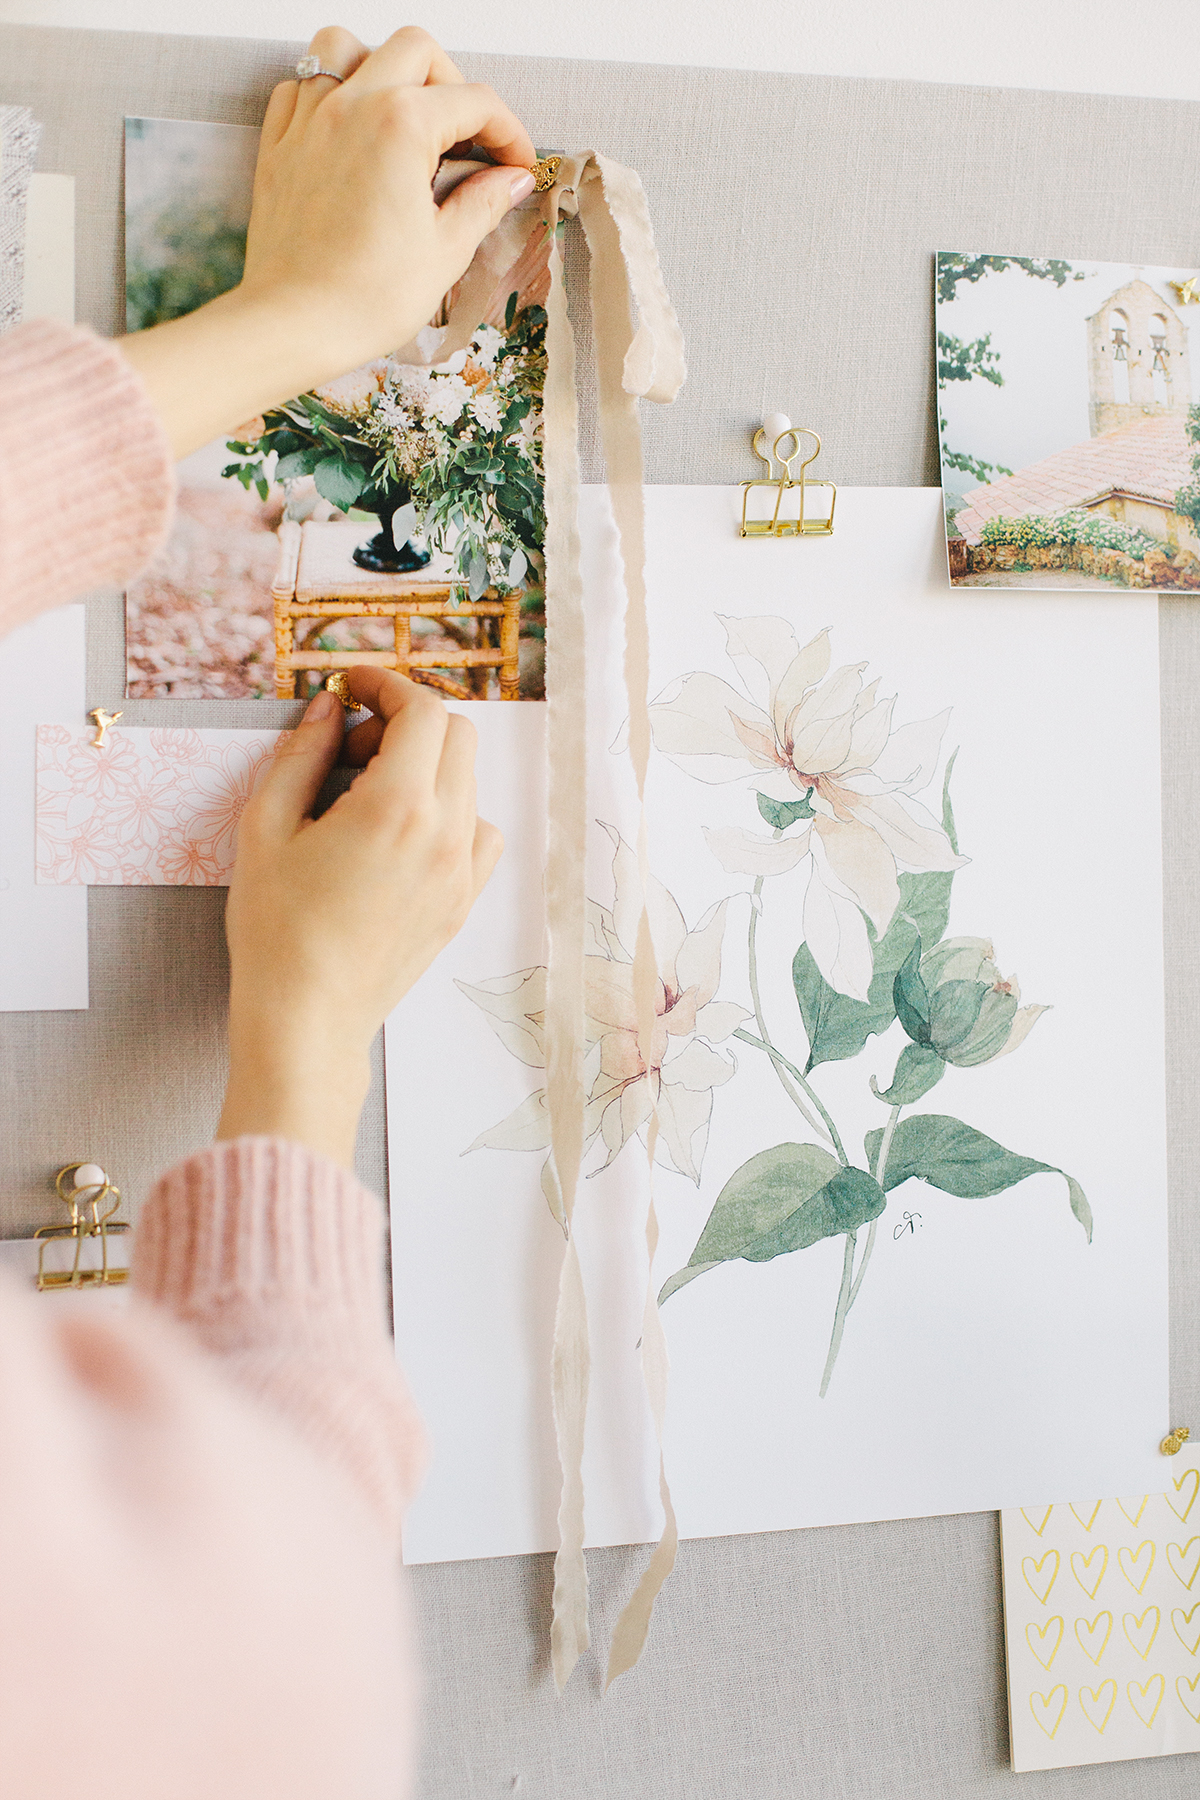
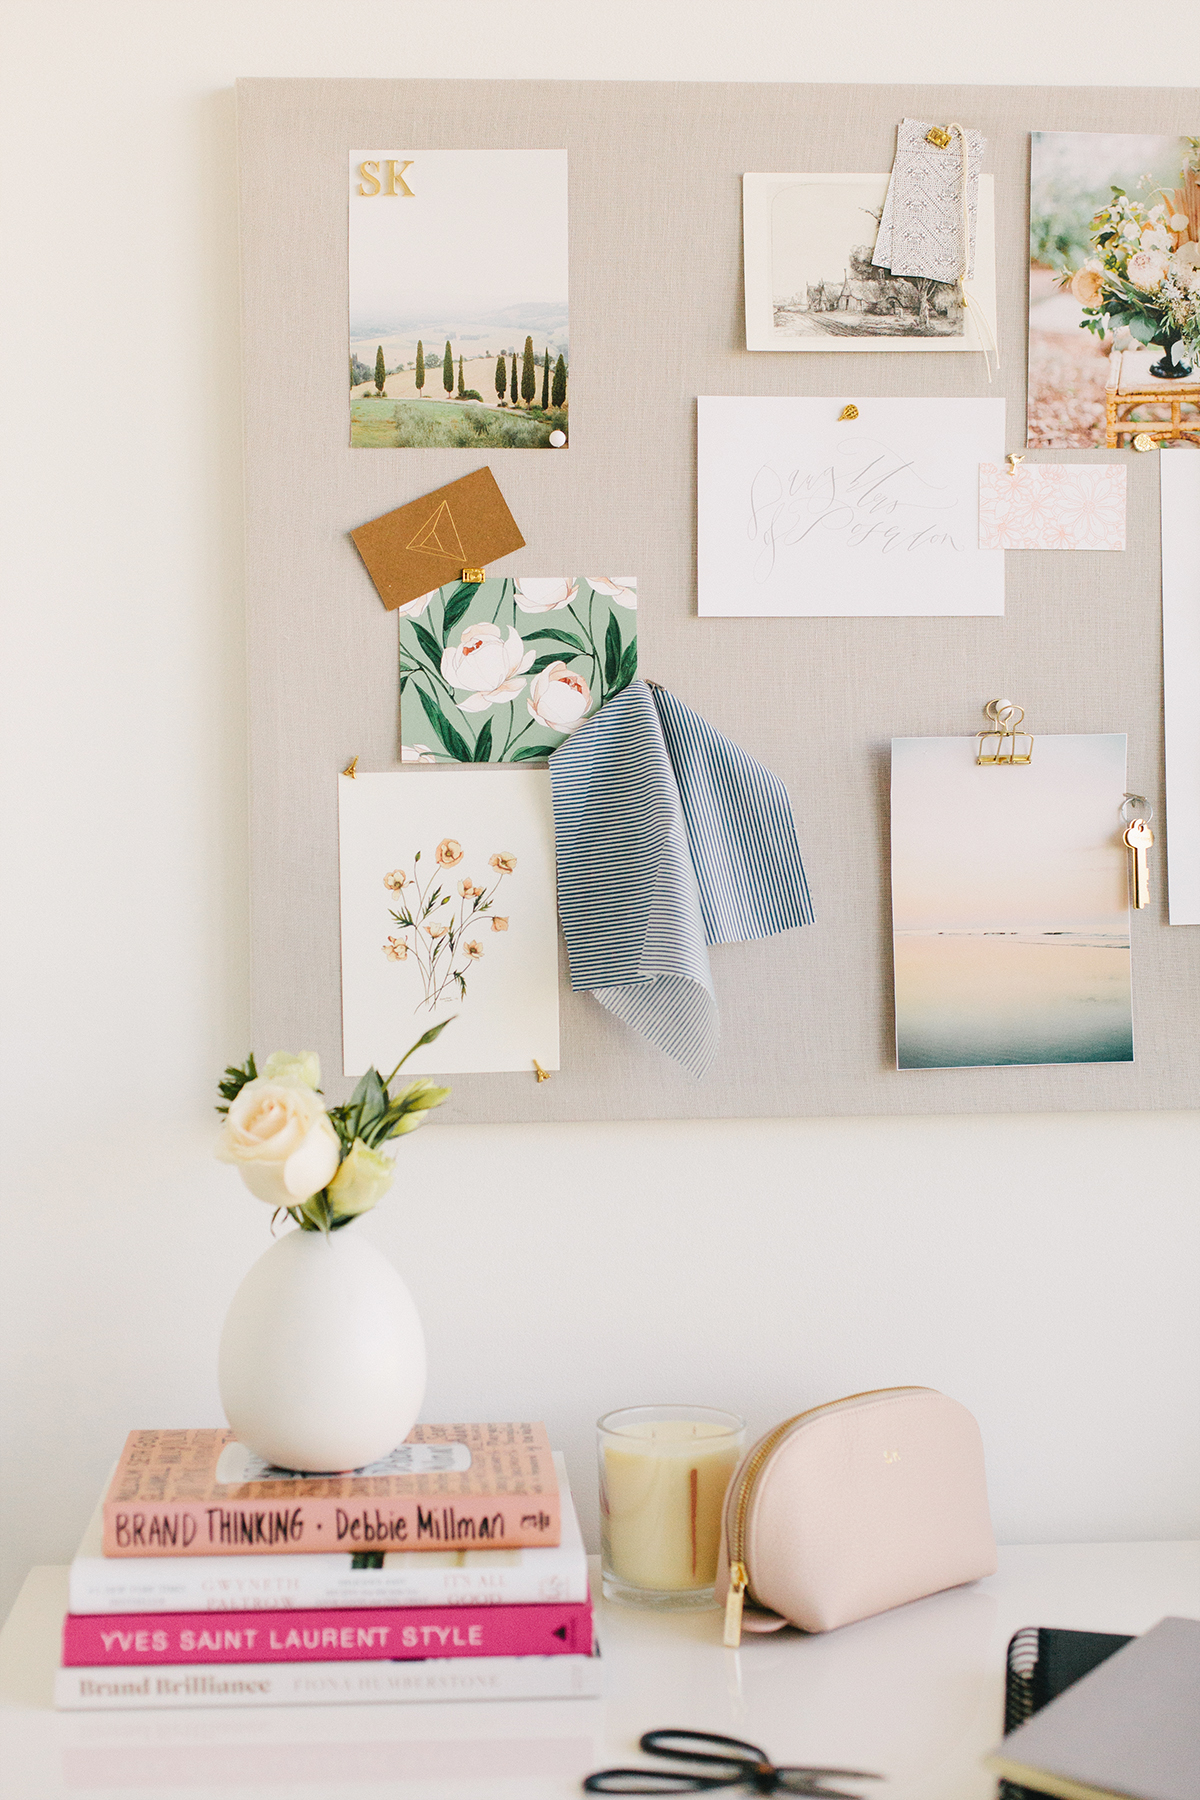
We found the sweetest pins and monogrammed letters from Lark & Ives to add the perfect personalized touch to your own pinboard. I love how they pull the whole look together and are more elegant than regular every day push pins. They are a local company in Vancouver and we absolutely love the products — even down to their packaging!
(And if you don’t feel like pulling together a DIY pinboard, I recommend customizing your own on Minted. Choose your preferred size, style, and fabric and they’ll make it for you!)
Supplies
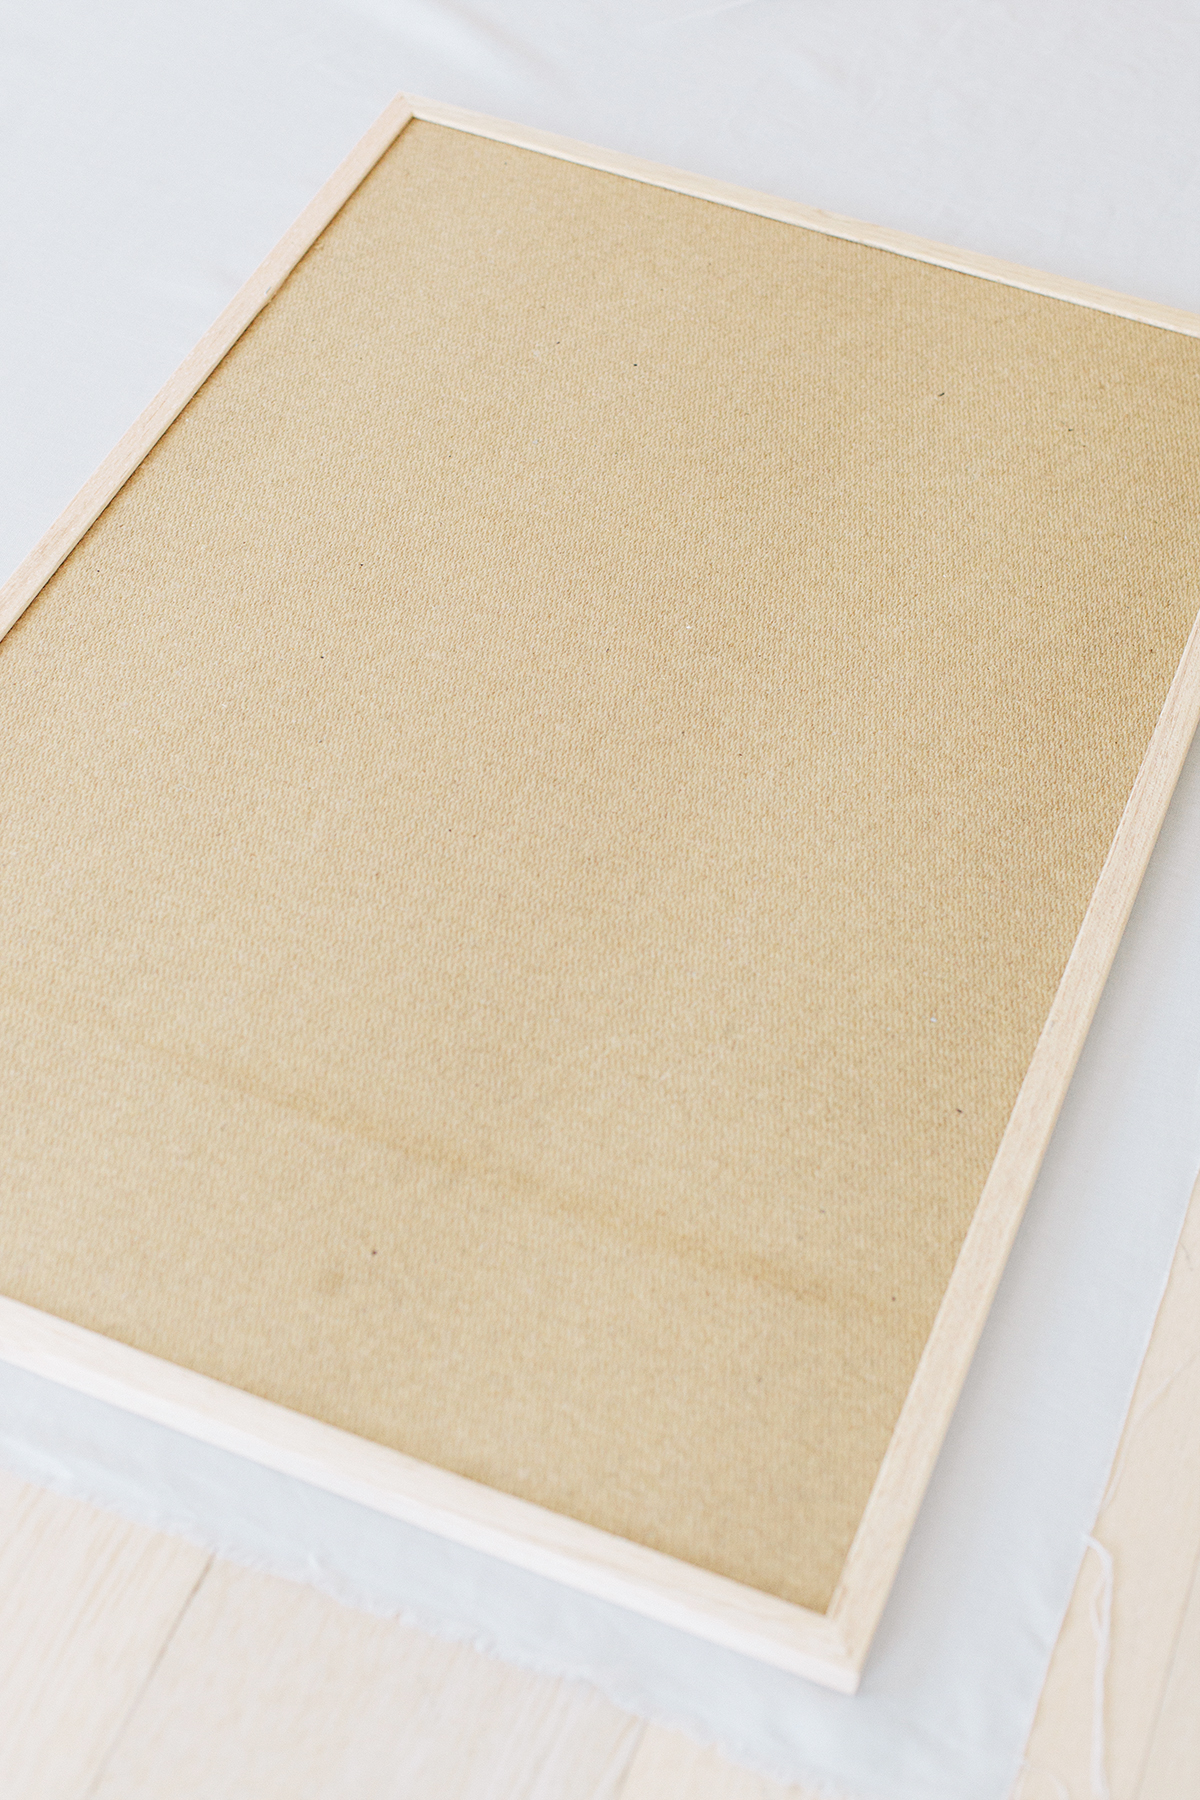
Corkboard (24×36) Hooks included
Linen (one yard)
Staple gun

Step One
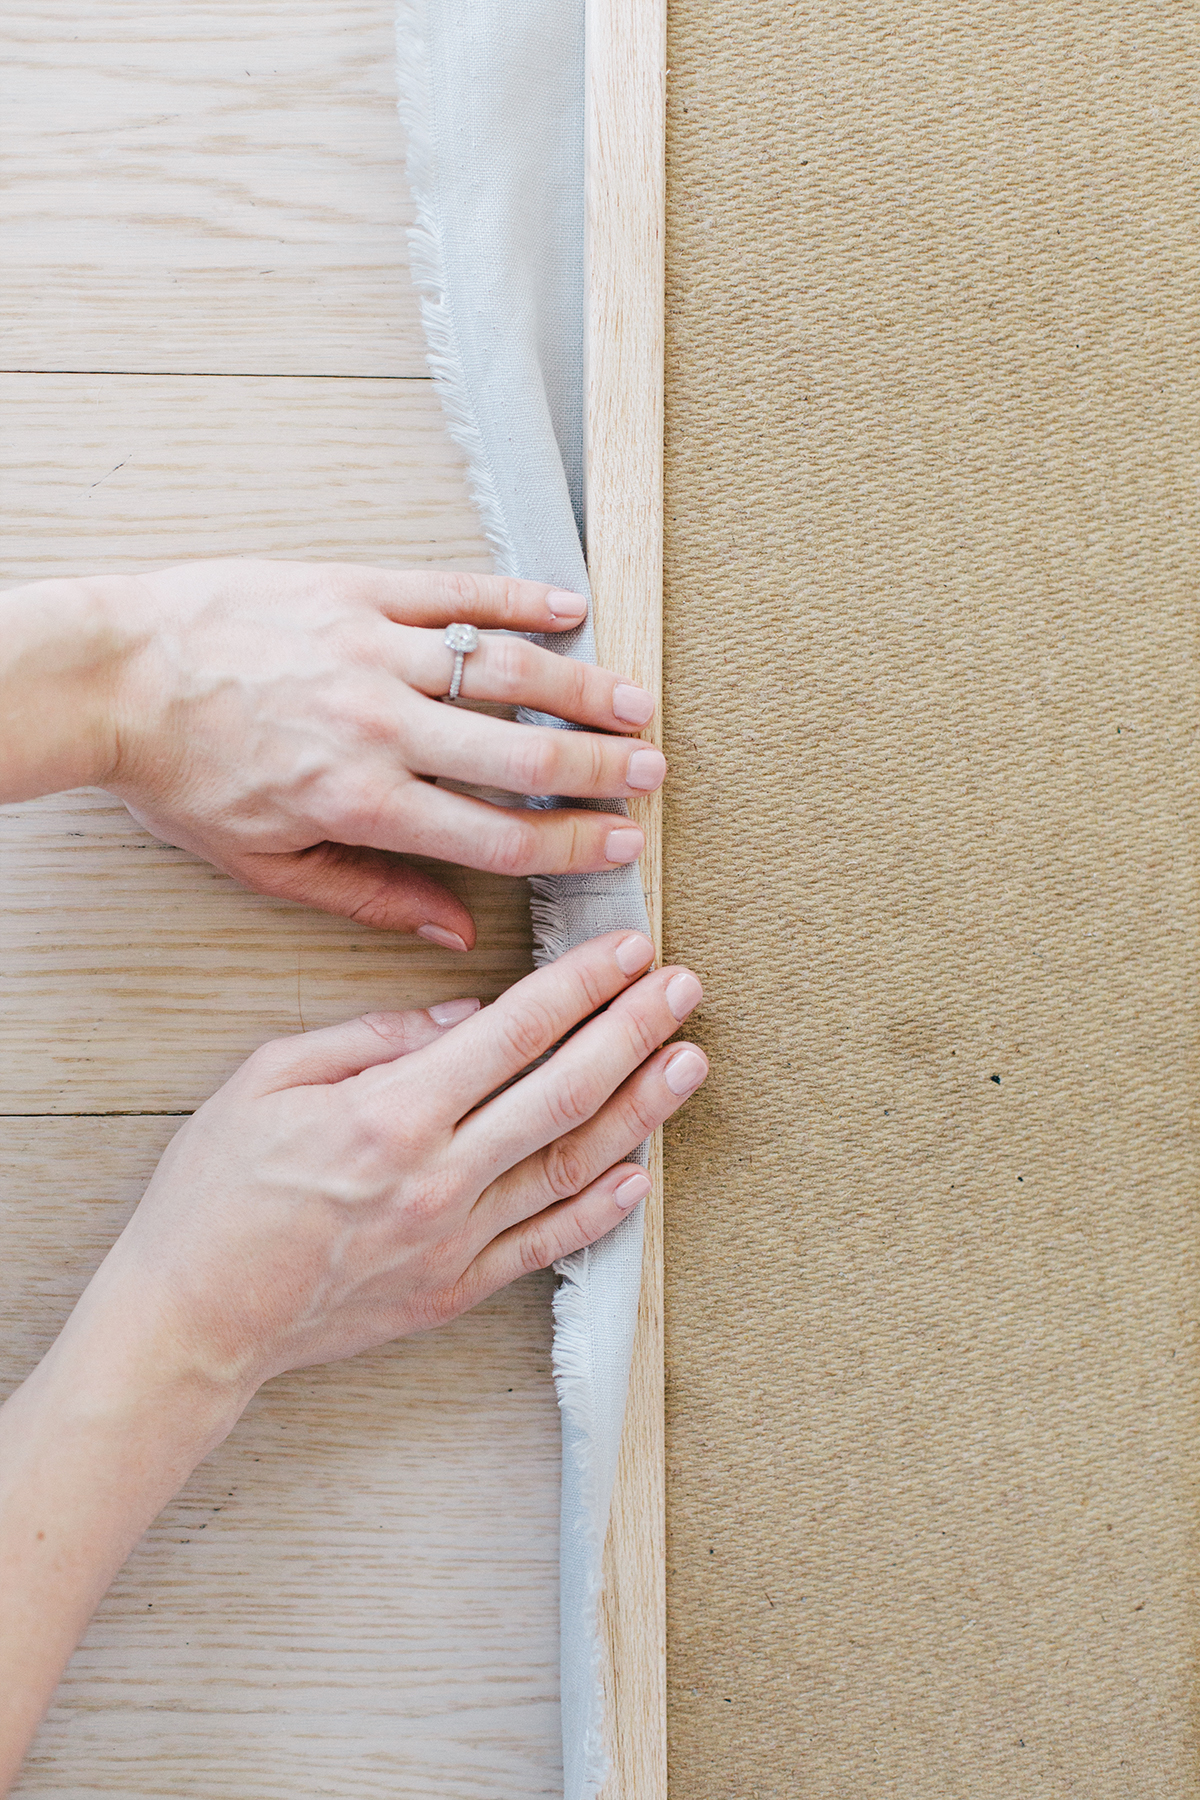
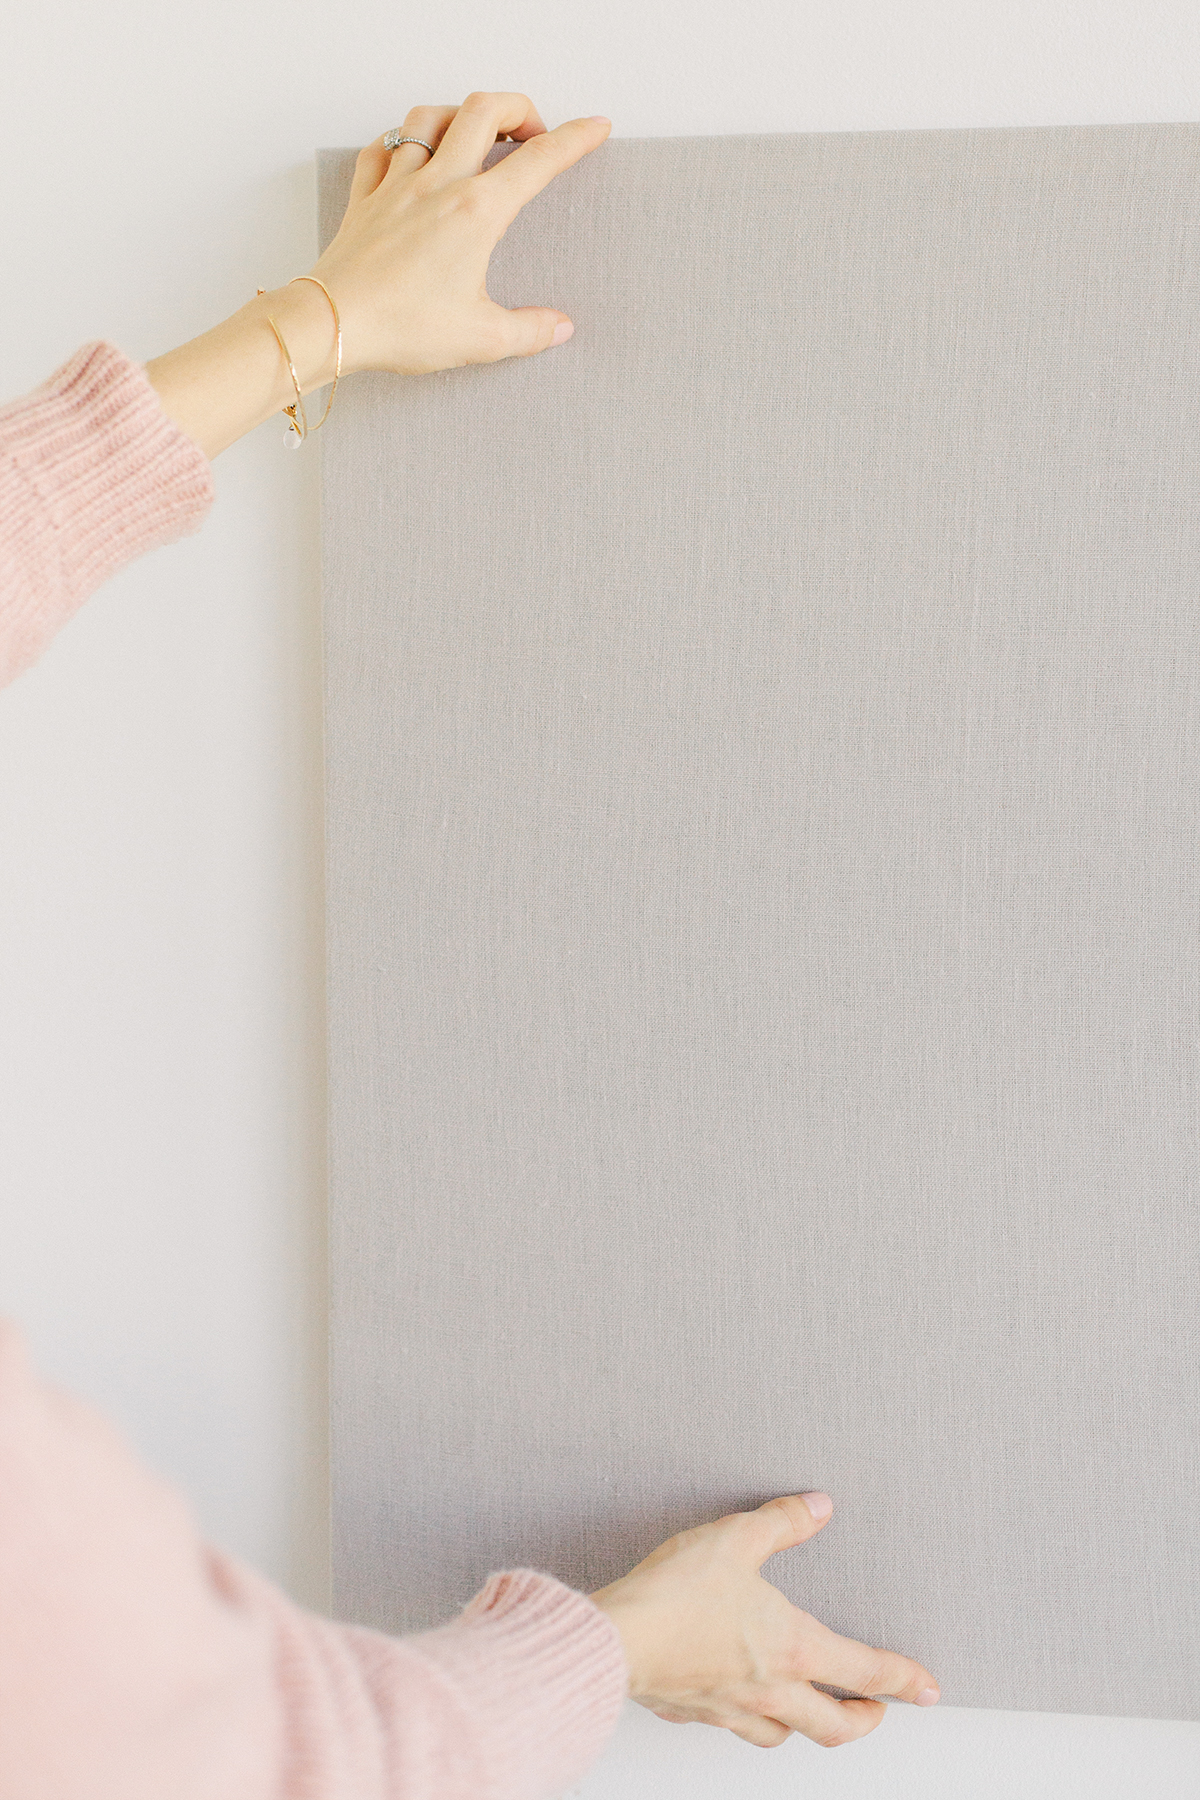
Prepare your fabric. (We used 100% linen for this project. Iron out any creases before you begin!)
Lay the fabric face down on your work surface.
Place frame/cork board face down on top of the fabric.
Measure and mark the halfway points on both the fabric and frame.
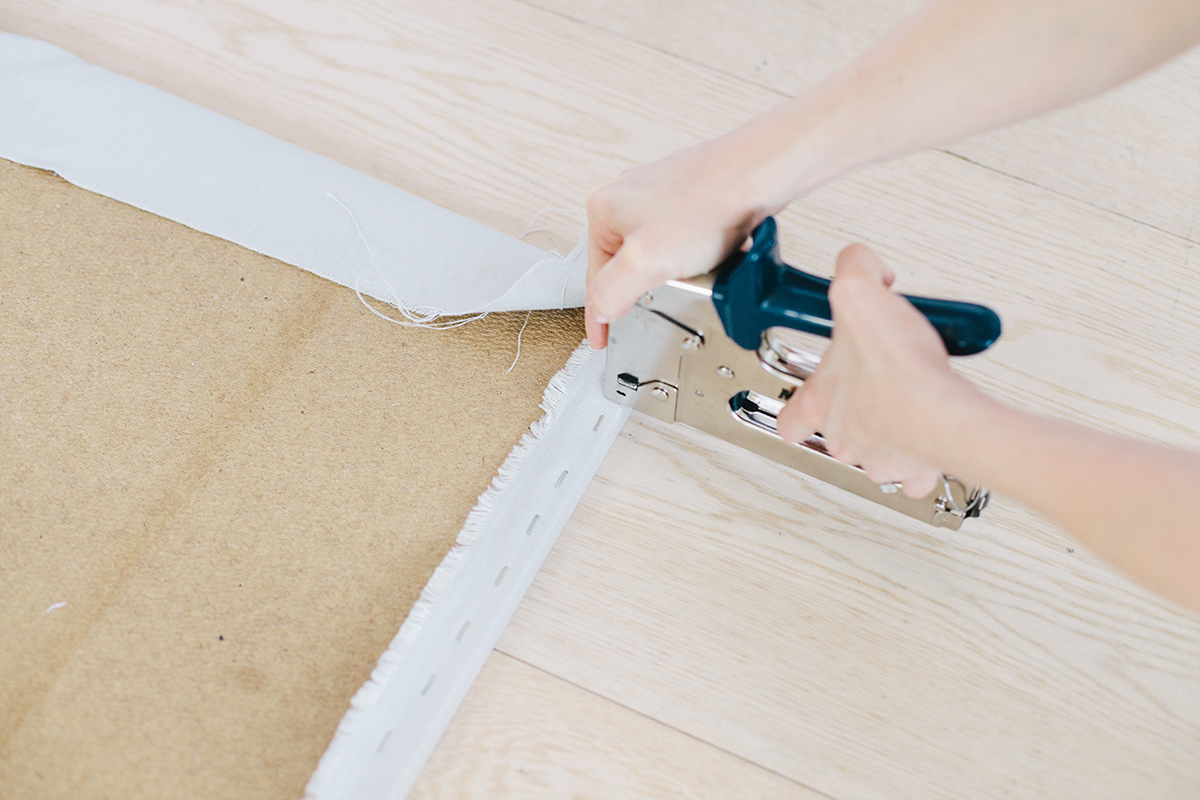
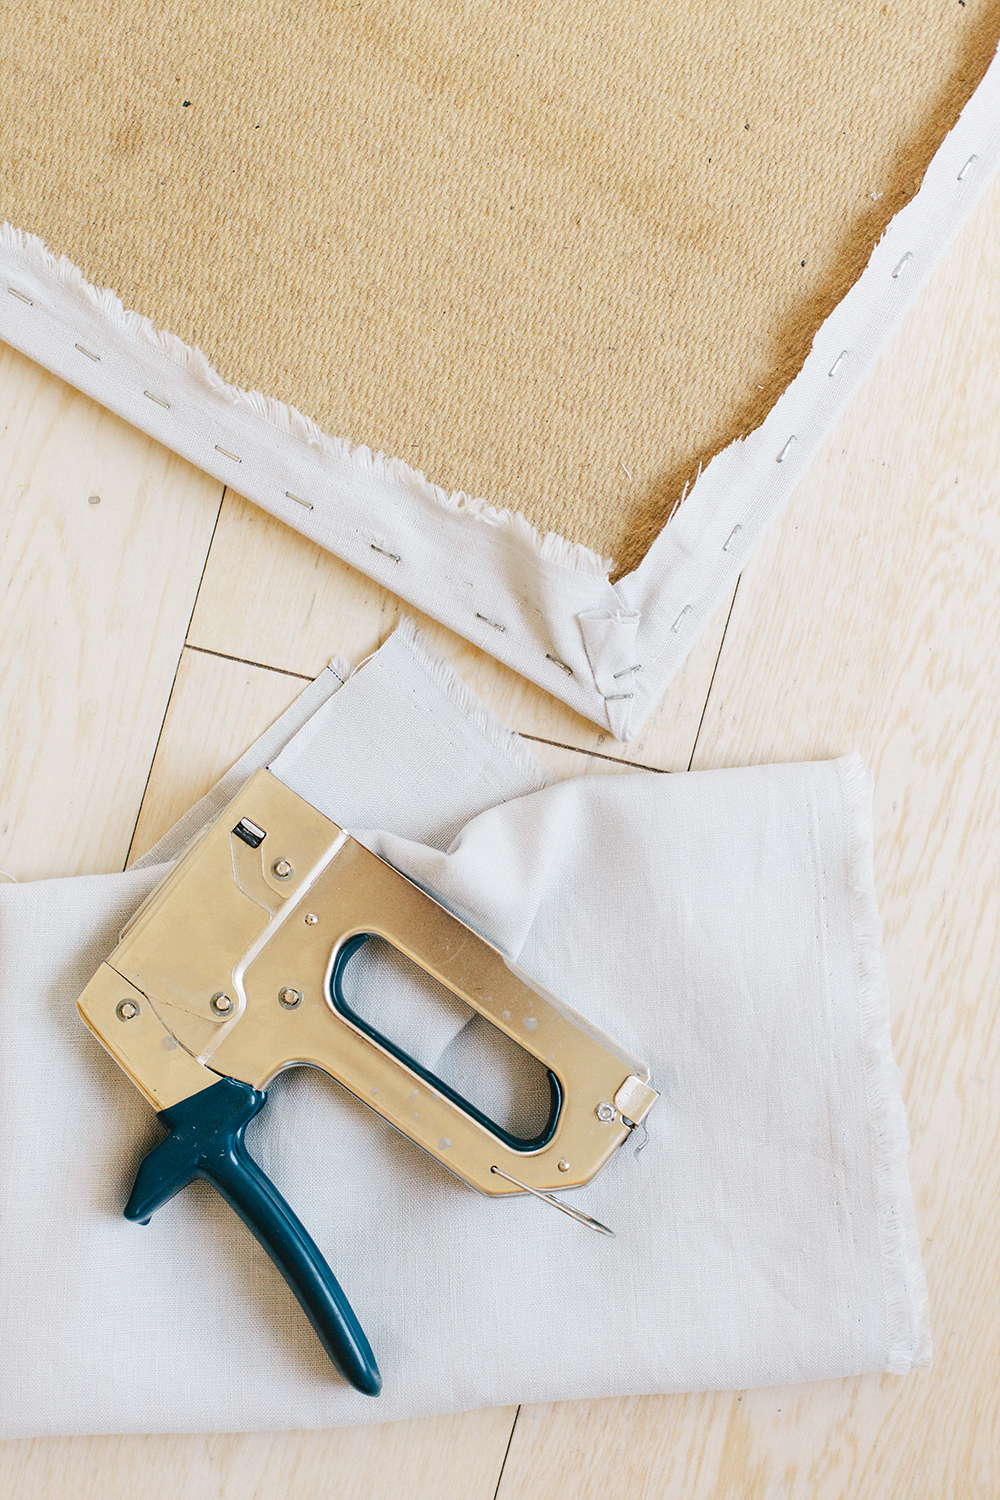
Fold one side of the fabric over the corkboard. Starting in the middle, place three staples.
Fold over opposite side, pull it tight, and place three staples.
Repeat for the remaining sides three and four. (Always pull tight before stapling it.)

Step Two
Starting where the last staple ends, continue to staple the fabric along the edge towards the corner, stopping about two inches from the corner itself. (Keep pulling the fabric tight.)
Working clockwise around the corkboard, staple every other half side as shown. (Pull tight!)
Step Three
Working counter-clockwise and starting from the middle, staple along the edges and stop about 2 inches from the corner. (Remember to pull the fabric tight!)

Step Four
Finish corners by folding the fabric around the corner edges and stapling it down. (See above photos.)
Trim excess fabric.
Nail hooks into the back to hang.
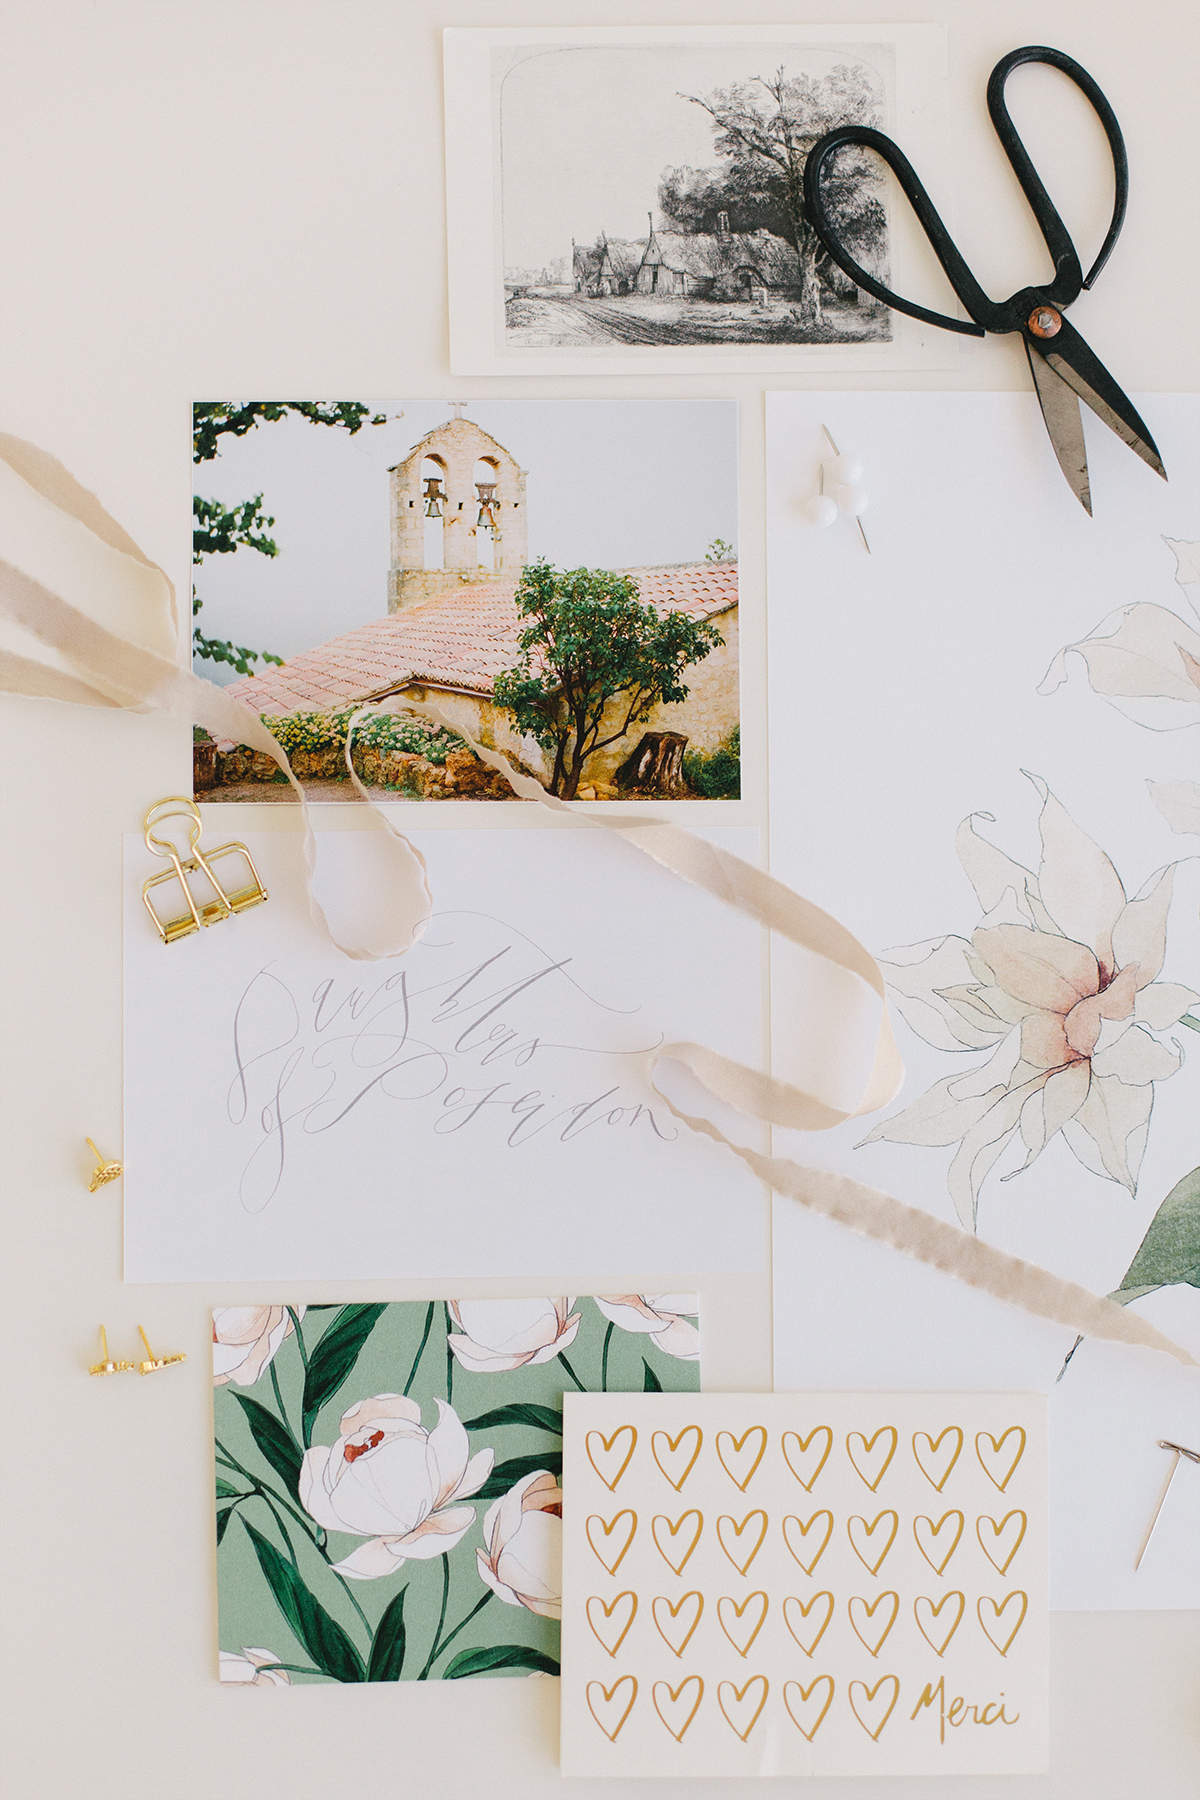
Fill with inspiring images, textiles, etc. Enjoy!
Shop The Post


Love the idea and look forward to making one.
Thanks Elisabeth! We hope you have fun making it!
Love the idea Monika! Where did you get your fabric in Vancouver? Would love to know!
I want to make these for my office studio
Hi Liza,
We are so excited for you to make this!
We purchased the linen at Fabricana, they have a variety there to choose from.