Home Made Ice-cream

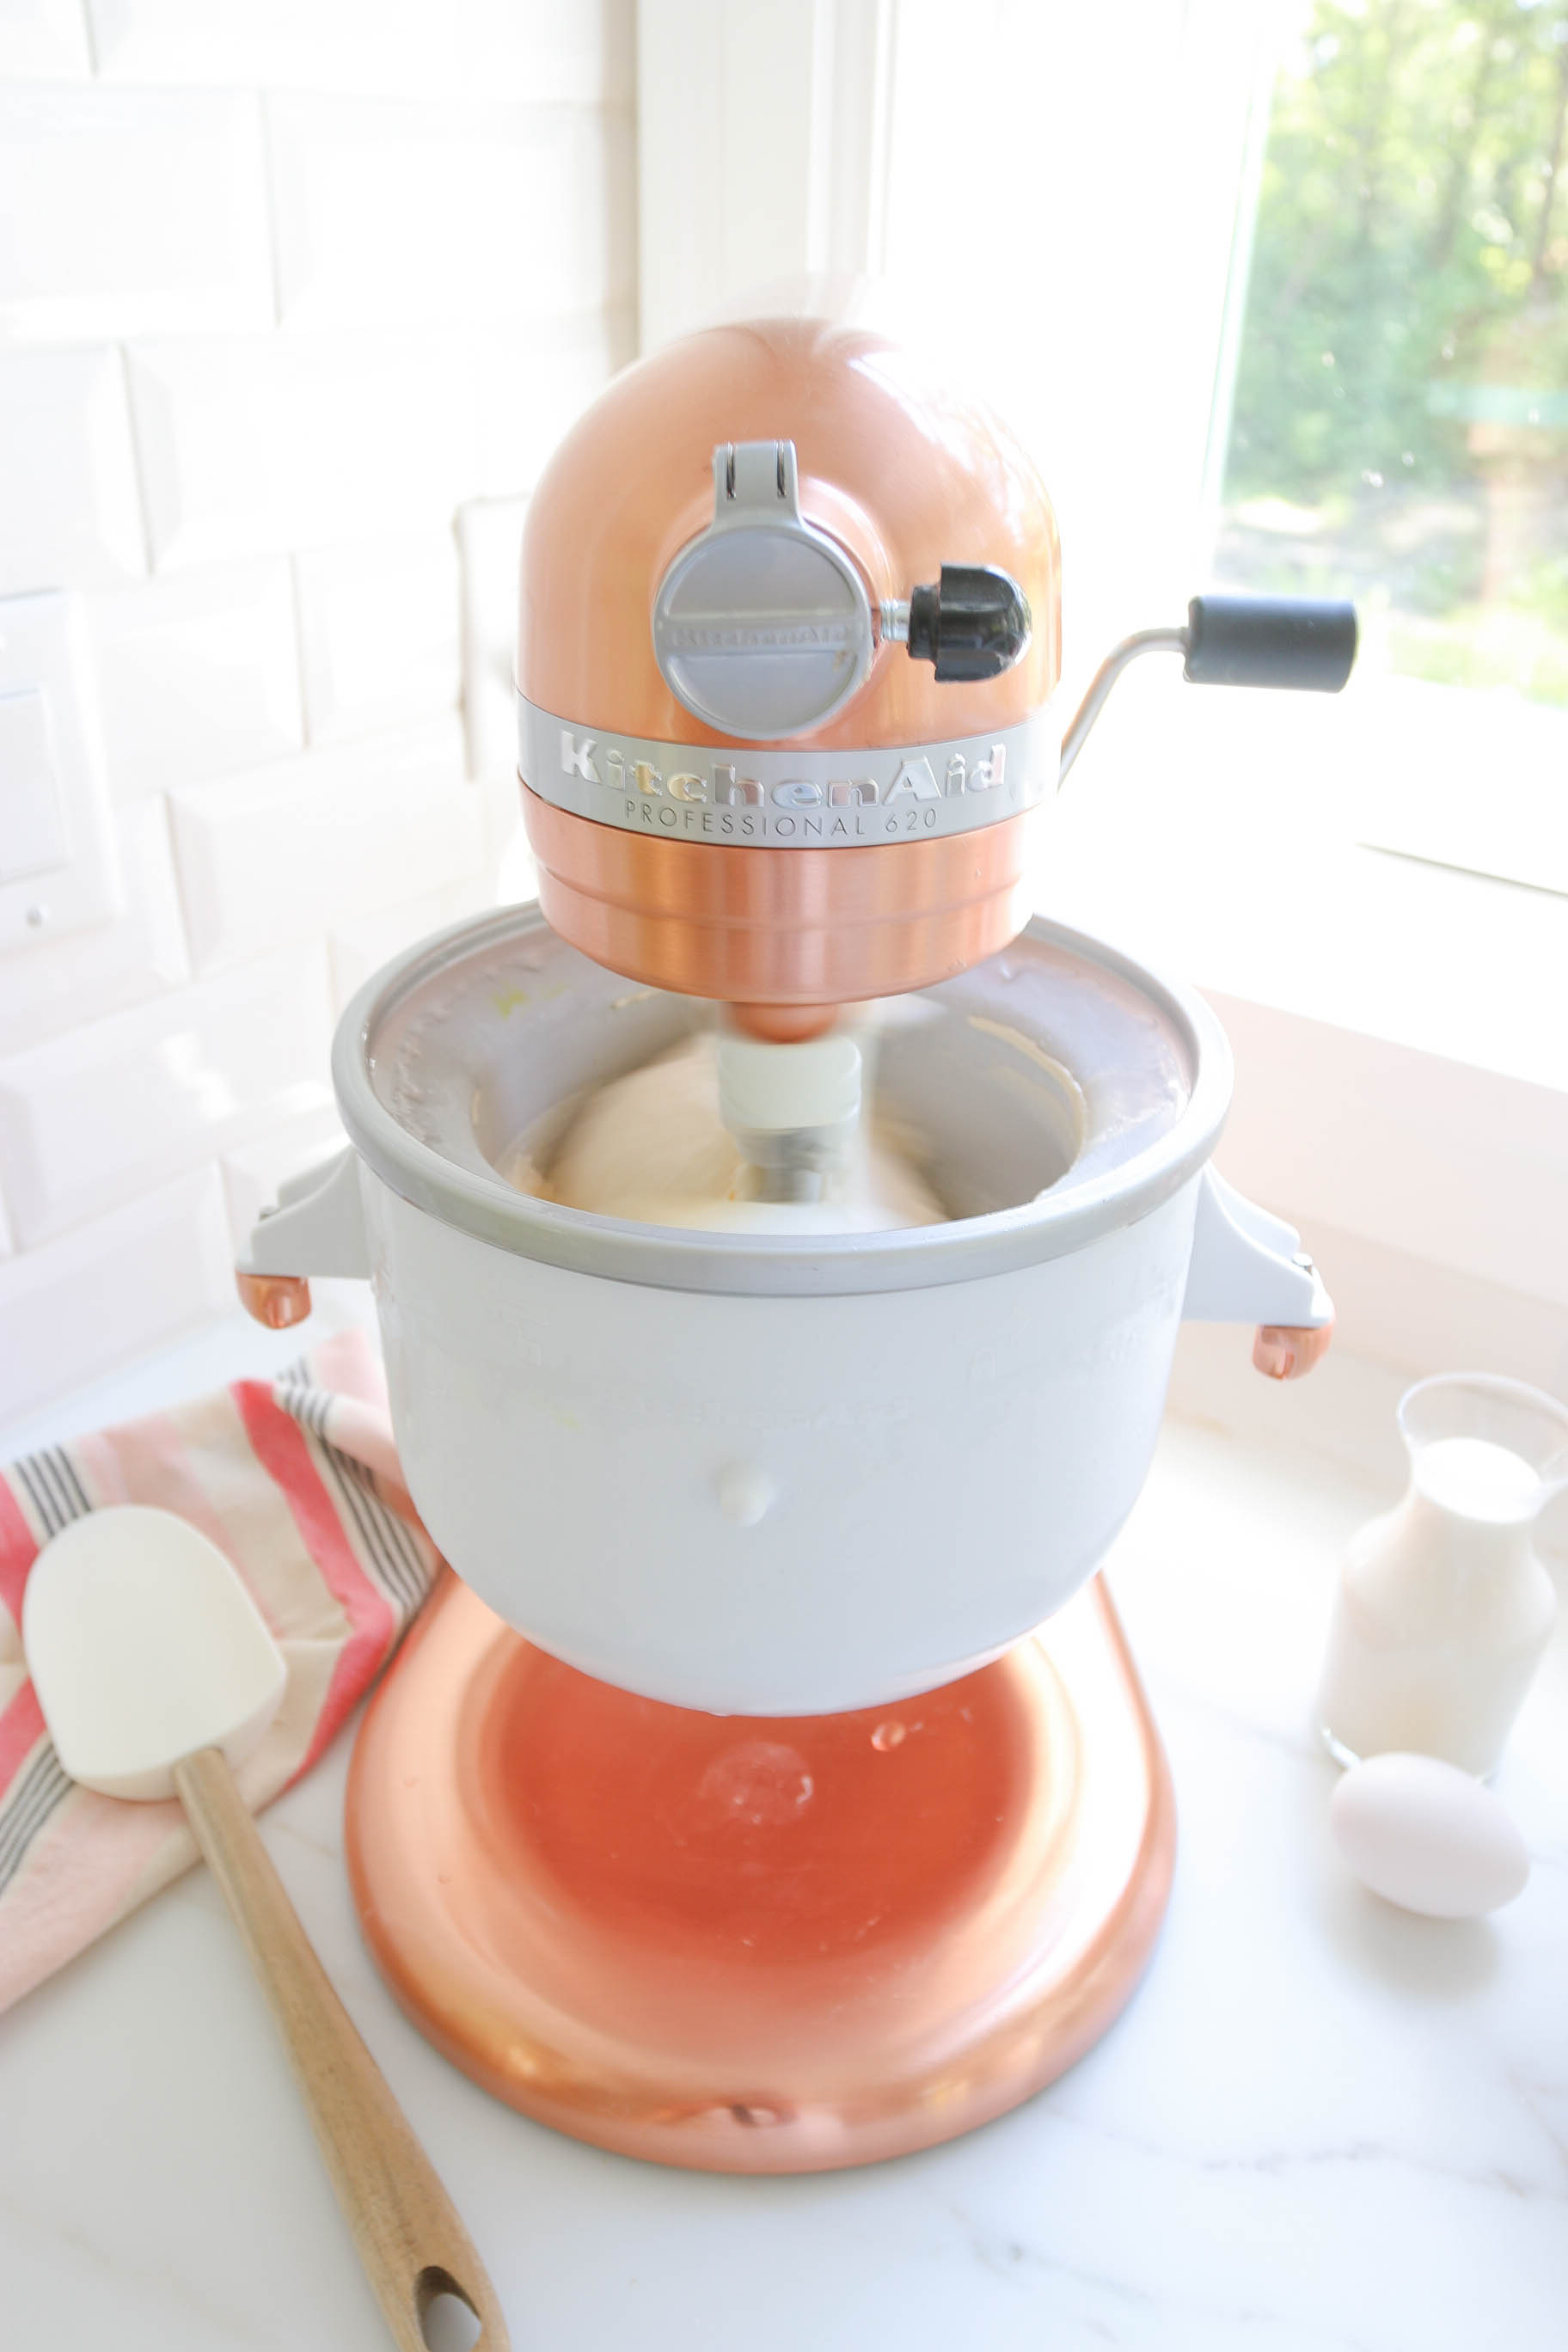


Happy Weekend everyone! I’m so excited to share a super easy home made ice-cream recipe for you to try! It’s National Ice Cream Day on Sunday so why not try to make your own, possibly for the first time? It’s honestly not as intimidating as it looks. I actually was surprised how easy the whole ice-cream making process is! The ice-cream flavour we chose is one of my all time favourites… Mint chocolate chip (YUM!). If you don’t have an ice-cream machine but do own a KitchenAid mixer, you’ll be thrilled to know they also have an ice-cream making bowl attachment! Just place the bowl in the freezer over night, and attach it to your machine when you are ready to use! 20 minutes later you have some delicious frozen goodness! If you’re looking for an stand alone ice-cream maker I’ve read great reviews on this one too.
Mint Chocolate Chip Ice Cream
Portions: 1.5 liters churned
Preparation time: 25 minutes
In active time 1 day (optional)
Cooking time 5 minutes
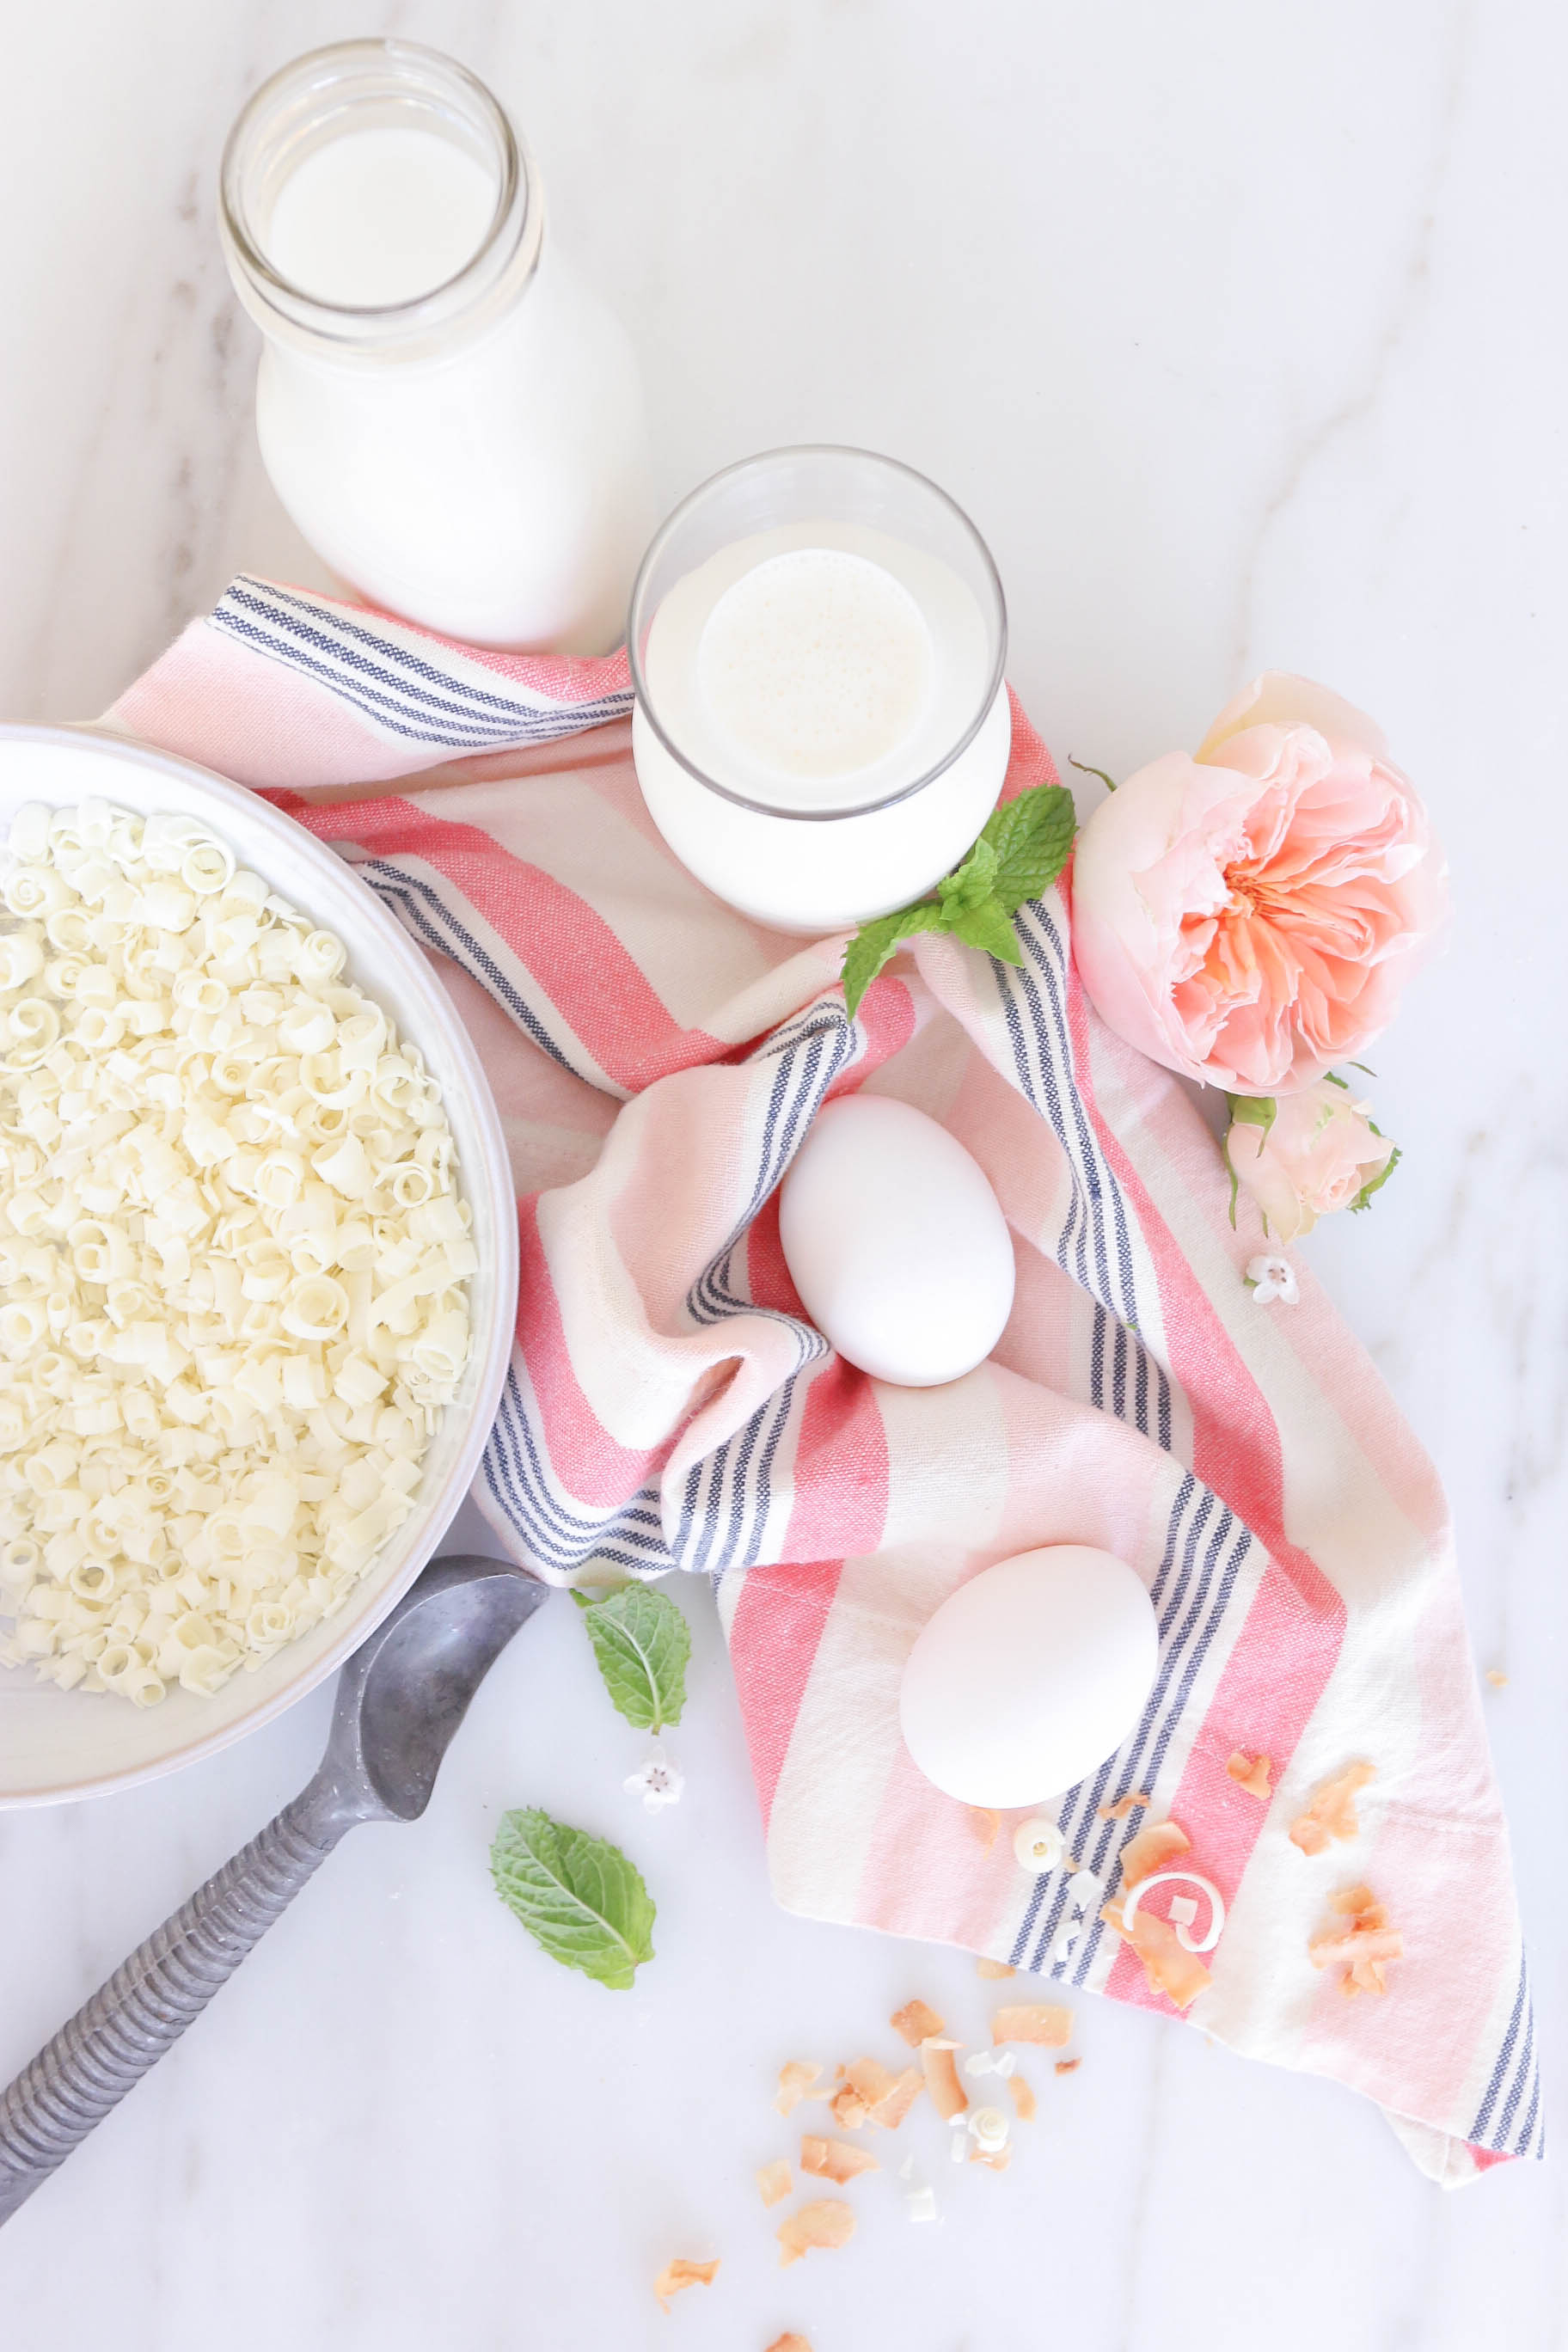
Ingredients
Ice Cream Base
1 3/4 Cups of whole milk
1 1/4 cup of whipping cream (35%)
4 large egg yolks
1/2 cup + 1 Tbsp Sugar
3 Tbsp. of non fat milk powder
Pinch of salt
3/4 tsp. of mint extract
1 vanilla bean or 1 tsp. vanilla extract
Green food coloring (optional)
1/4 – 1/2 cup chip finely chopped dark and white chocolate
Step 1. Separate your egg yolks from the whites and place in a medium bowl.
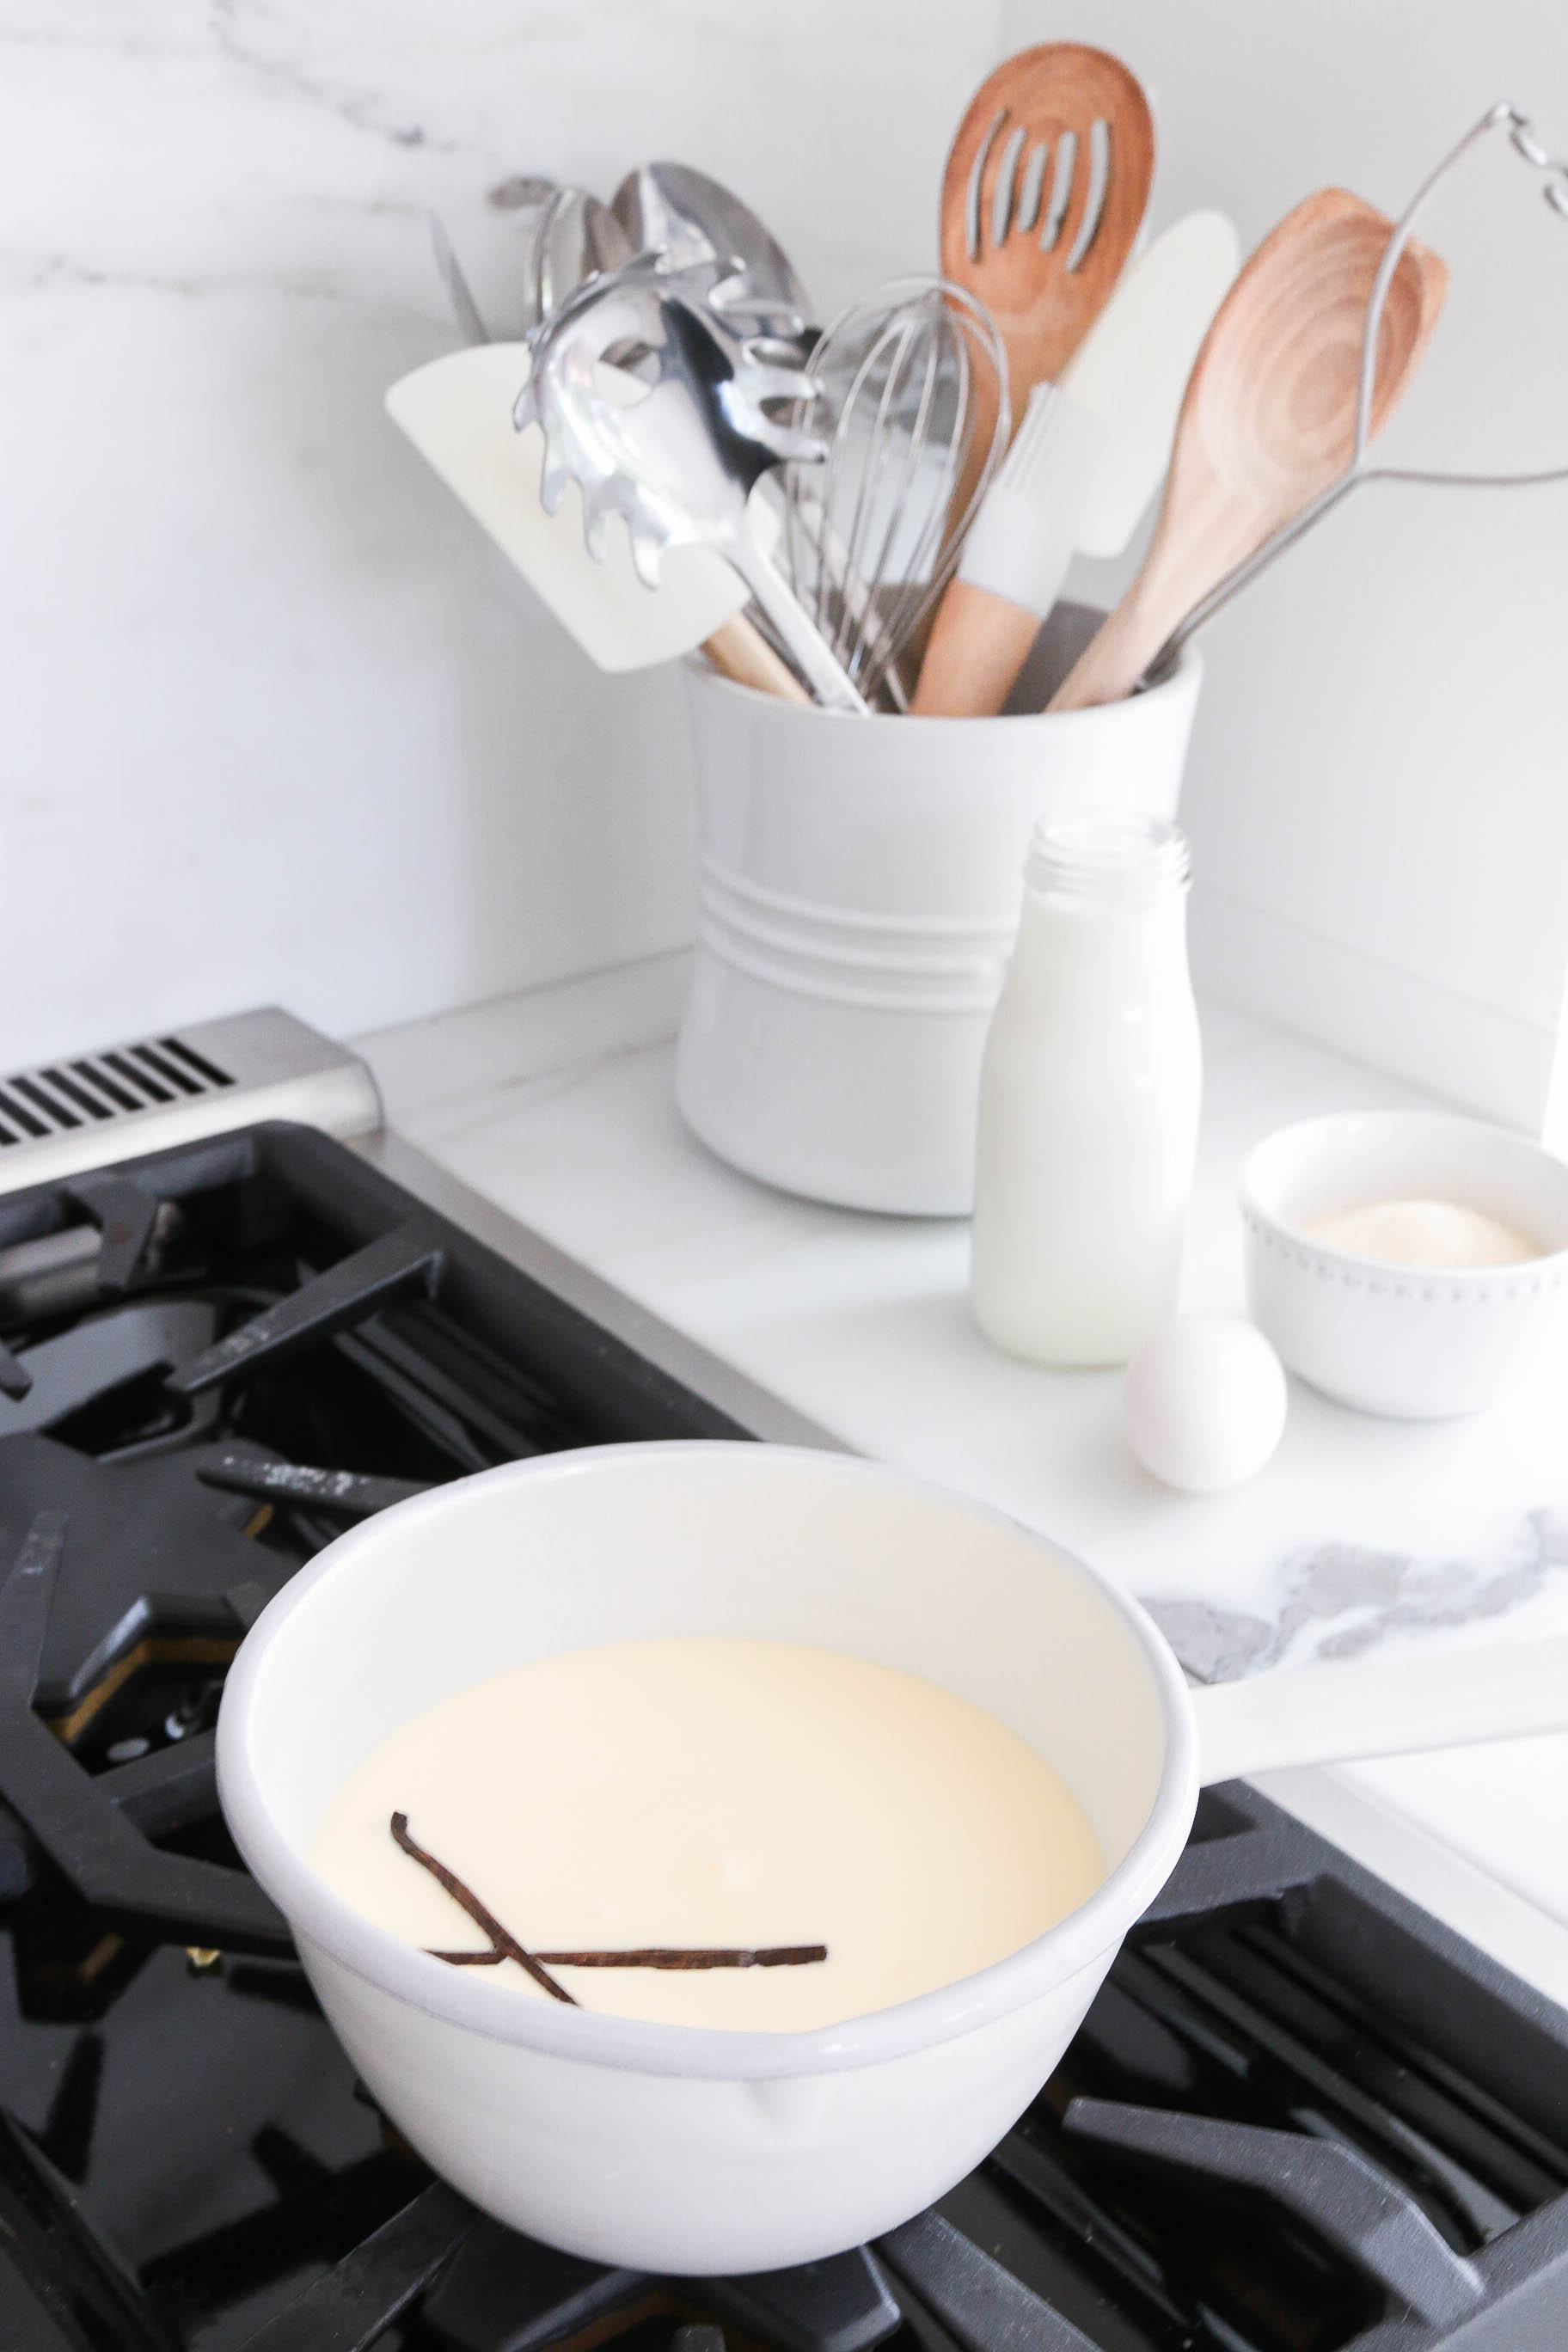
Step 2: In a medium pot place the milk, vanilla bean, and 1 tbsp of sugar
Step 3. In the bowl with the egg yolks place the reaming 1/2 cup sugar with the pinch of salt and the milk powder add a splash of the cream and whisk.
Step 4. Once the milk is hot but not boiling, slowly stream the milk over the egg yolk mixture and continue to whisk. Do this slowly so that you temper the egg yolks and they don’t curdle!
Step 5. Place the mixture back in the pot and on a medium heat keep stirring constantly until the mixture starts to thicken and coat the back of the spoon. Get a bowl and fill the bottom with ice. Place another bowl over top of it.
Step 6. Strain the mixture into the bowl on the ice bath and add the cream, whisk and add the mint extract!
Step 7. Let cool and place in a container in the fridge and allow to mature overnight. (This is an extra step, you can always churn once it’s cold!)
Step 8. Don’t forget to place your ice cream maker bowl in the freezer now it usually needs to freeze for a minimum 24 hours. I try and keep mine in there all the summer months for impromptu ice cream making!
Step 9. The next day place the container you would like to store the ice cream in in the freezer for an hour before you churn the ice cream, this will ensure the ice cream is going into a cold container and avoid any melting especially in the hot summer months. This is obviously and extra step and not needed if in a rush or forget.
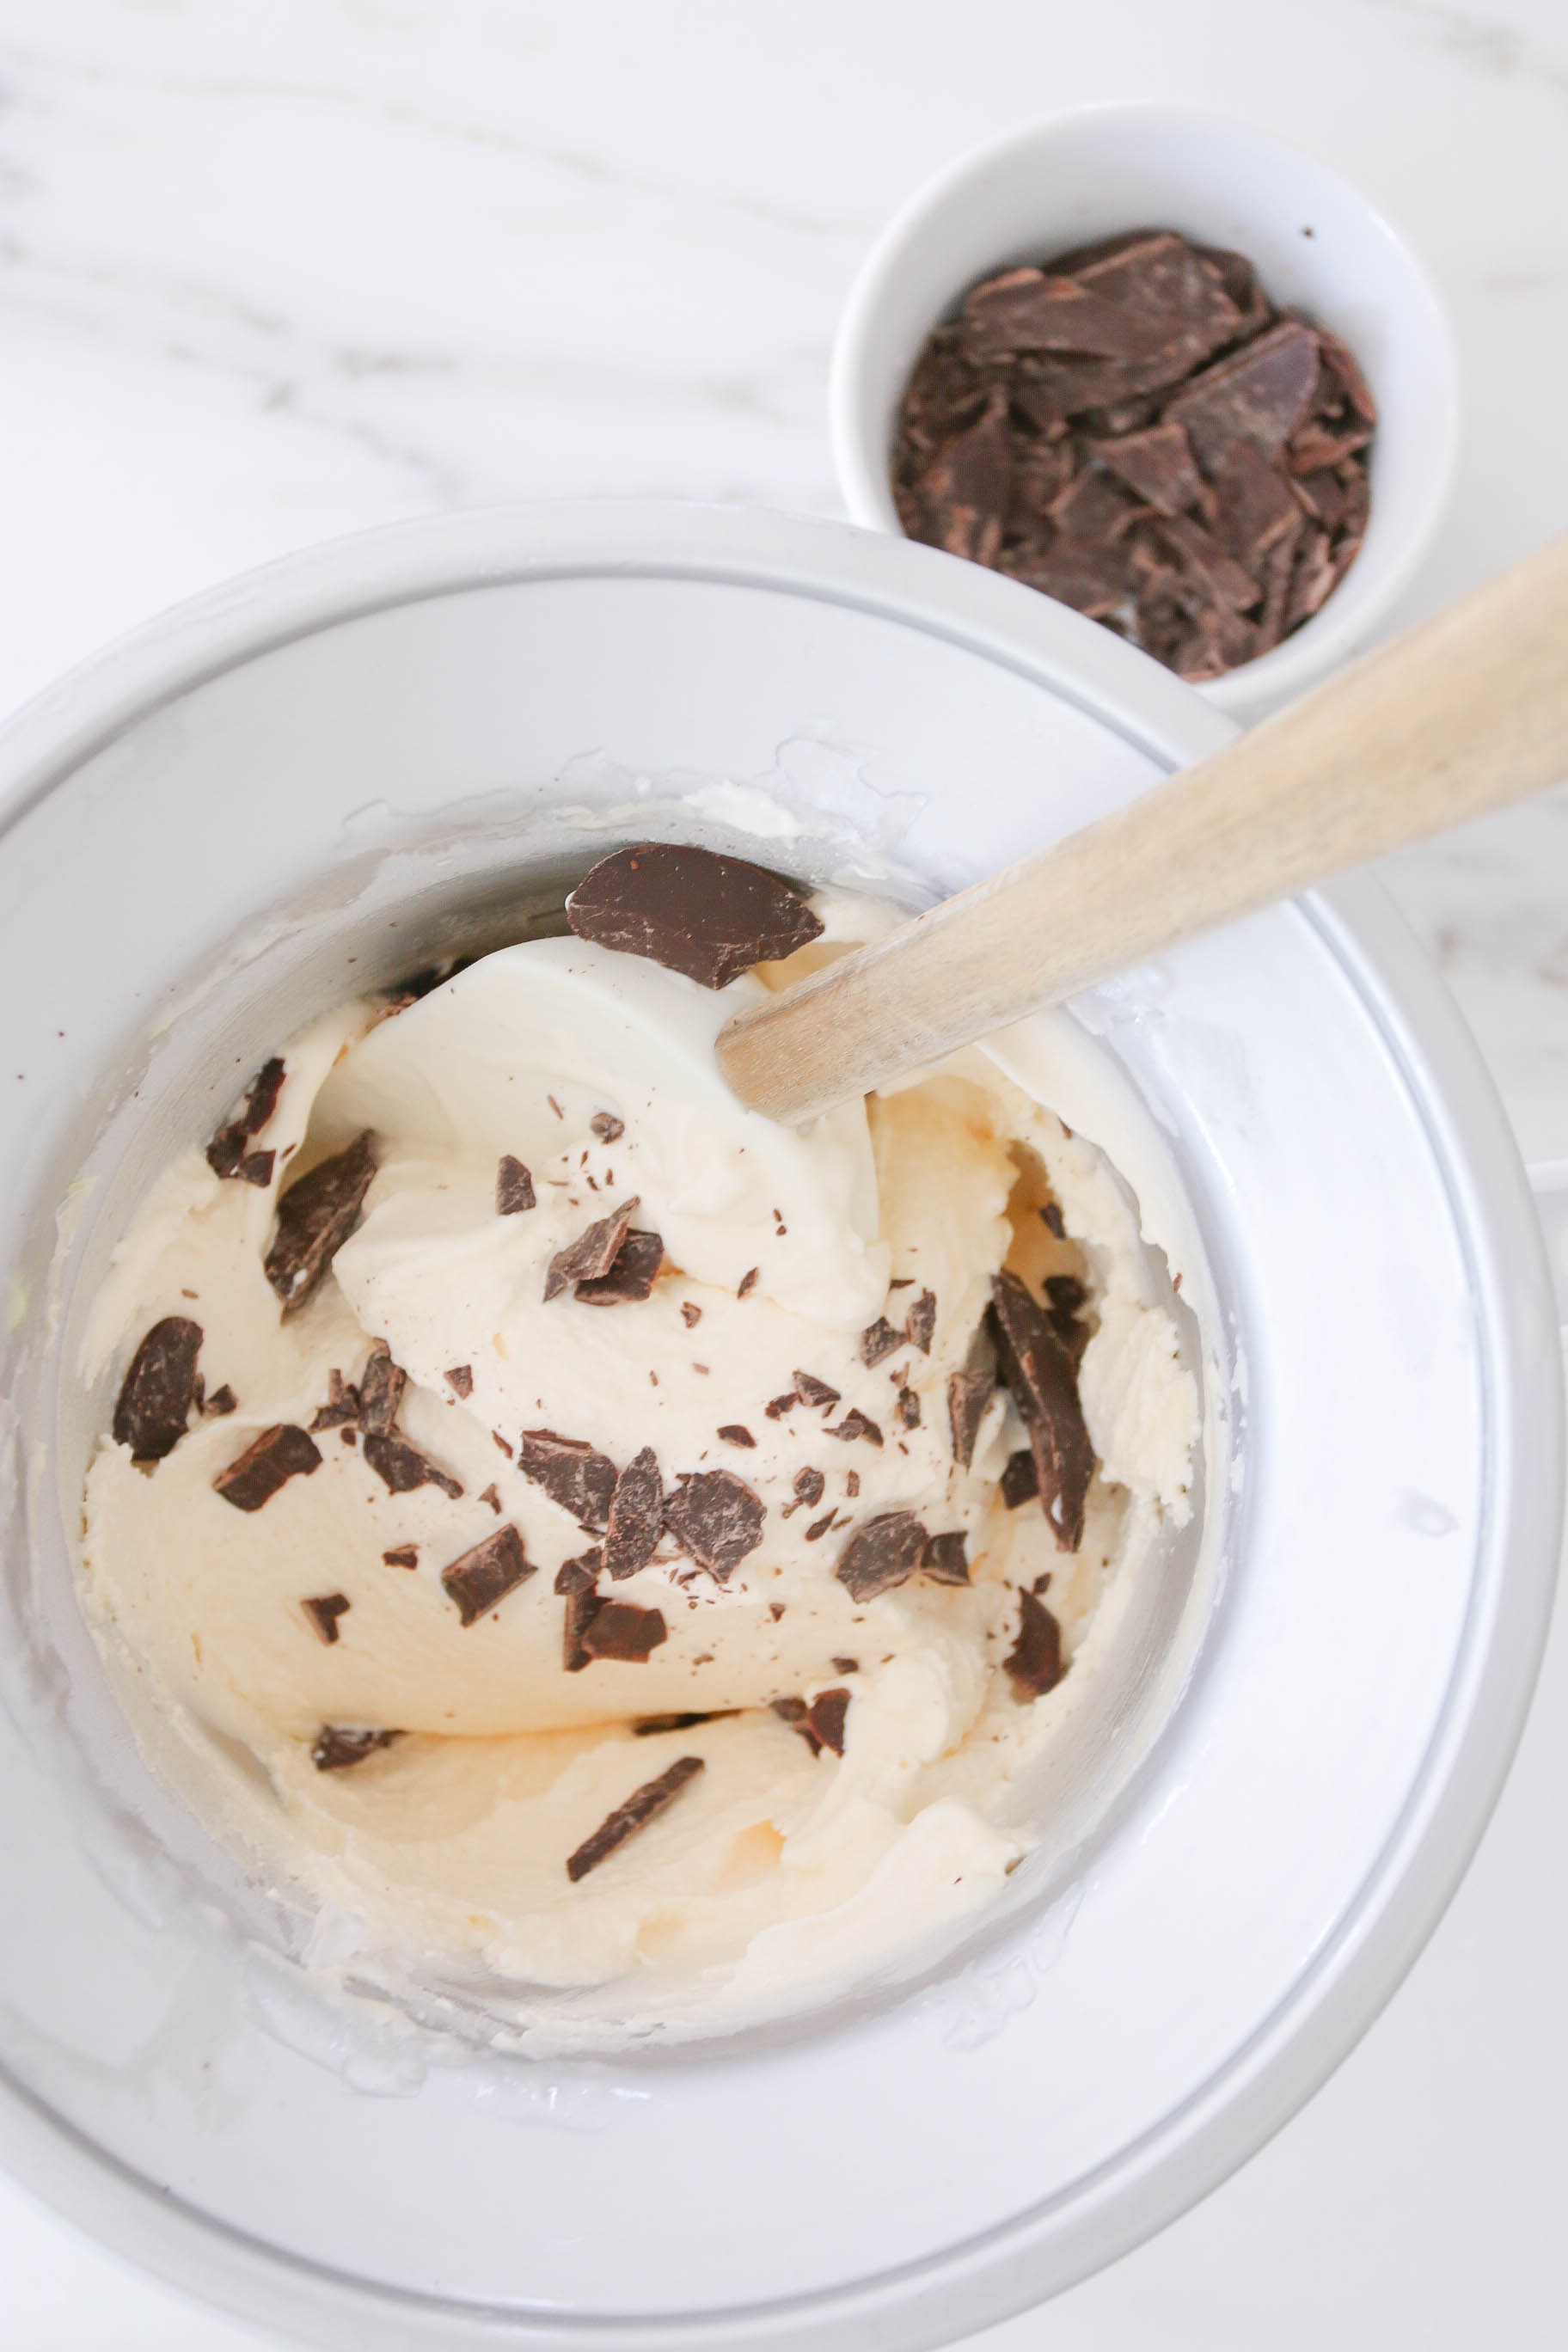
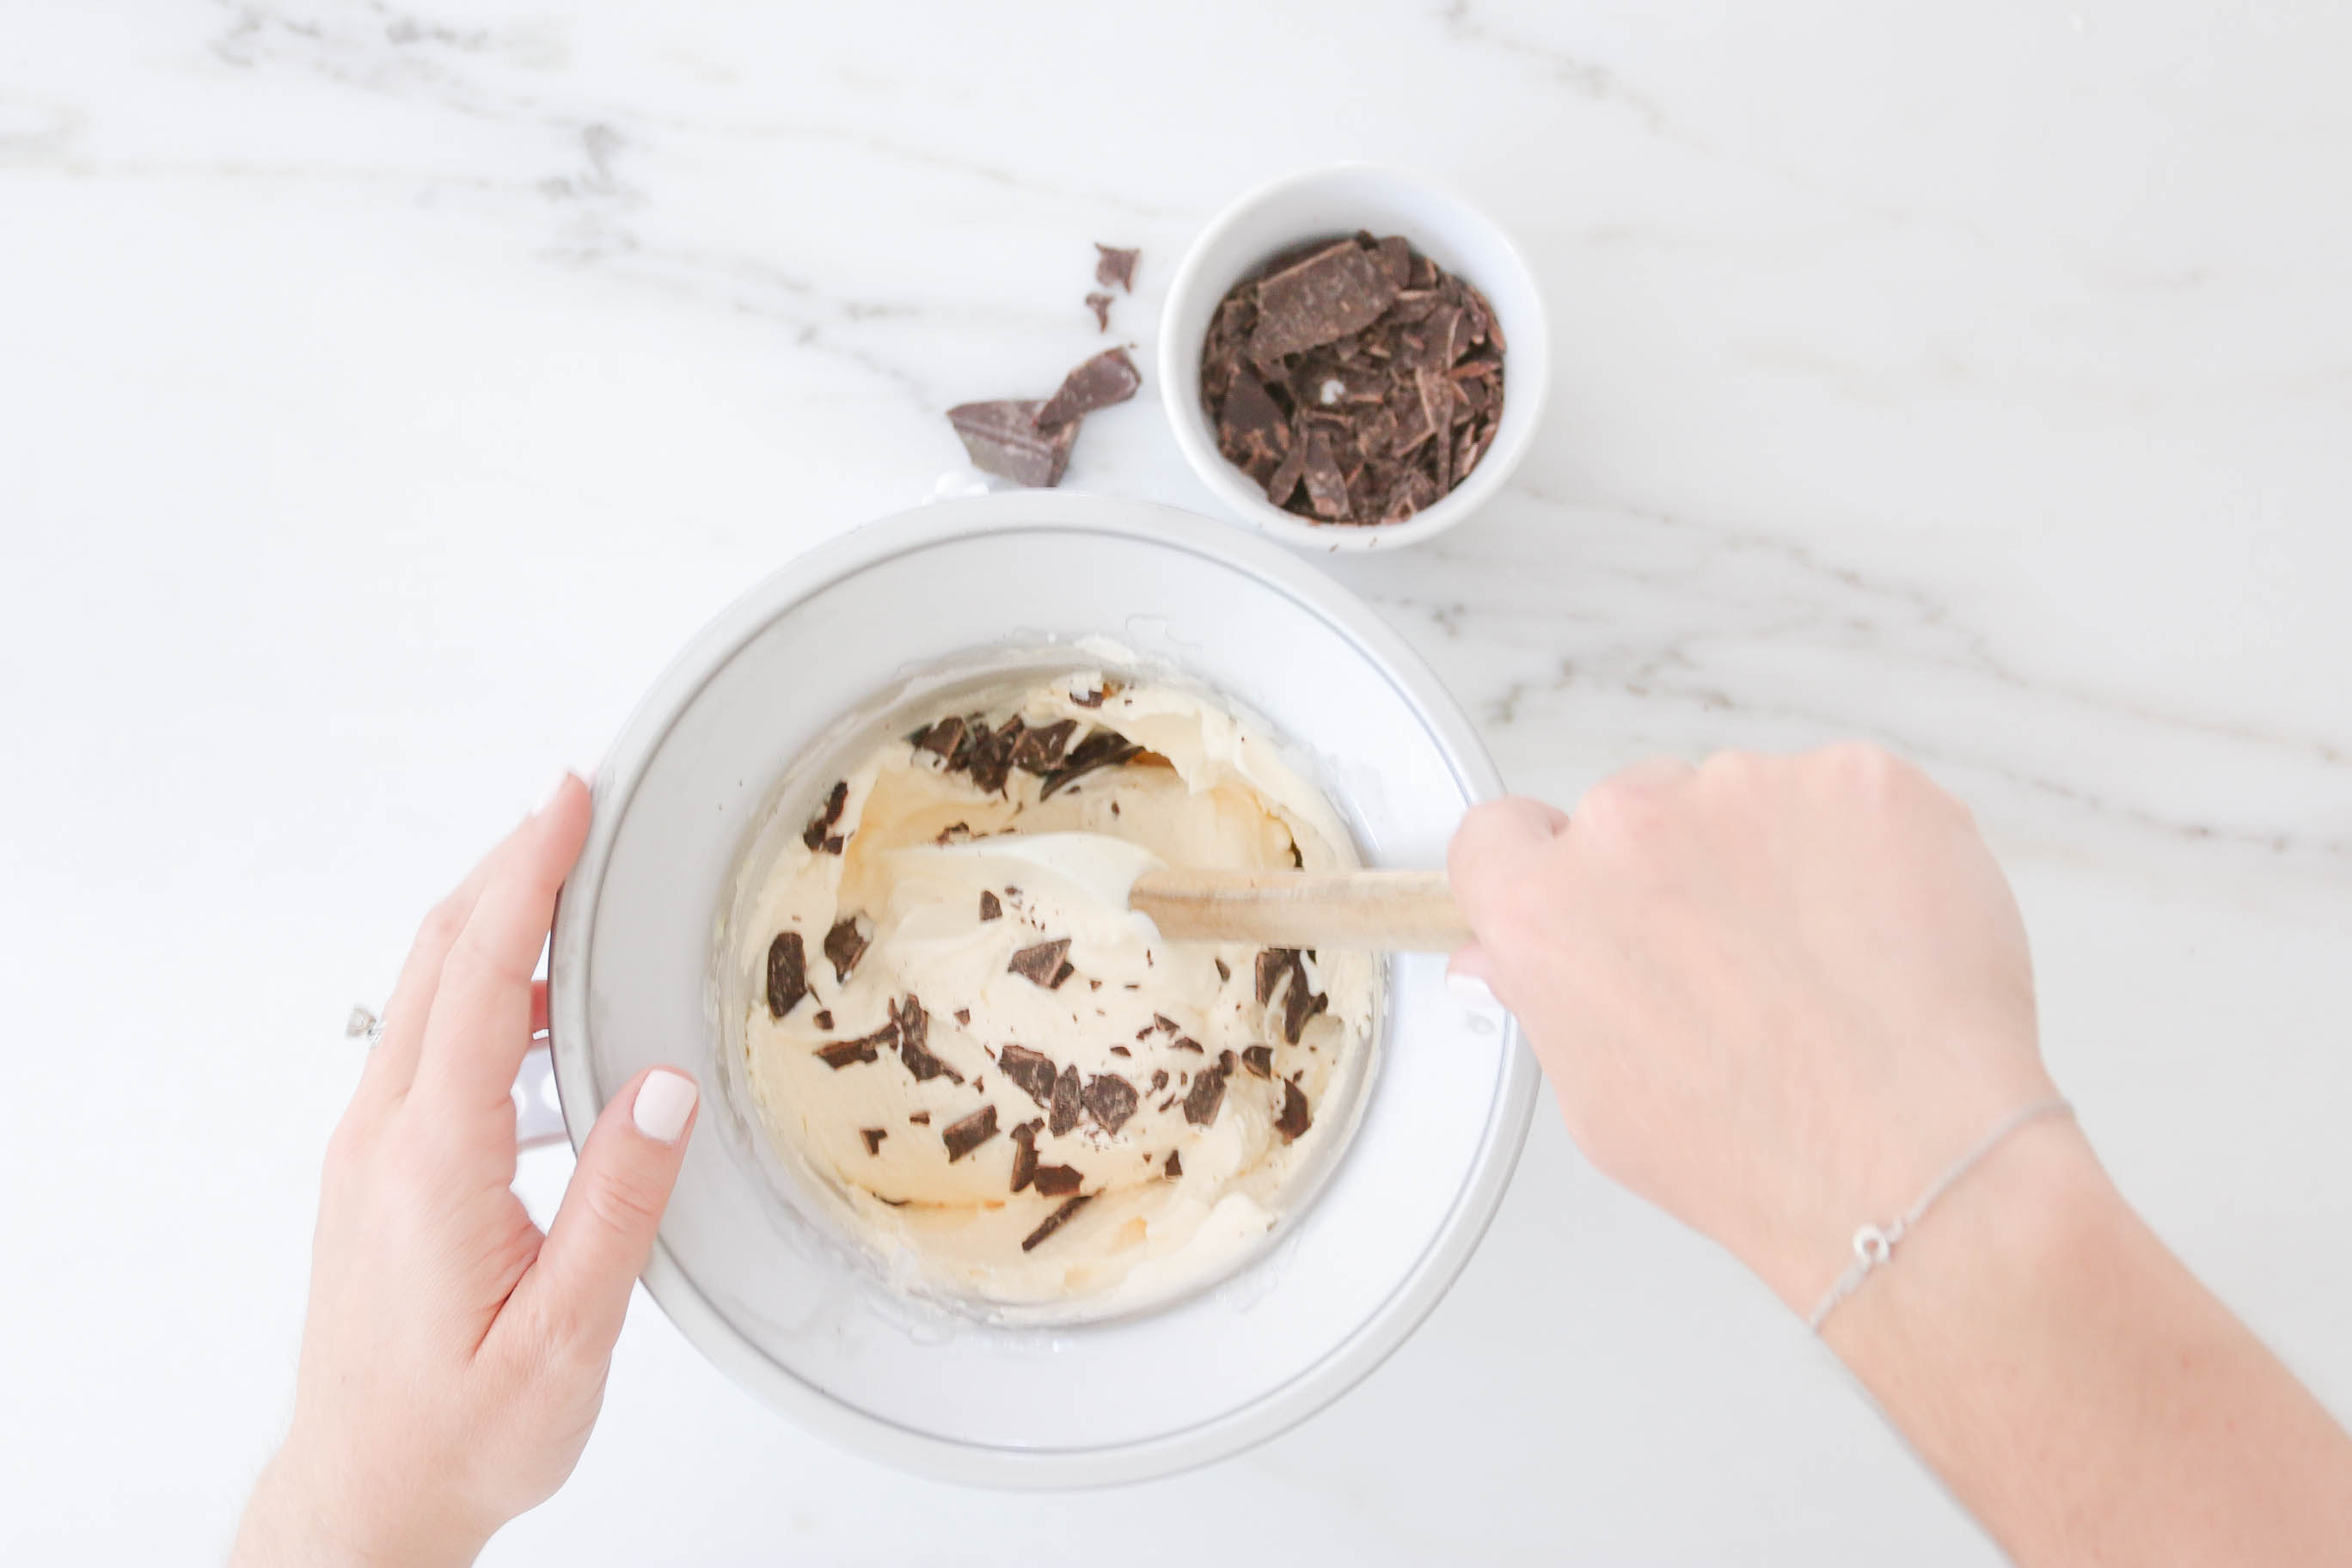
Step 10. Give the ice cream base a nice mix up and churn according to your ice cream makers instructions. Once the ice cream is thickened take it out of the bowl and fold in the chocolate chips!
Step 11. Chill the ice cream in the freezer for a minimum 4 hours or overnight.
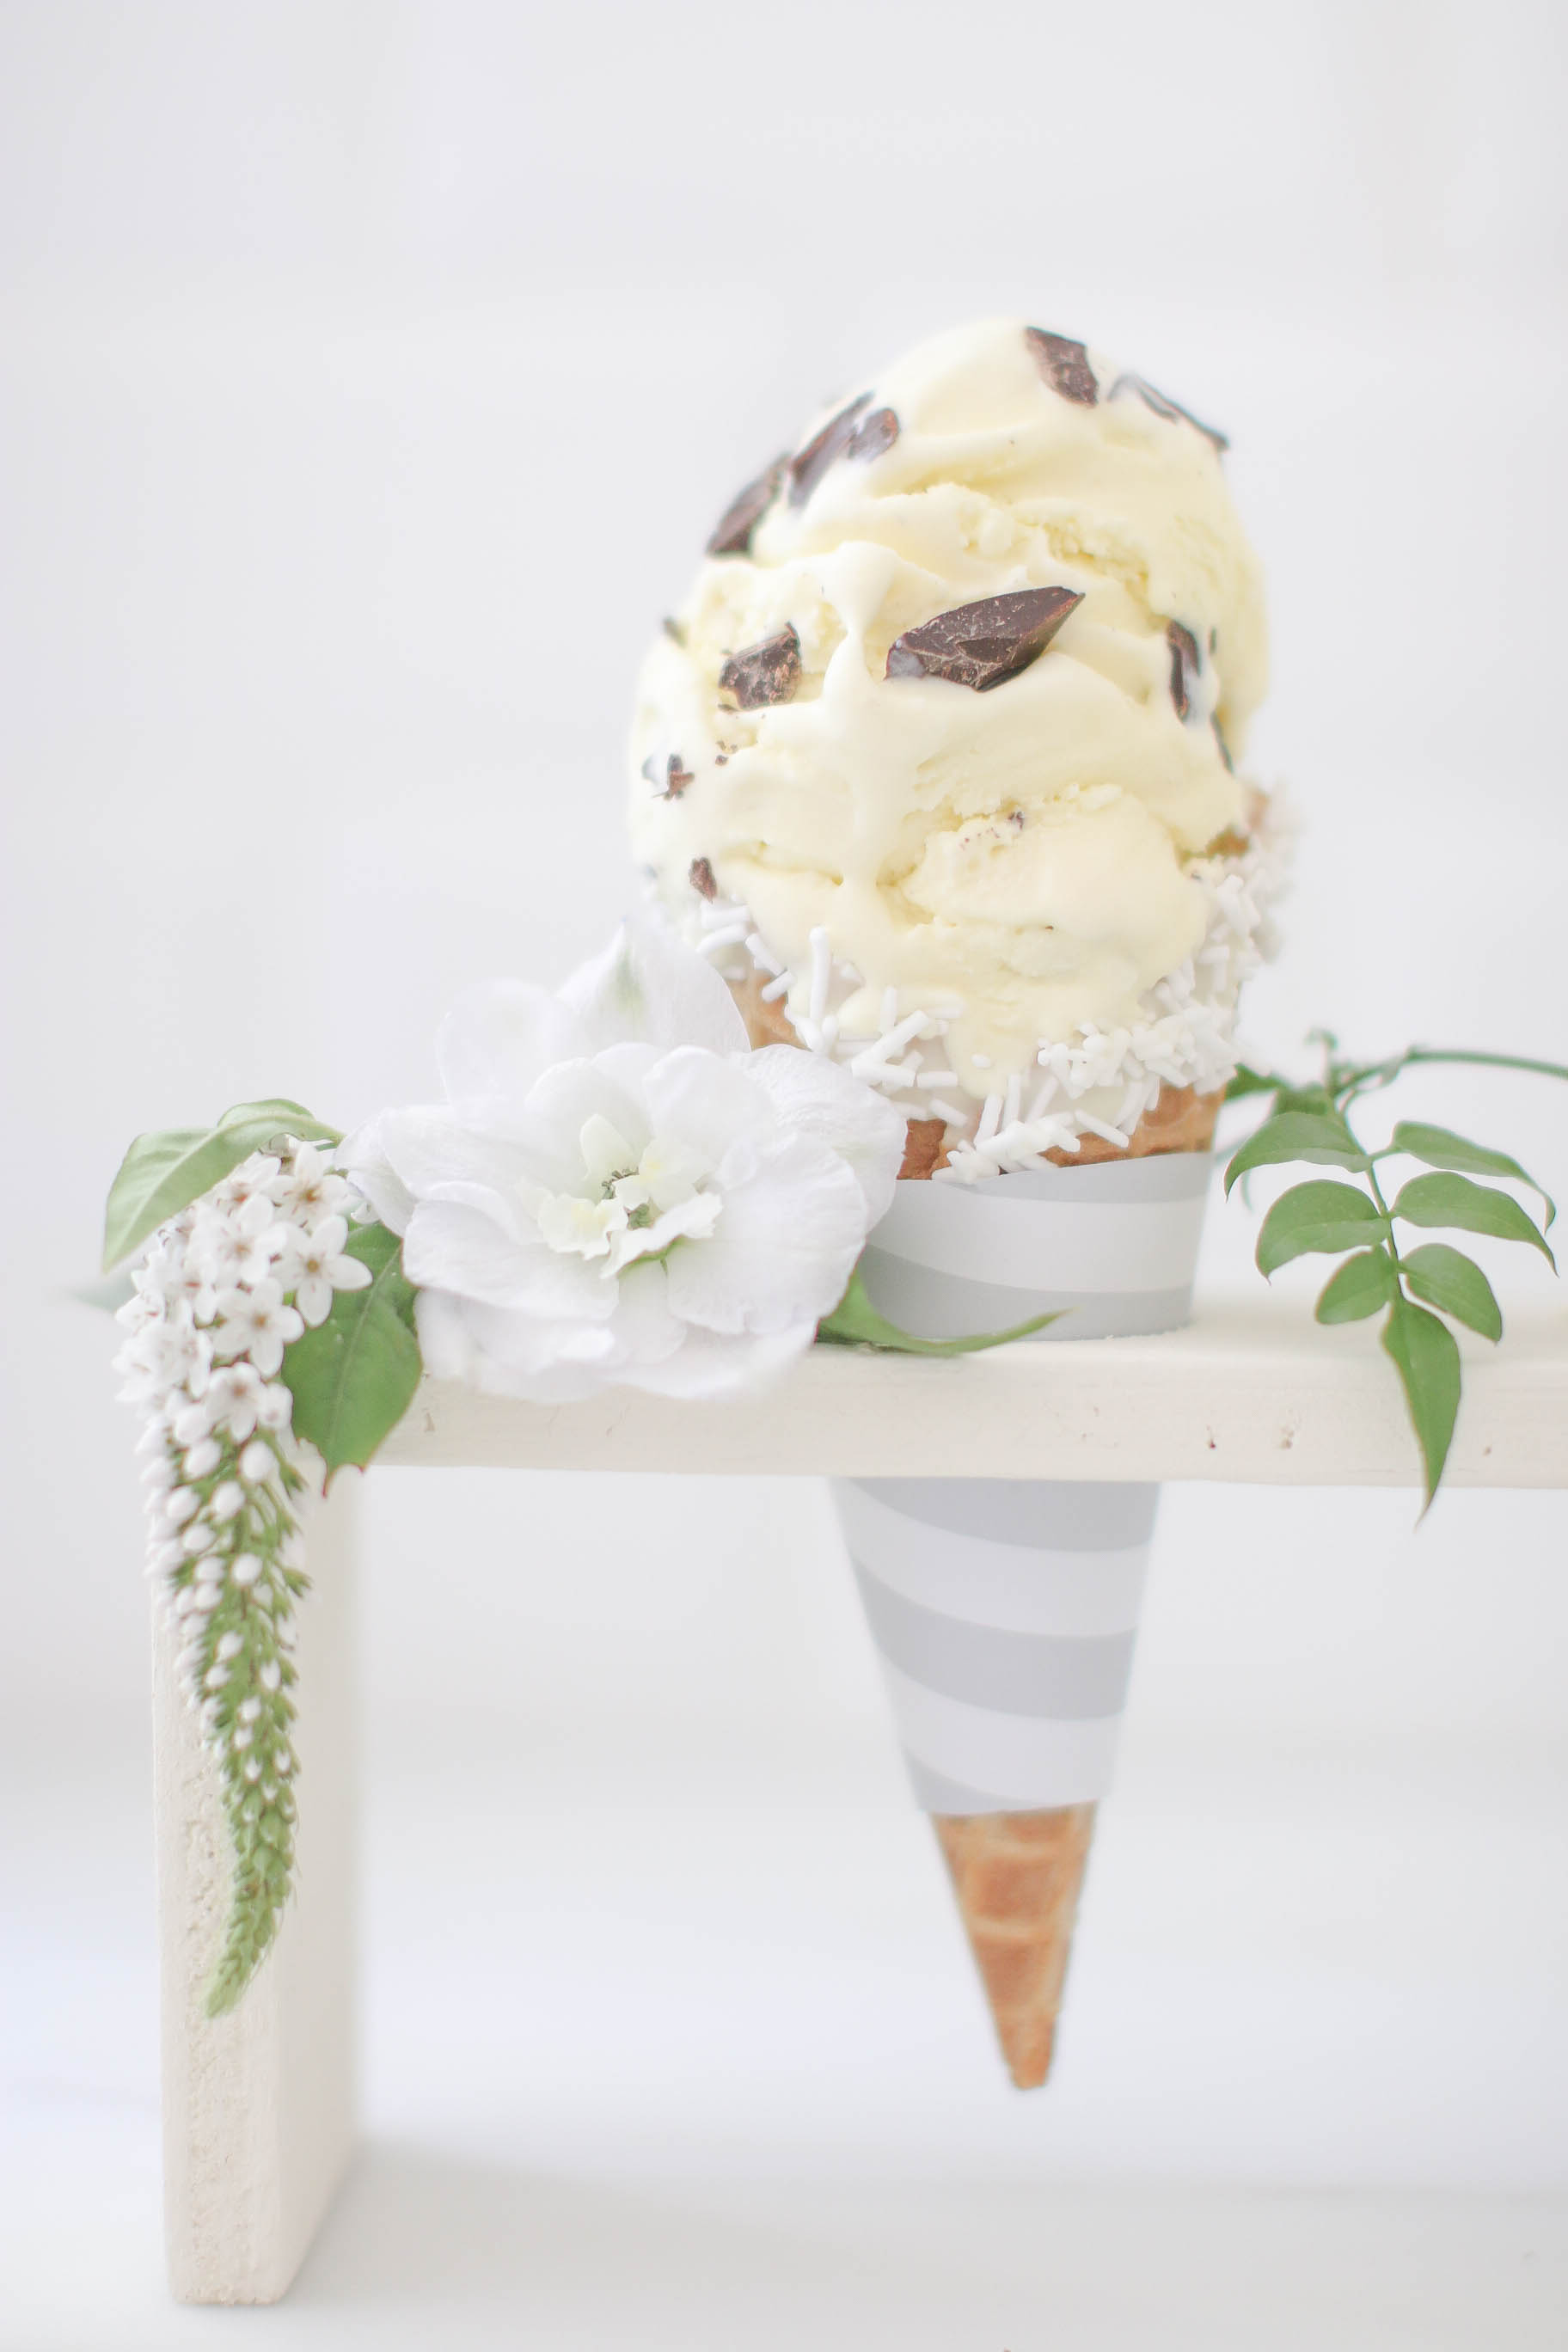
Step 12. Sever and enjoy the fruits of your labour!
Homemade ice cream is always best eaten within the first couple of days, after this the small ice crystals may form, but don’t worry still great to enjoy!
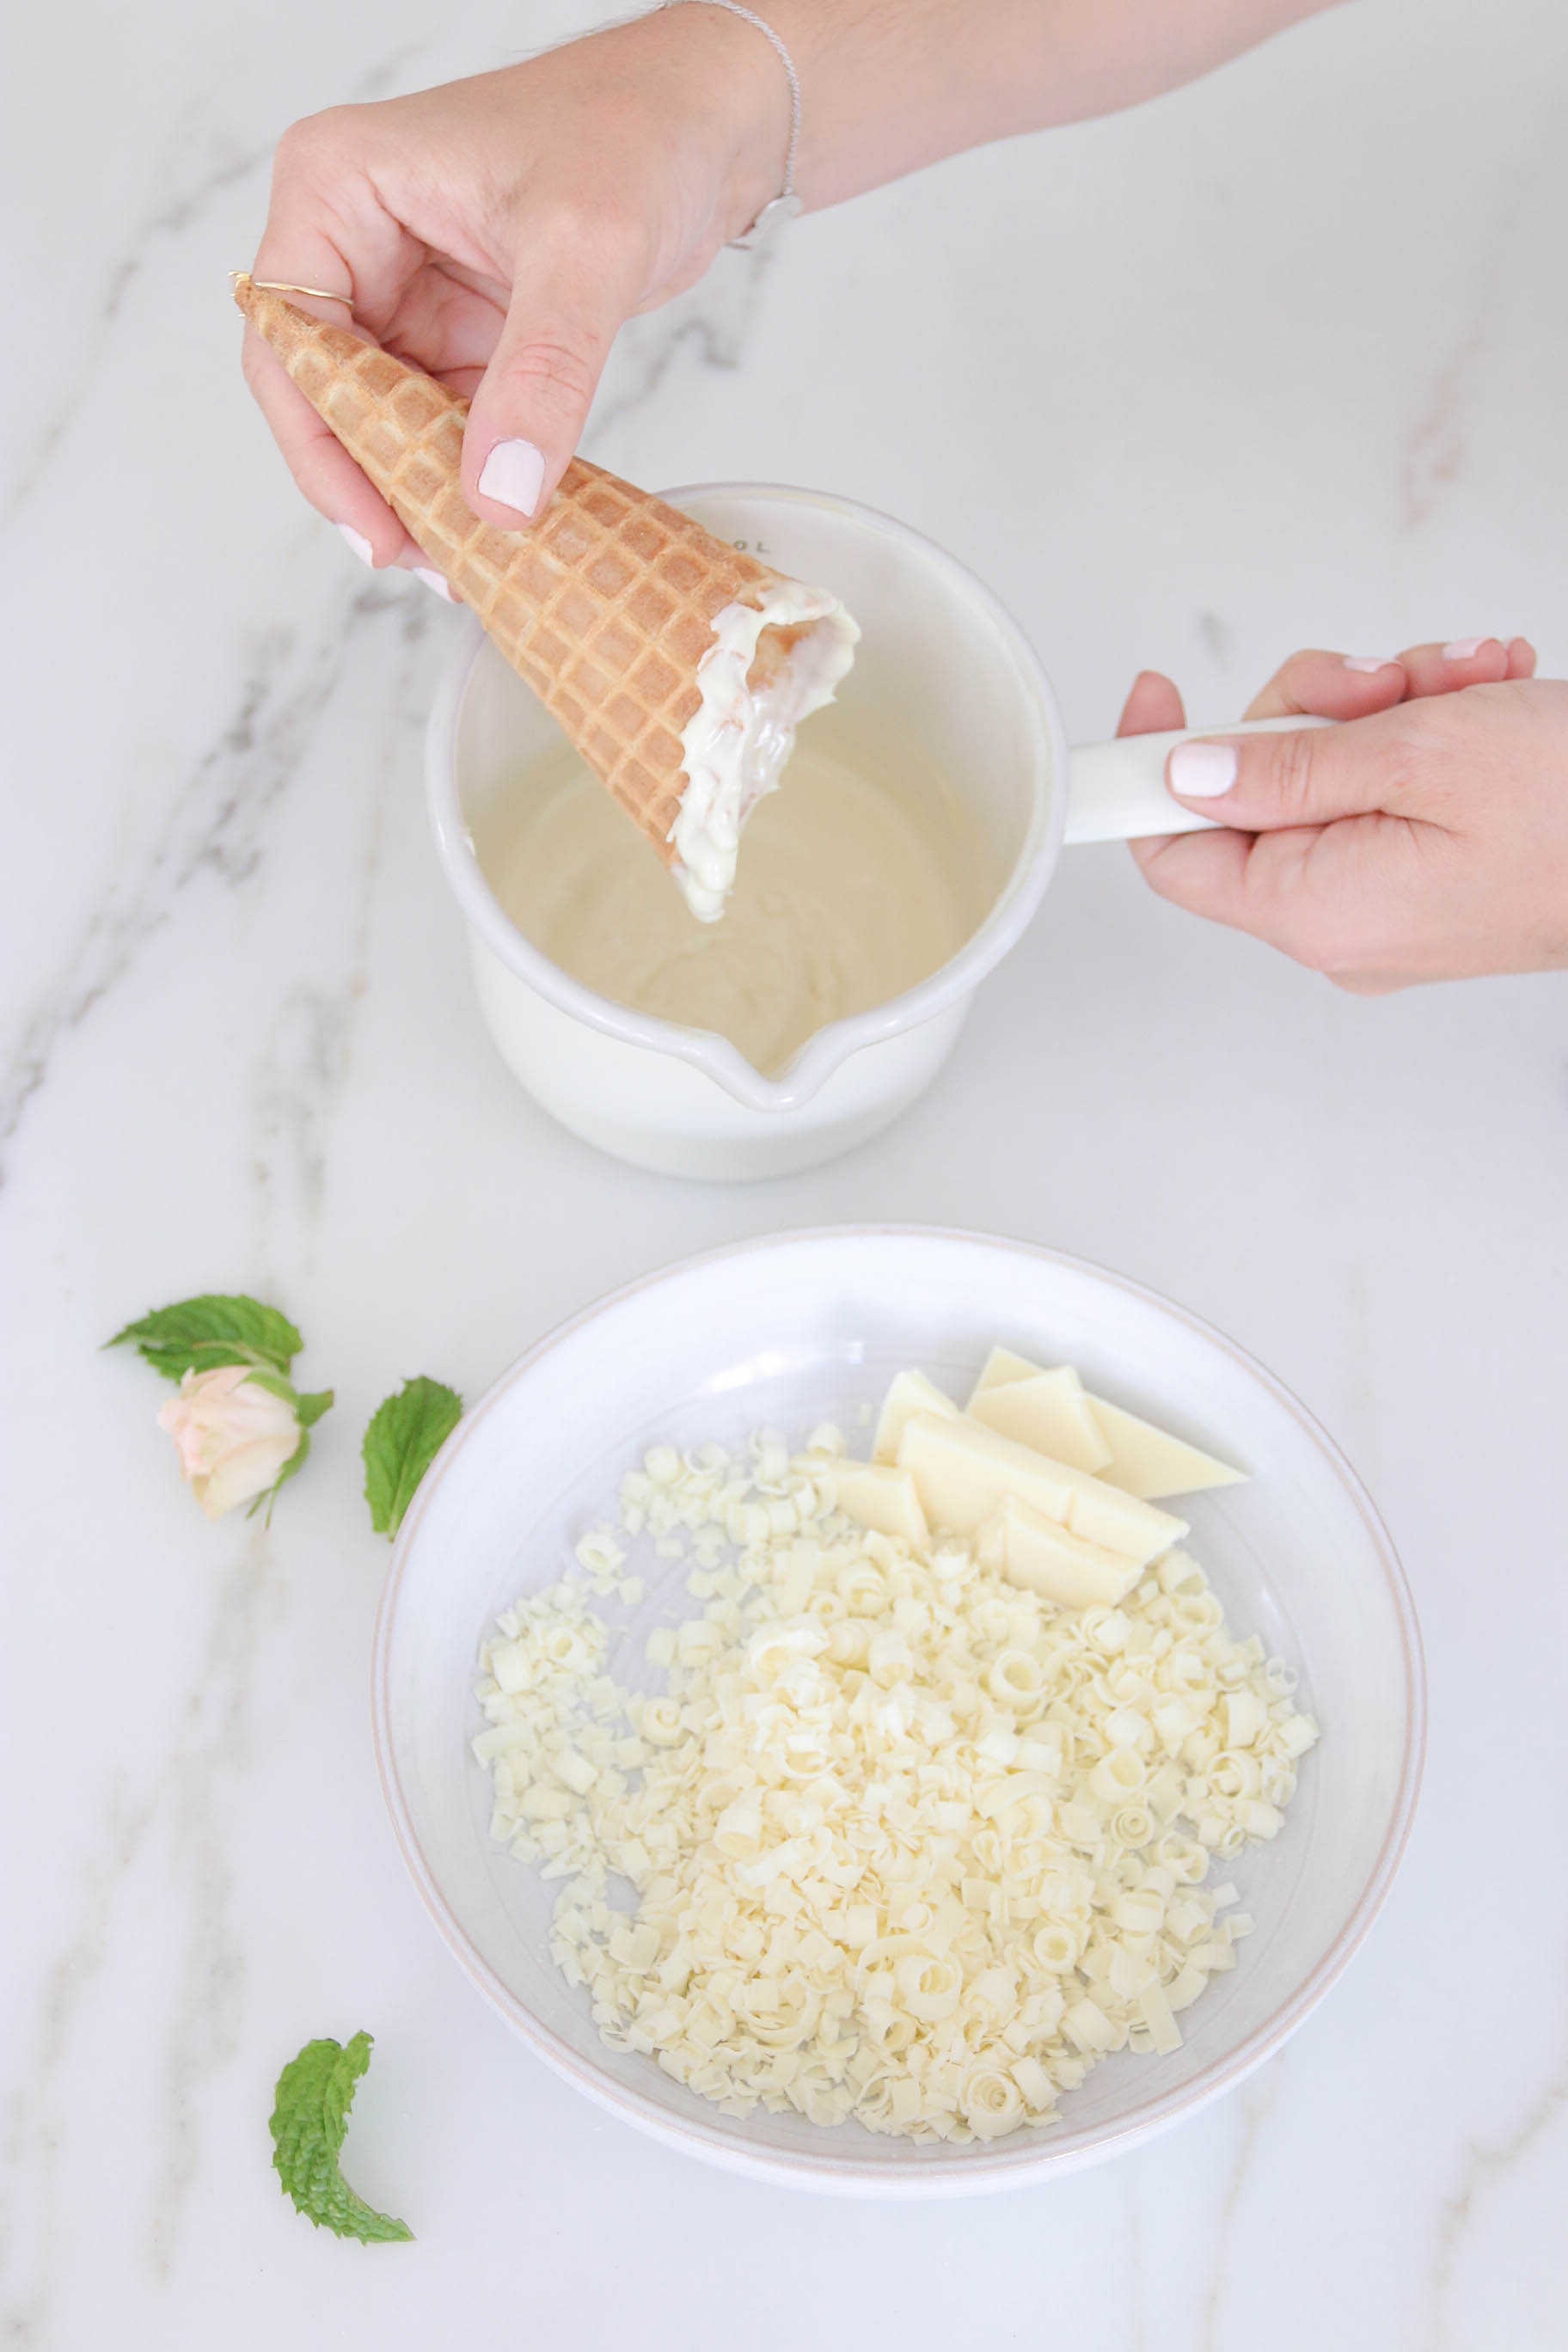
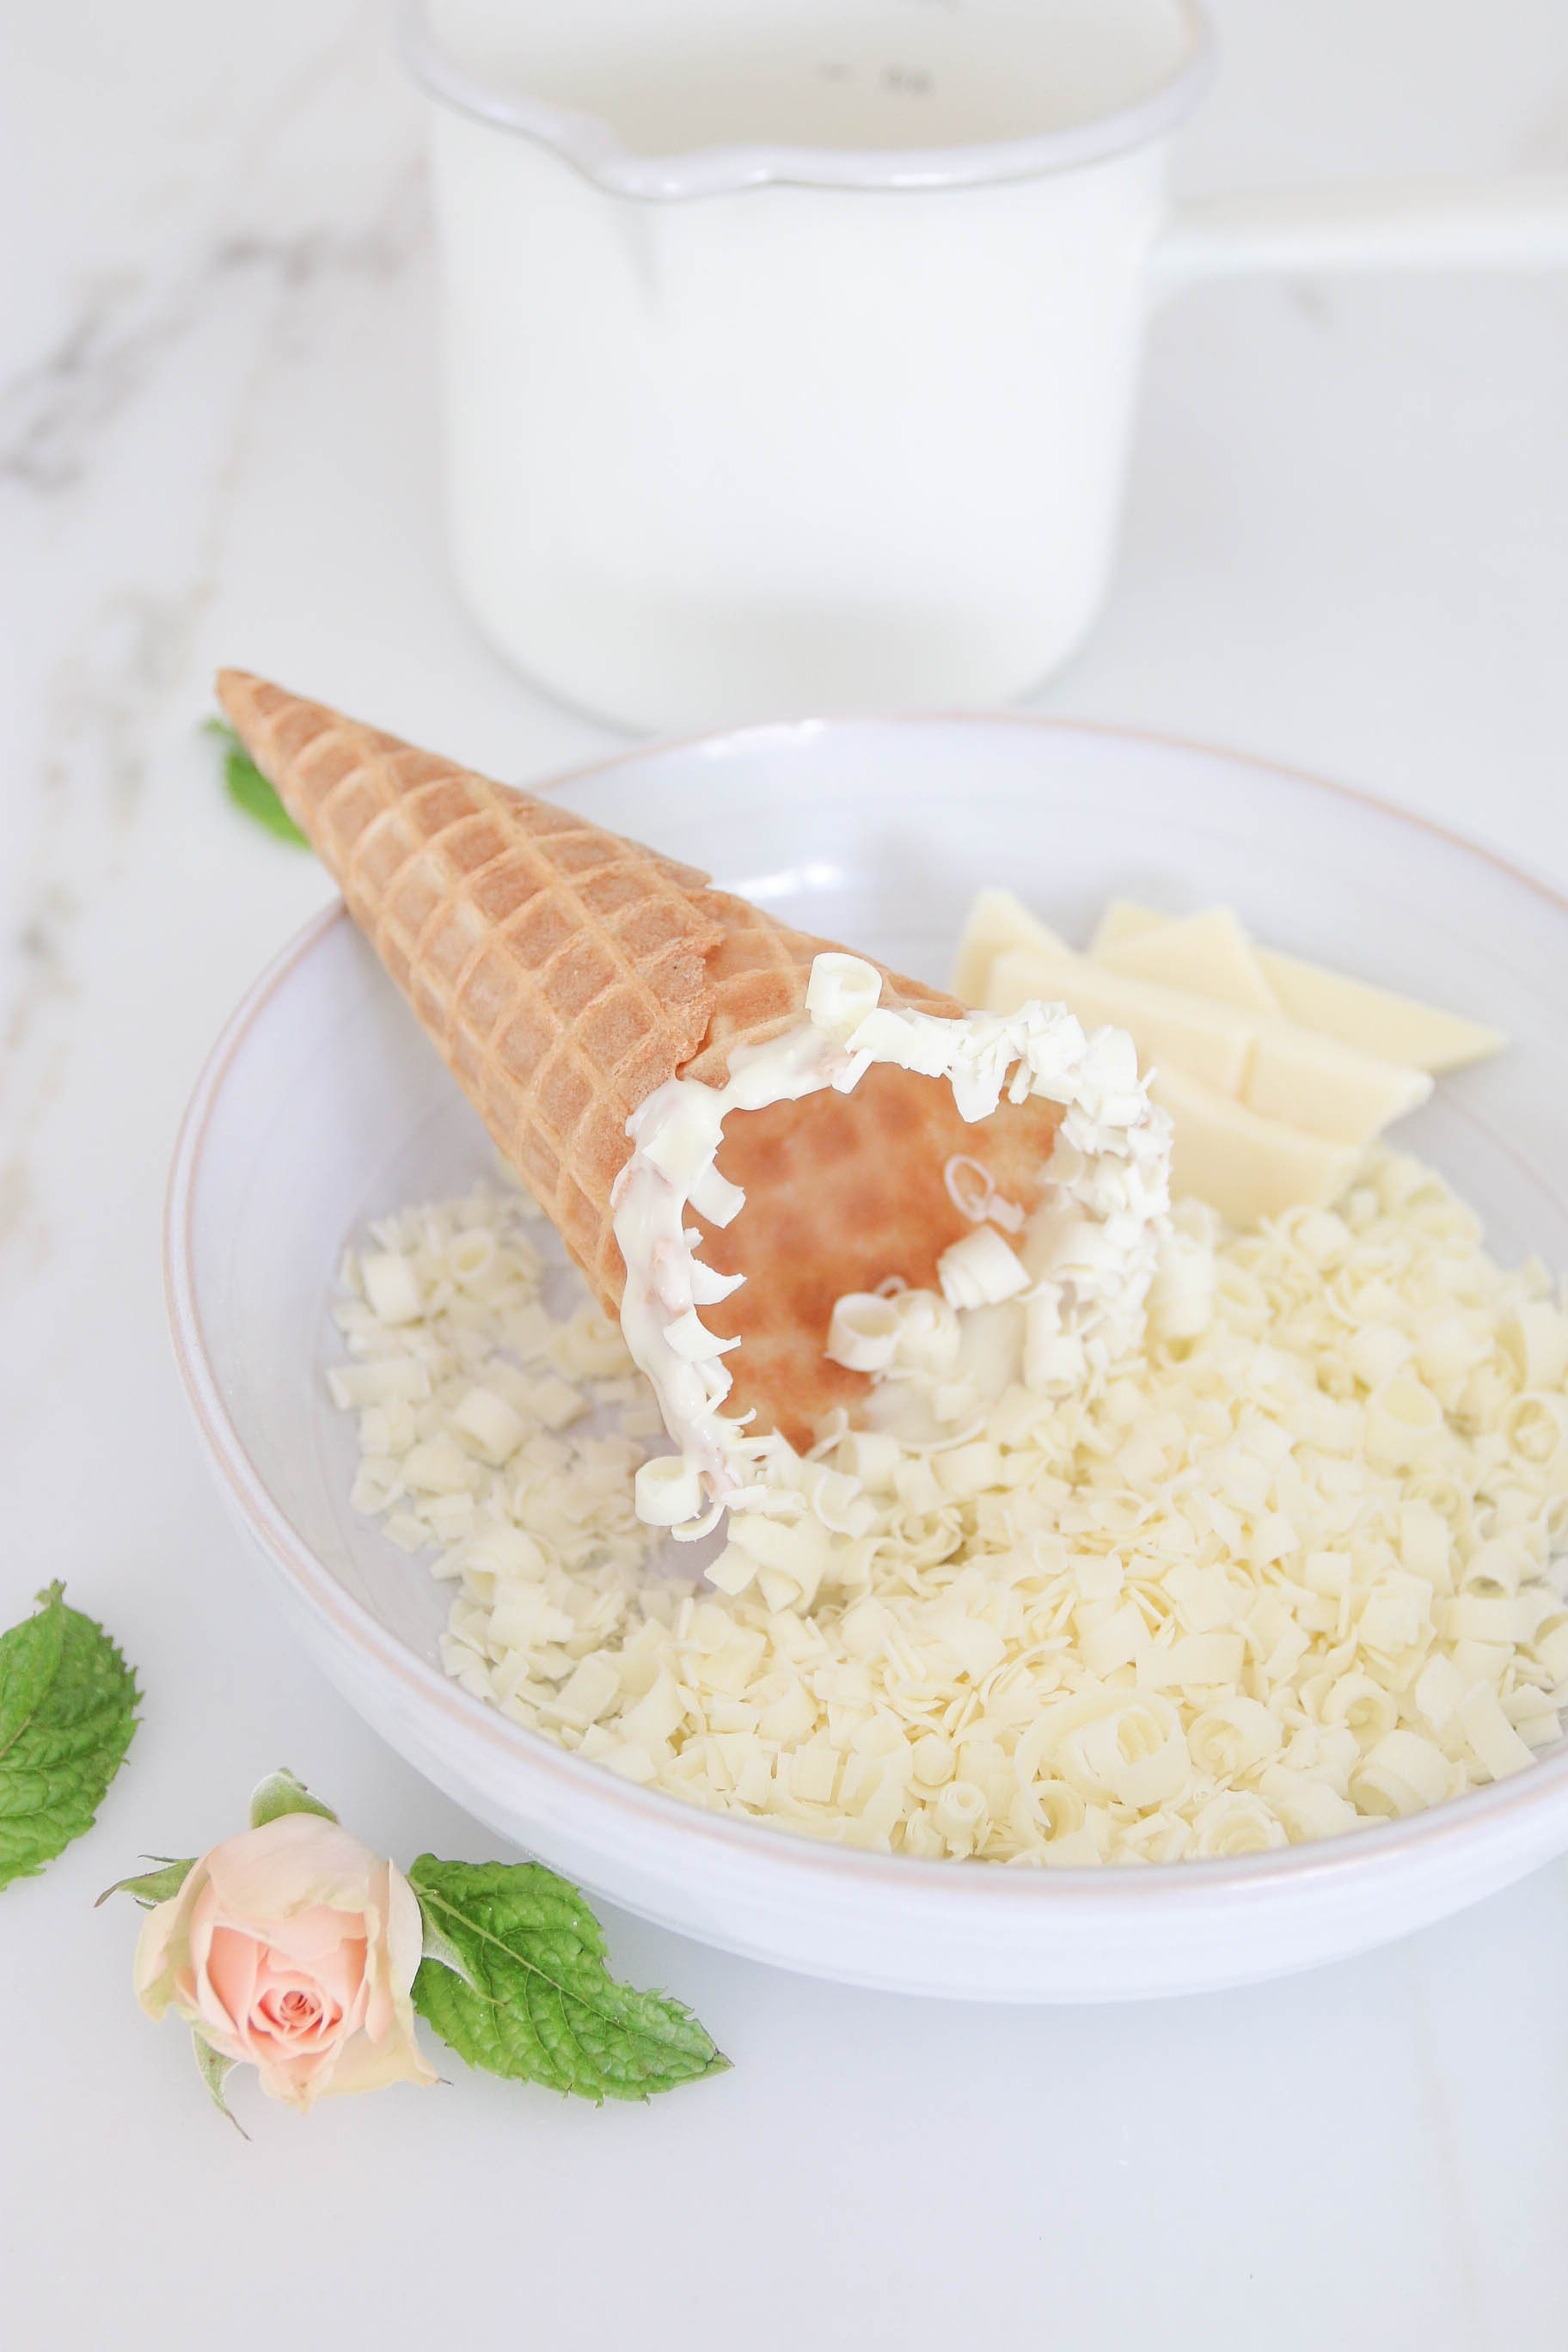
Decorated Cones
Chocolate for melting (white, dark, milk)
Decorations
Toasted flaked coconut
Chocolate pearls
Sprinkles
Malden sea salt
Crushed up cookies
On a double boiler melt a small amount of chocolate, choose whatever your heart desires.
To make the chocolate curls, take a small brick of chocolate and using a vegetable peeler shave curls of chocolate. Dip the edge of the cones in the chocolate and then dip into whatever topping you would like!
Recipe by Erin, MH food contributor


This looks fabulous!
Looks so yummy! In a somewhat related question: Do you have any tips on keeping your marble counters looking beautiful? I love how you seem to really use your kitchen cooking/baking and with your littles 🙂 Do you have any advice or preference with honed vs. polished marble? Thanks so much, Monika!
xo, Laura
http://brightandbeautifulblog.com
Such a great post! We are having an ice cream social at work on Friday and these ice cream holders and wrappers would work great! Where did you find these?
Such a cute post, I love all the images. I’m definitely going to try this with Knox! Perfect for Houston summers, ha!
Thanks Caroline!! Oh yes, you must! Especially in your new gorgeous kitchen!
Mon xo