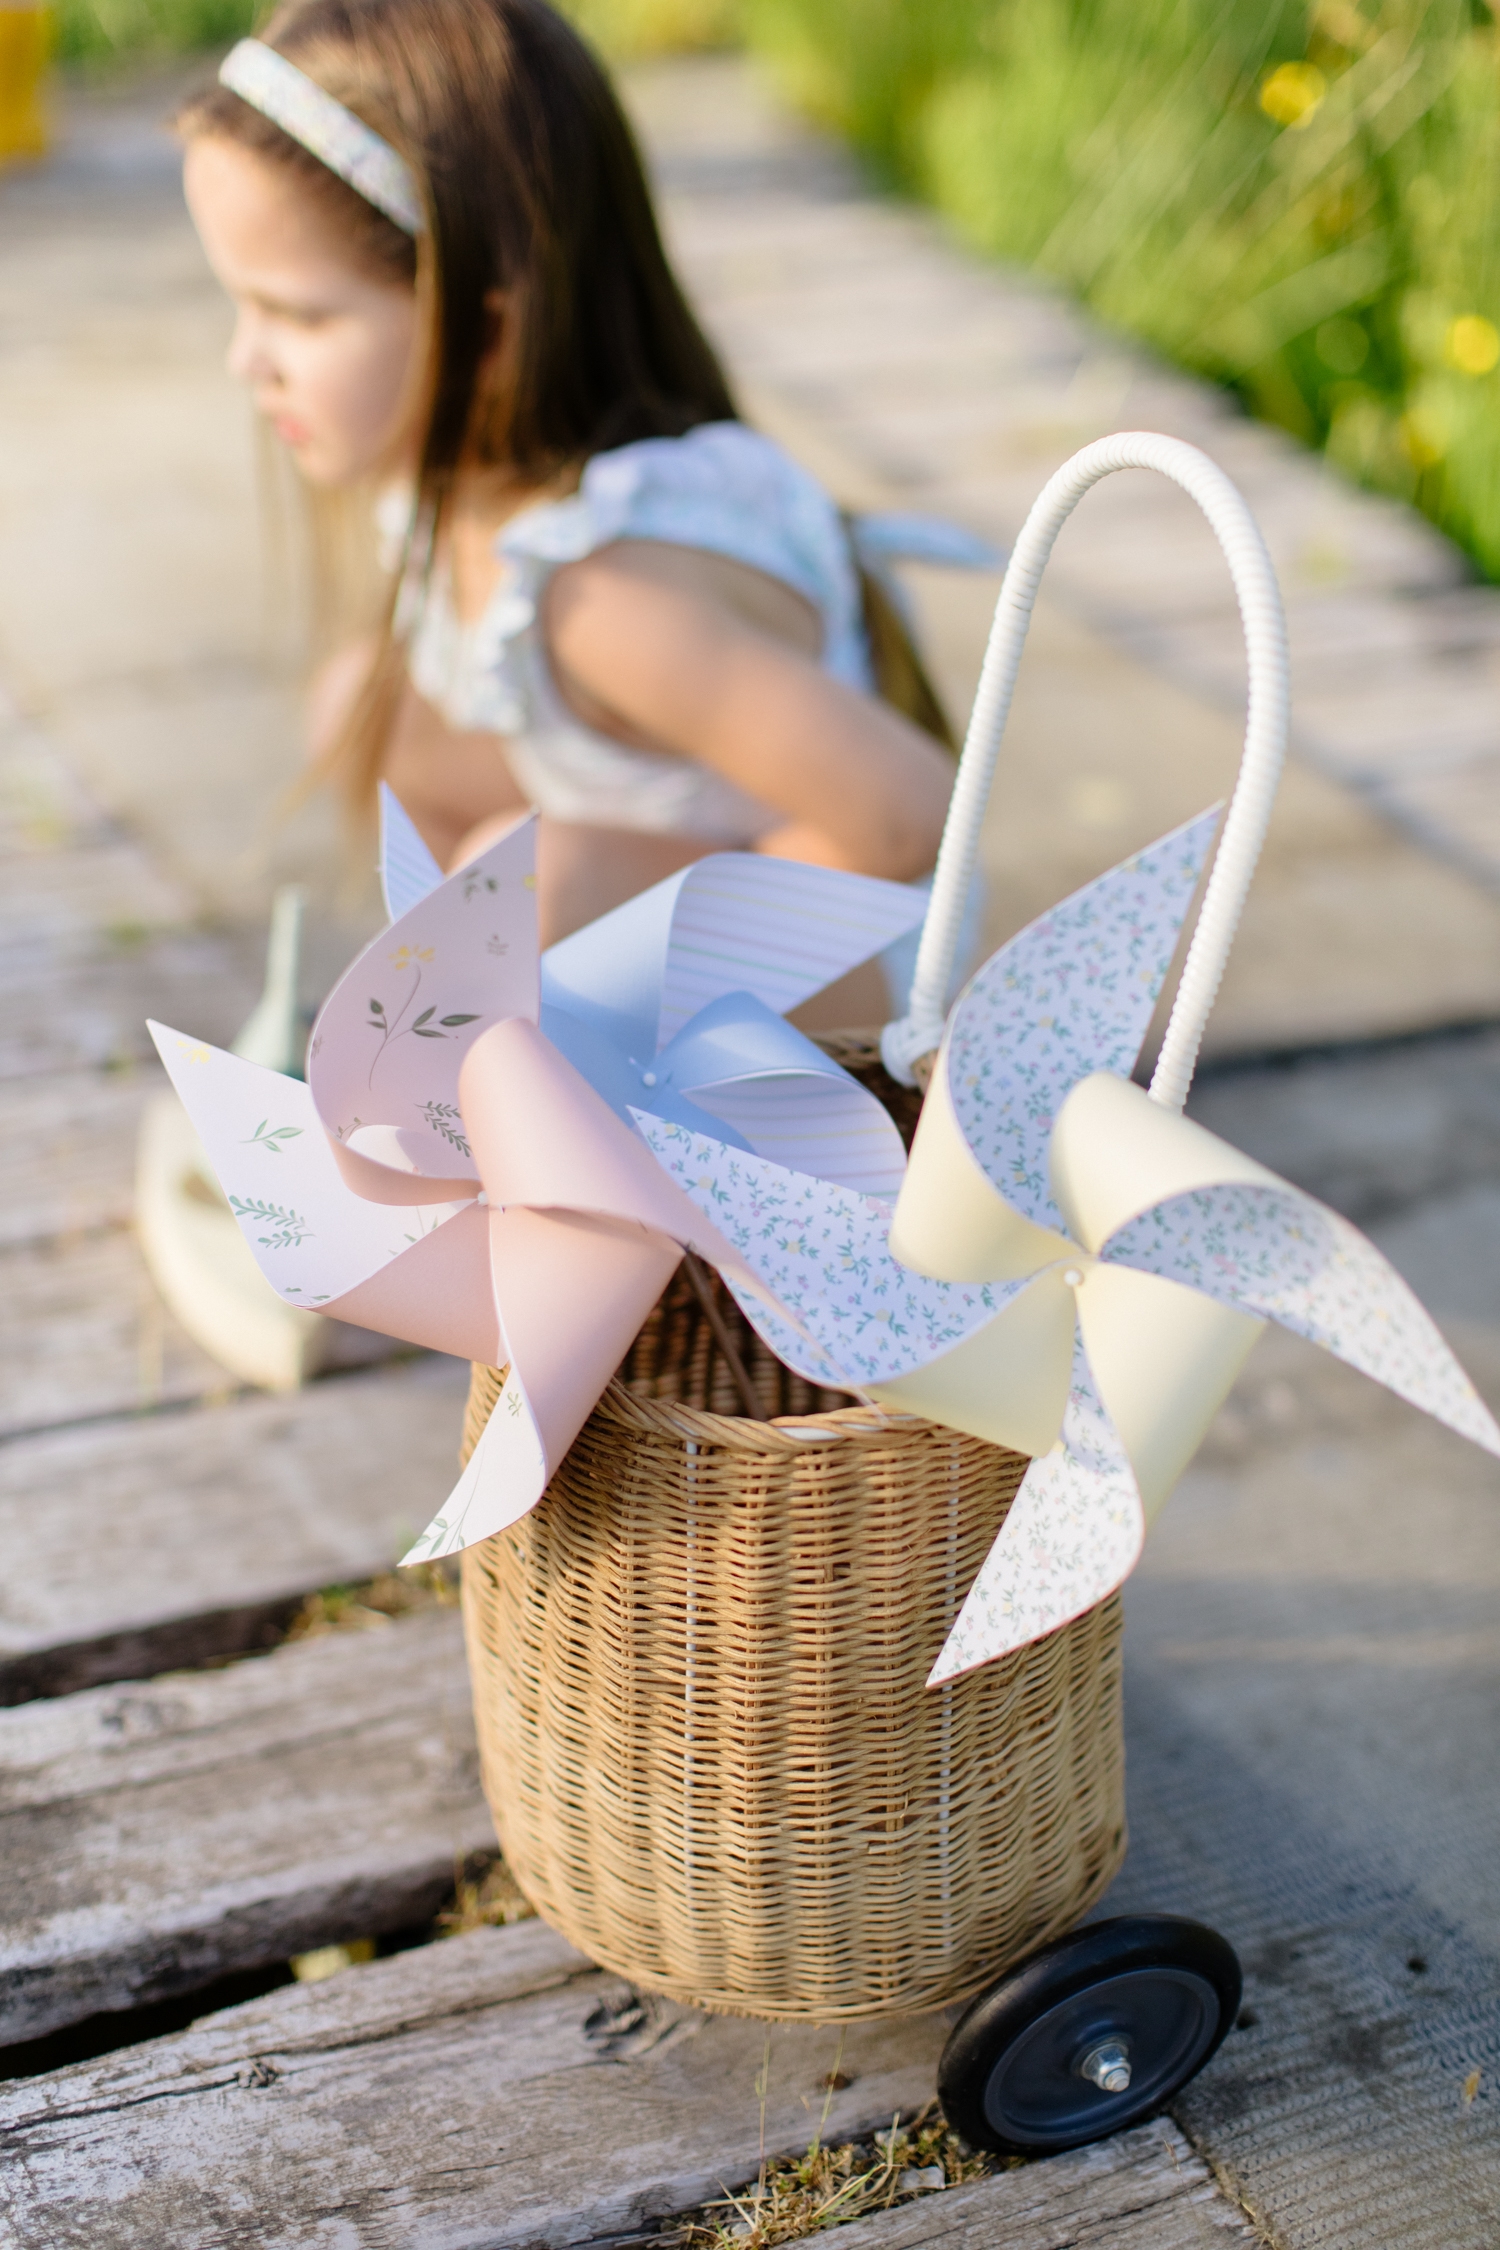
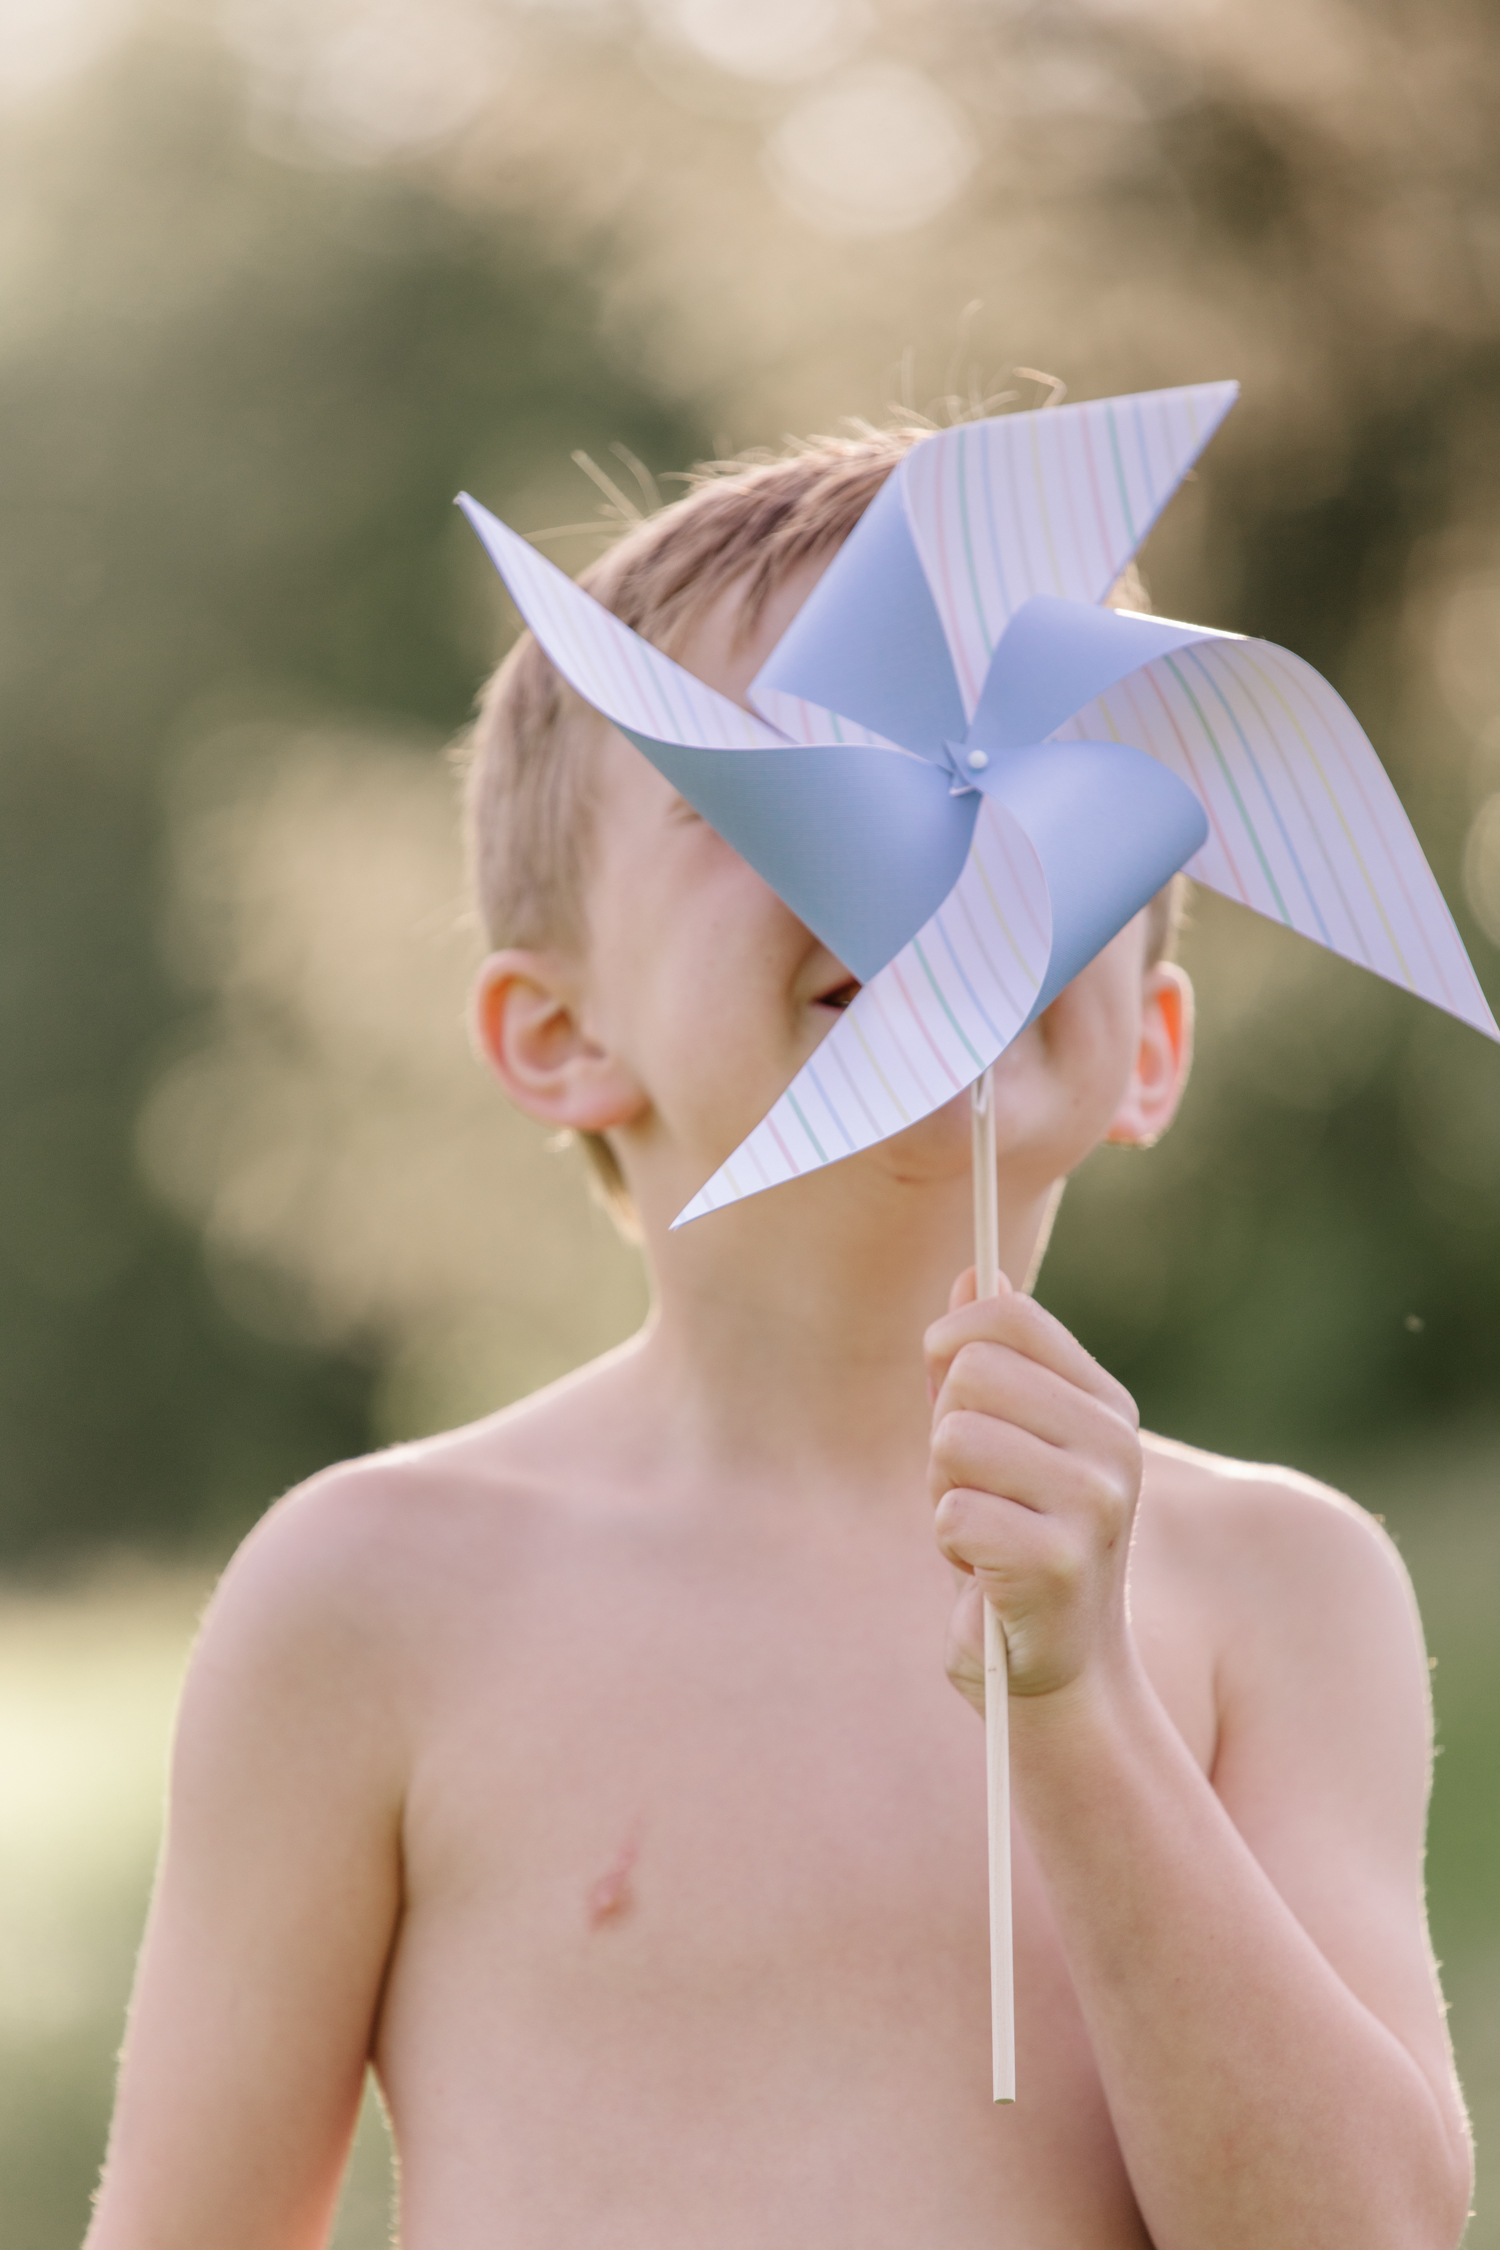
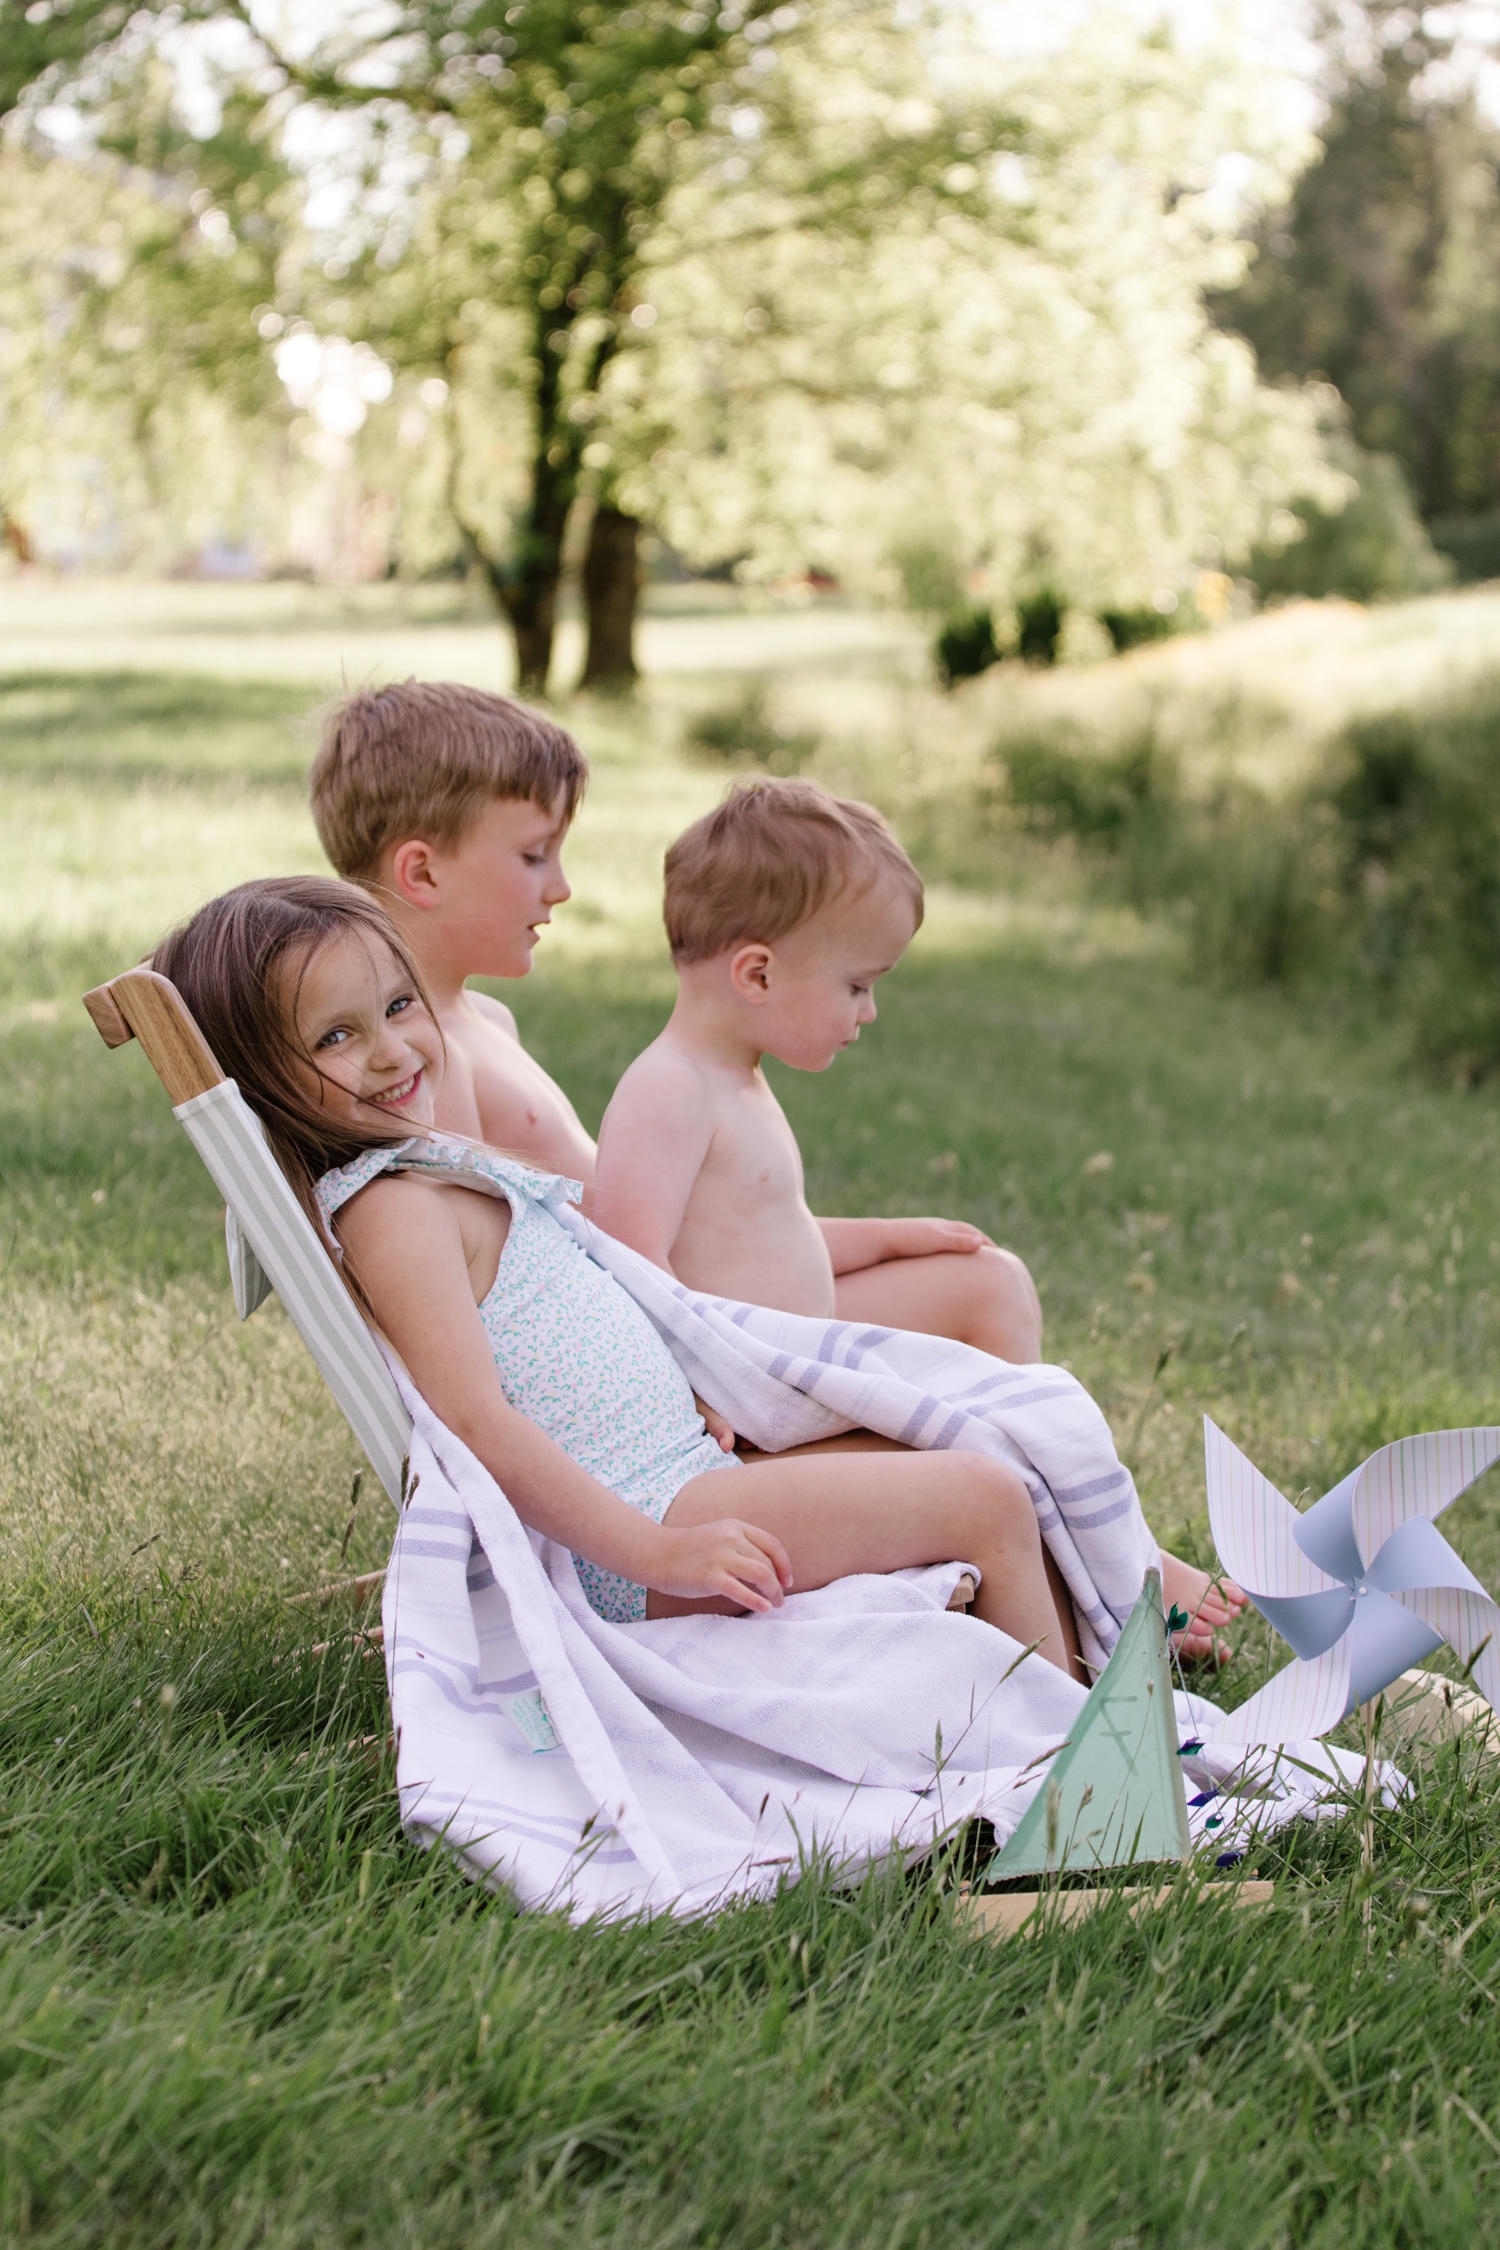
DIY Minnow Print Pinwheels
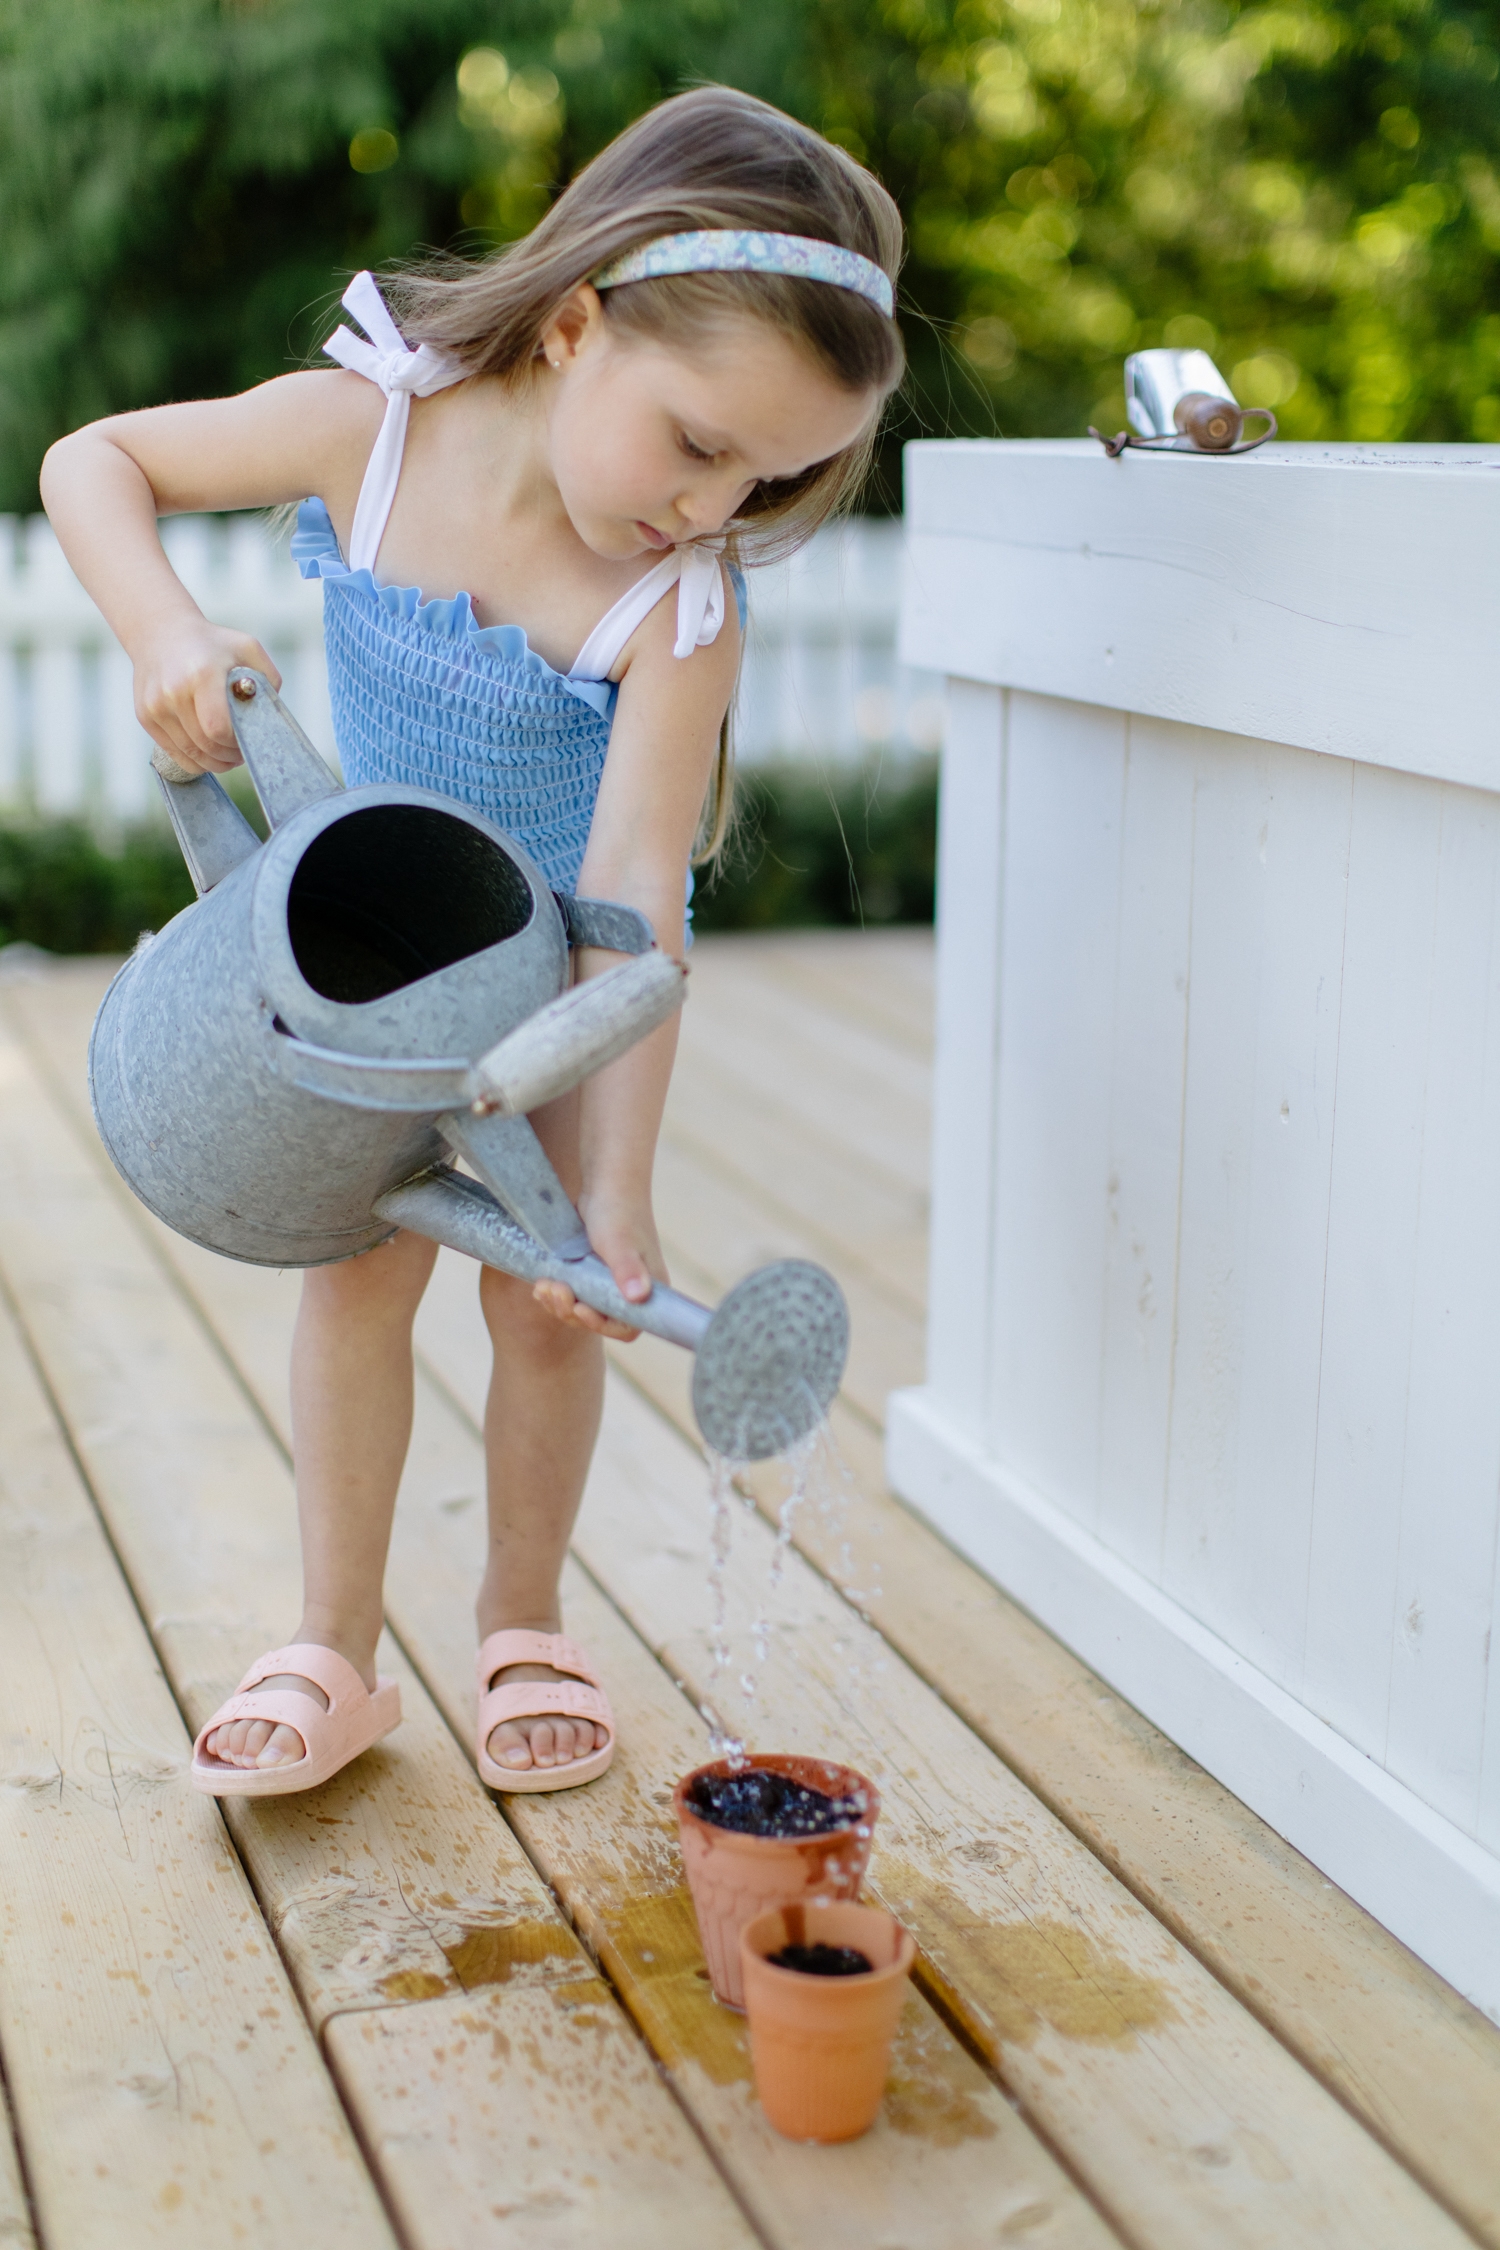
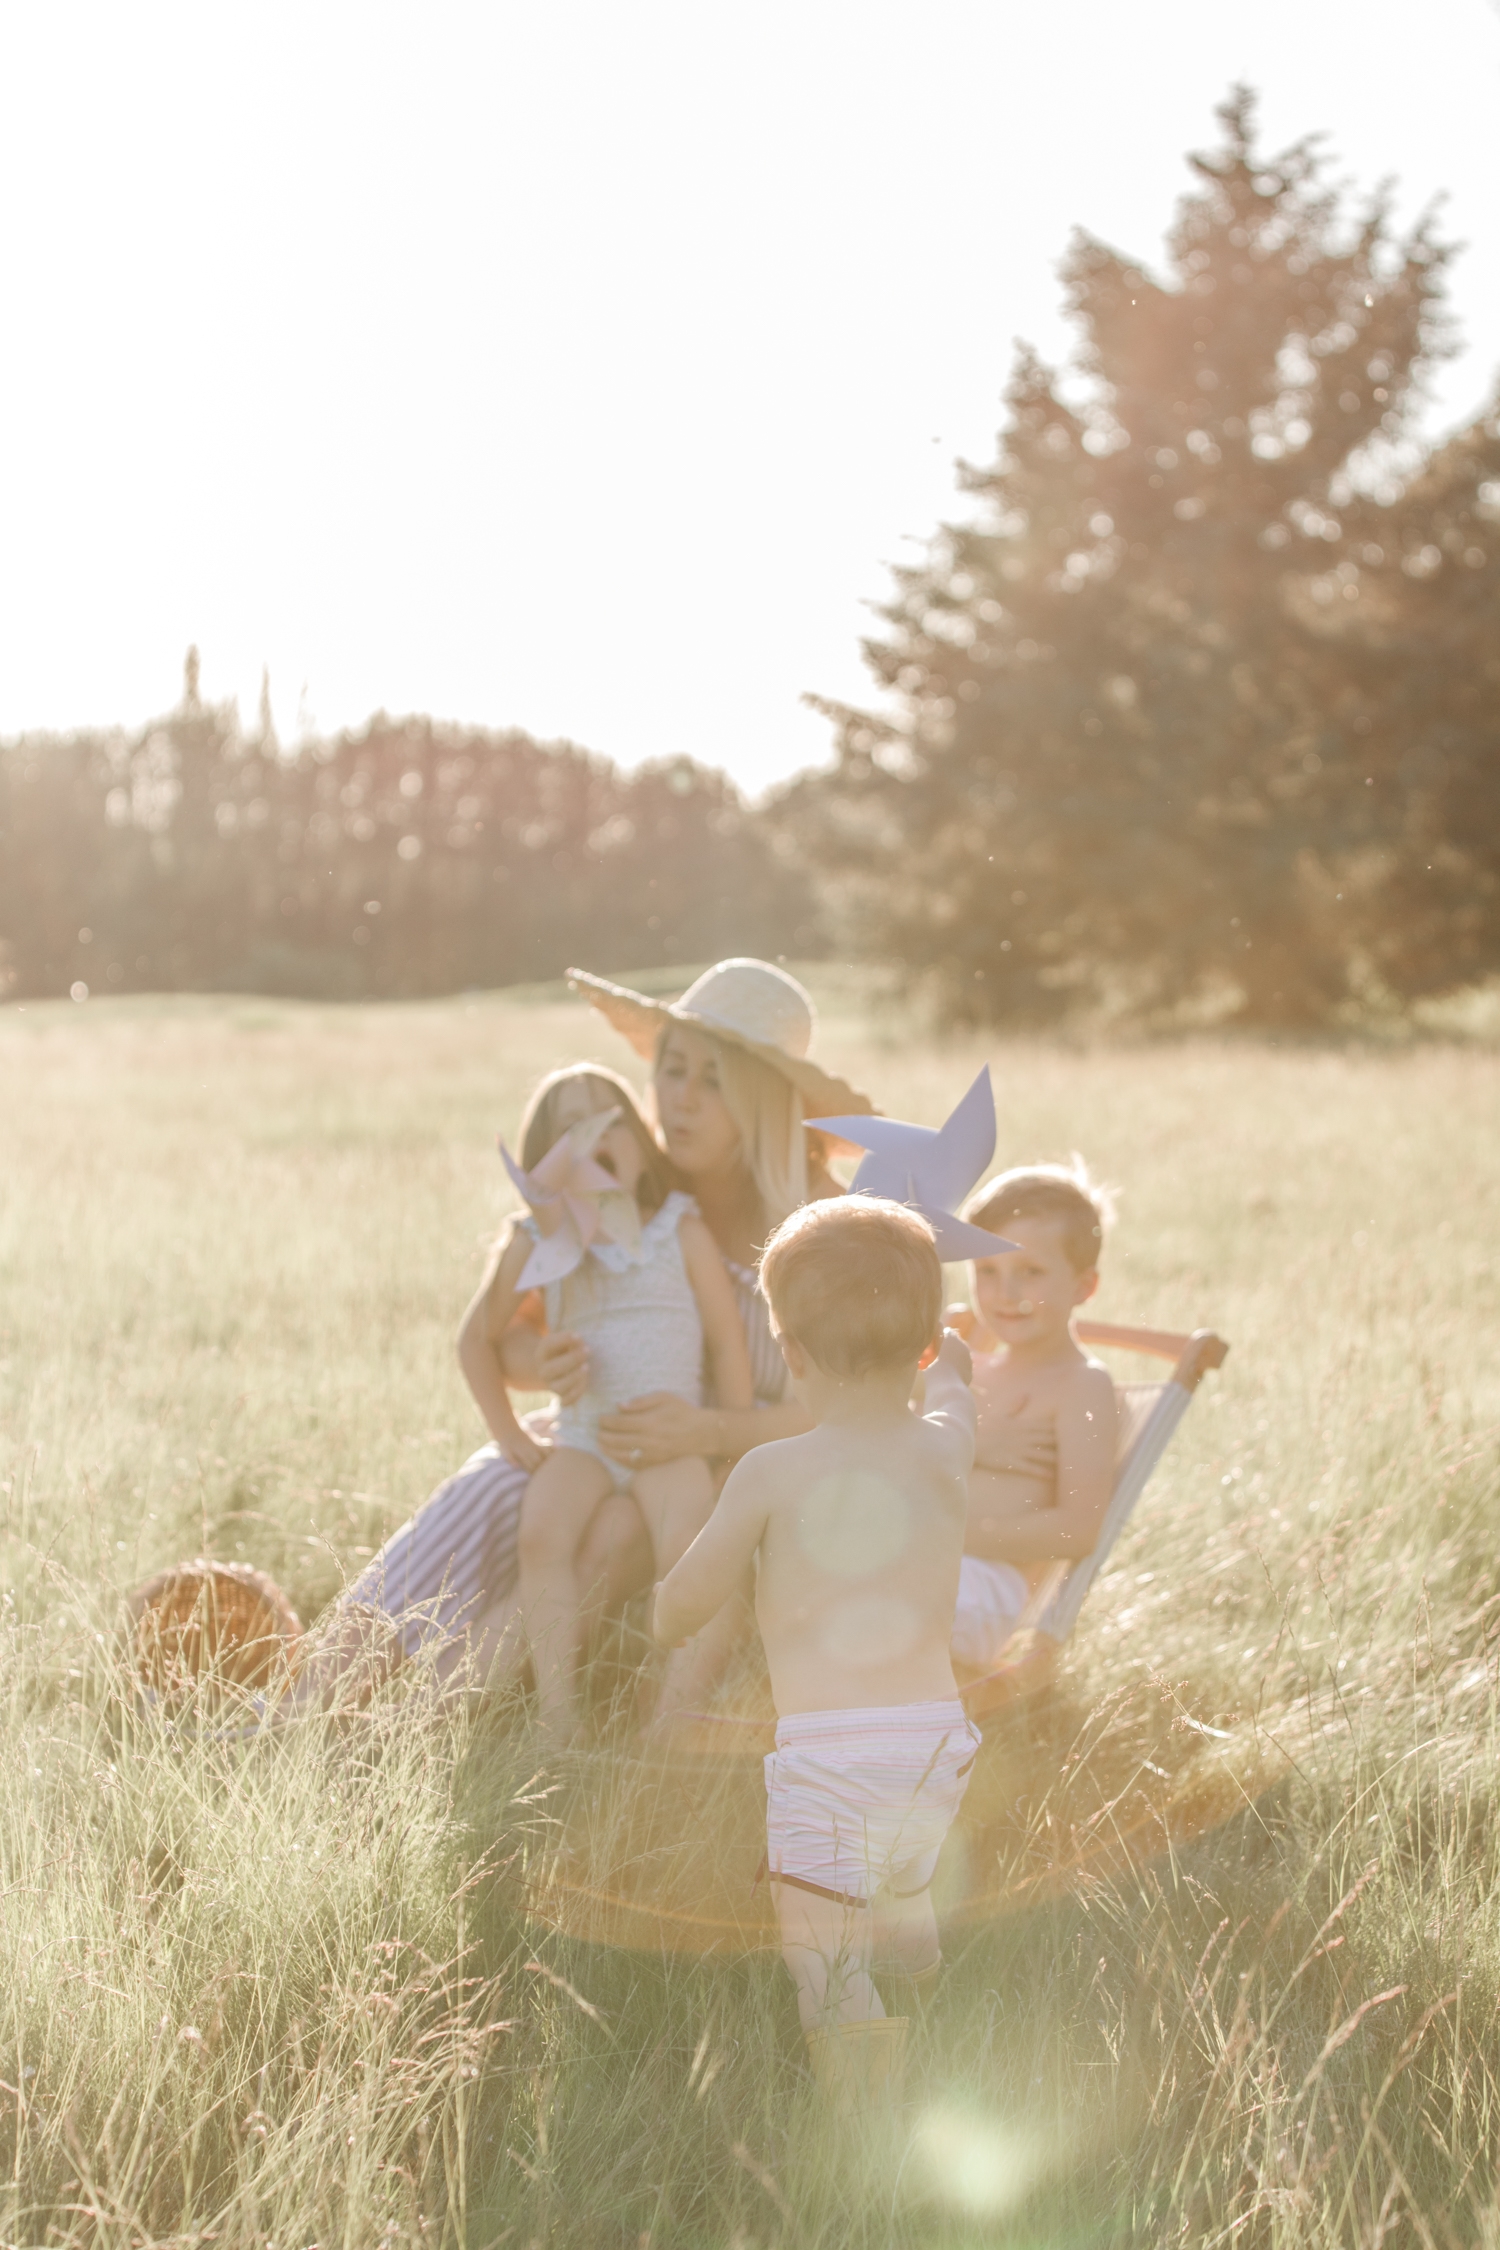
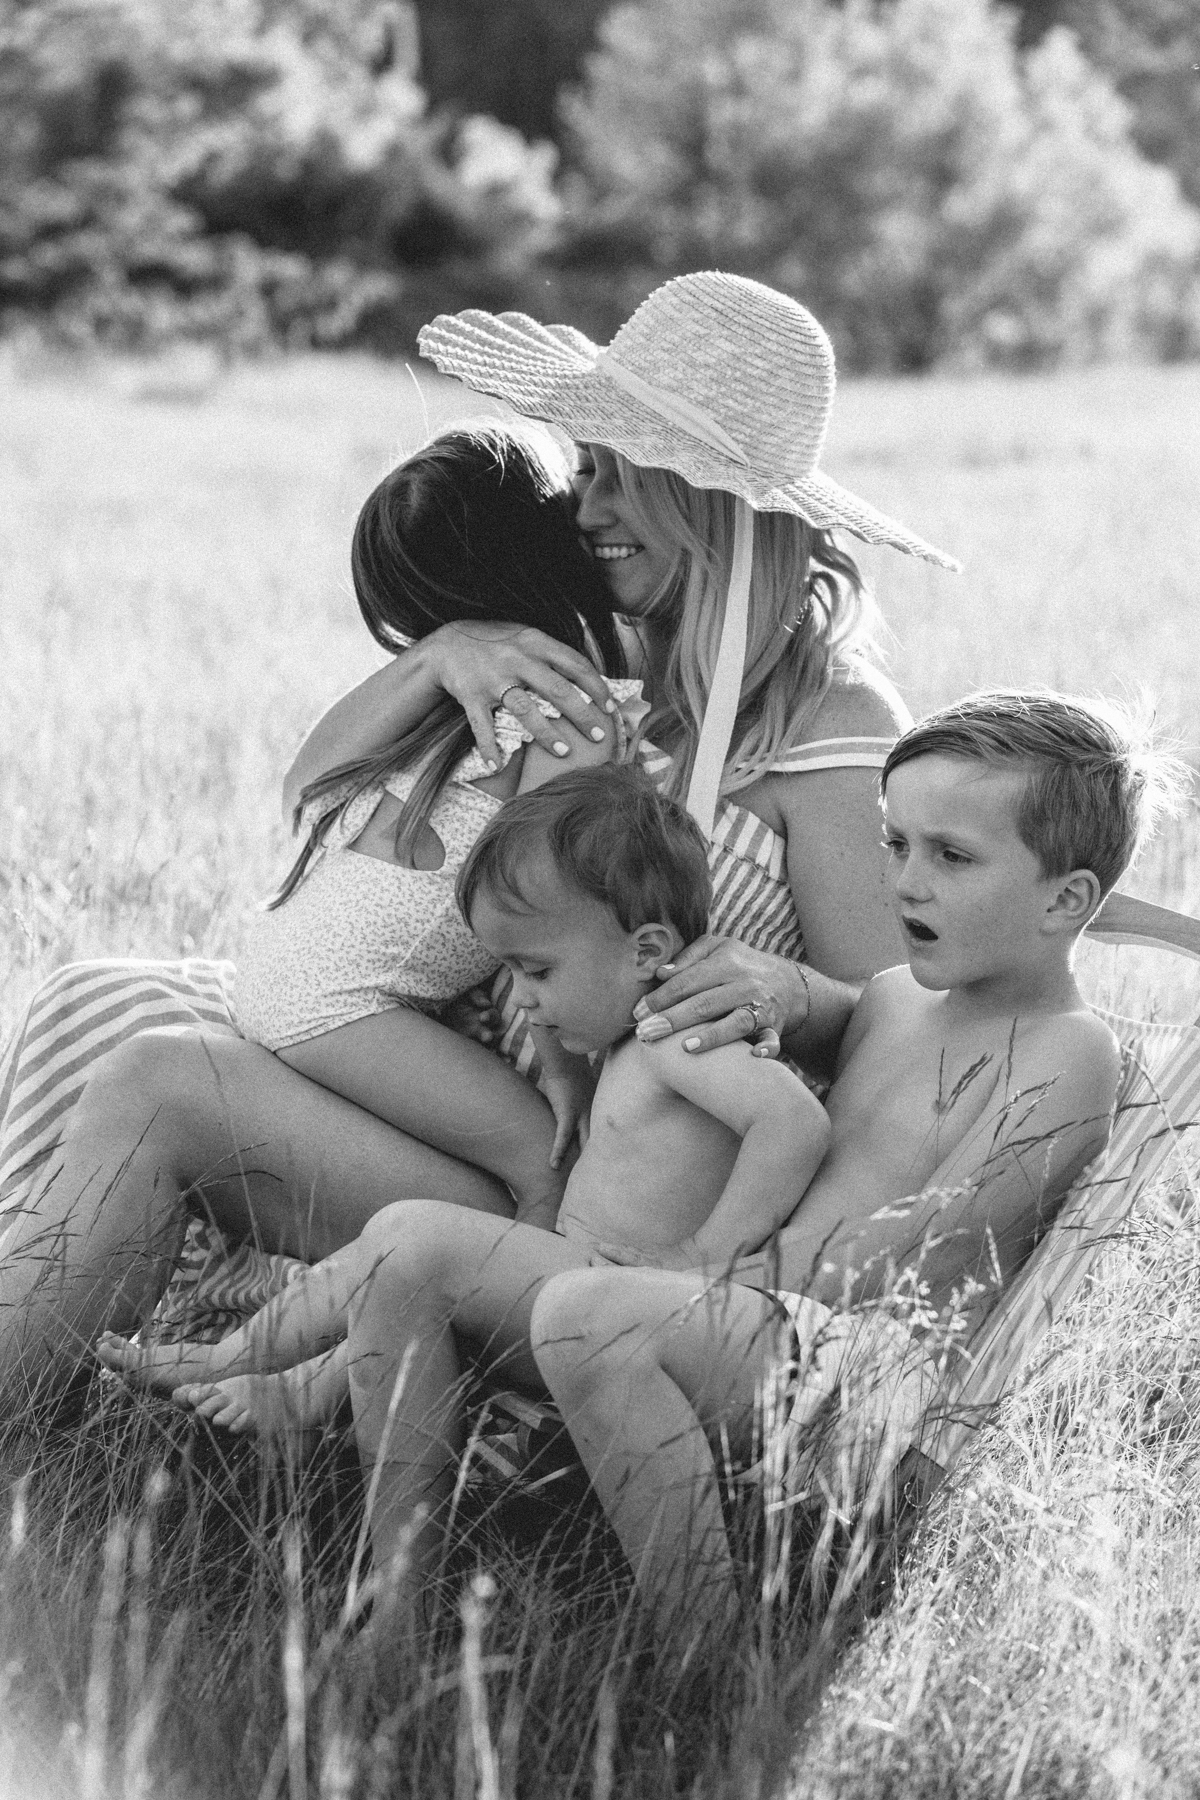
Blowing into a pinwheel and watching it spin brings me back to my childhood. Now having kids of my own these little moments make it extra special when my kids can now enjoy making crafts as simple as a pinwheel. These double-layered pinwheels are a fun addition to any party and could even be a fun craft for the kids to make (with a little help from the adults), or to take home as a party favour as you gather at home!
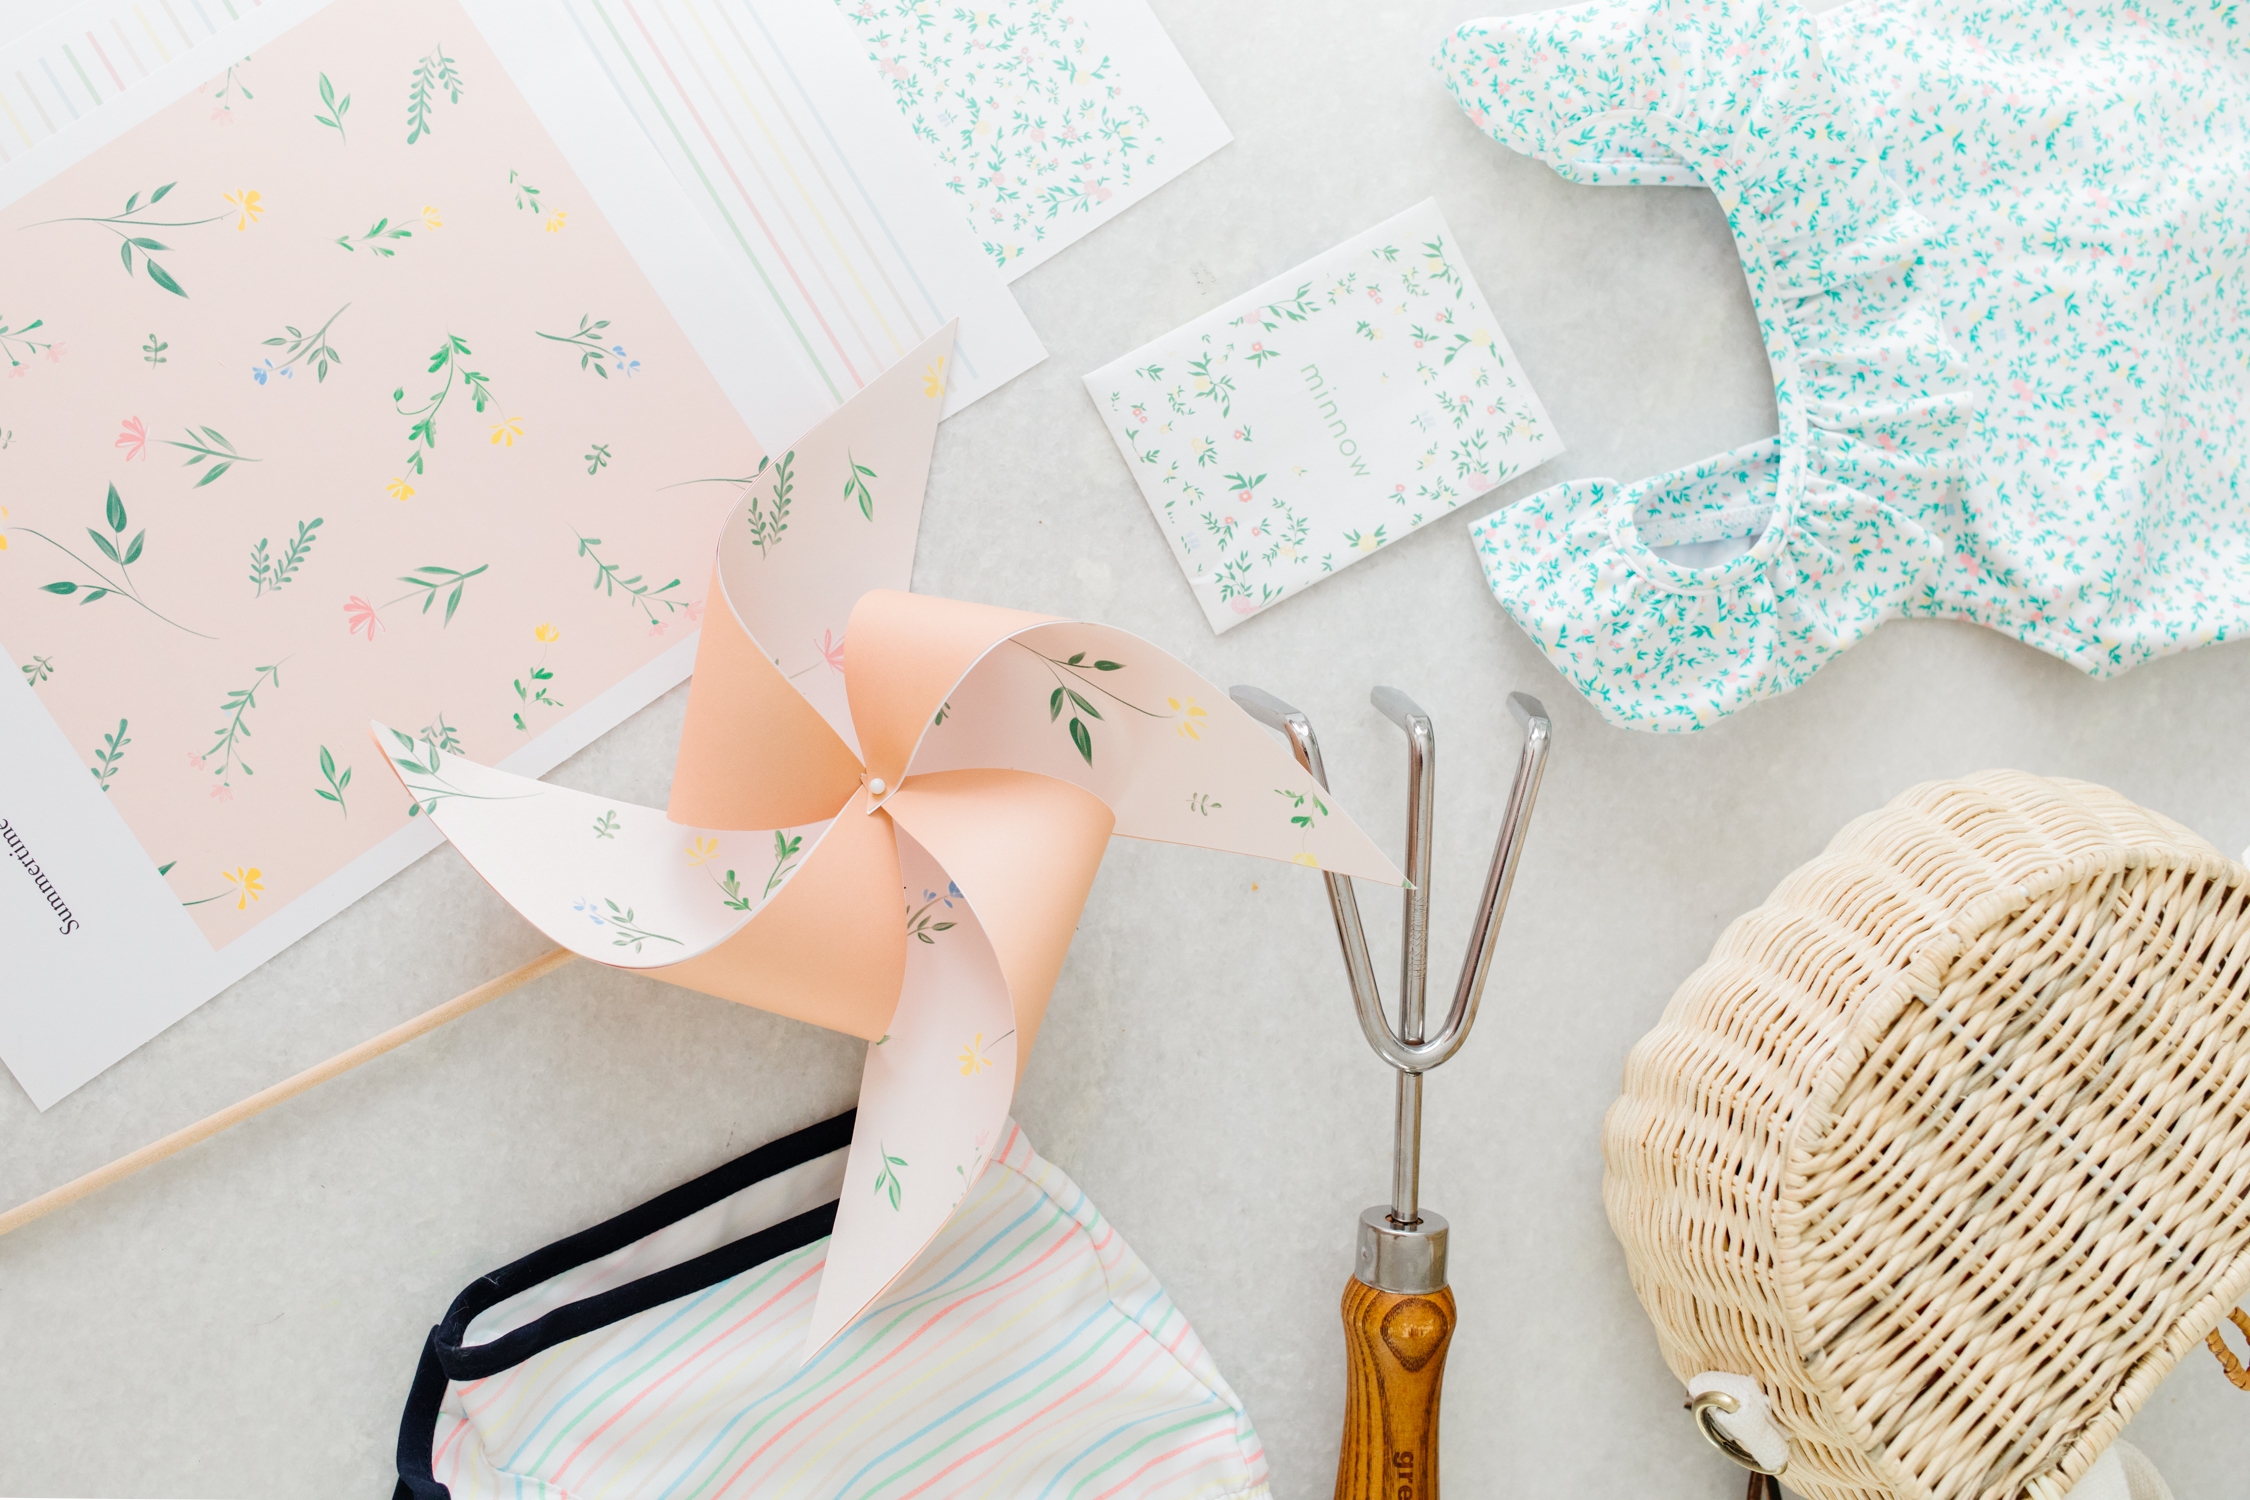
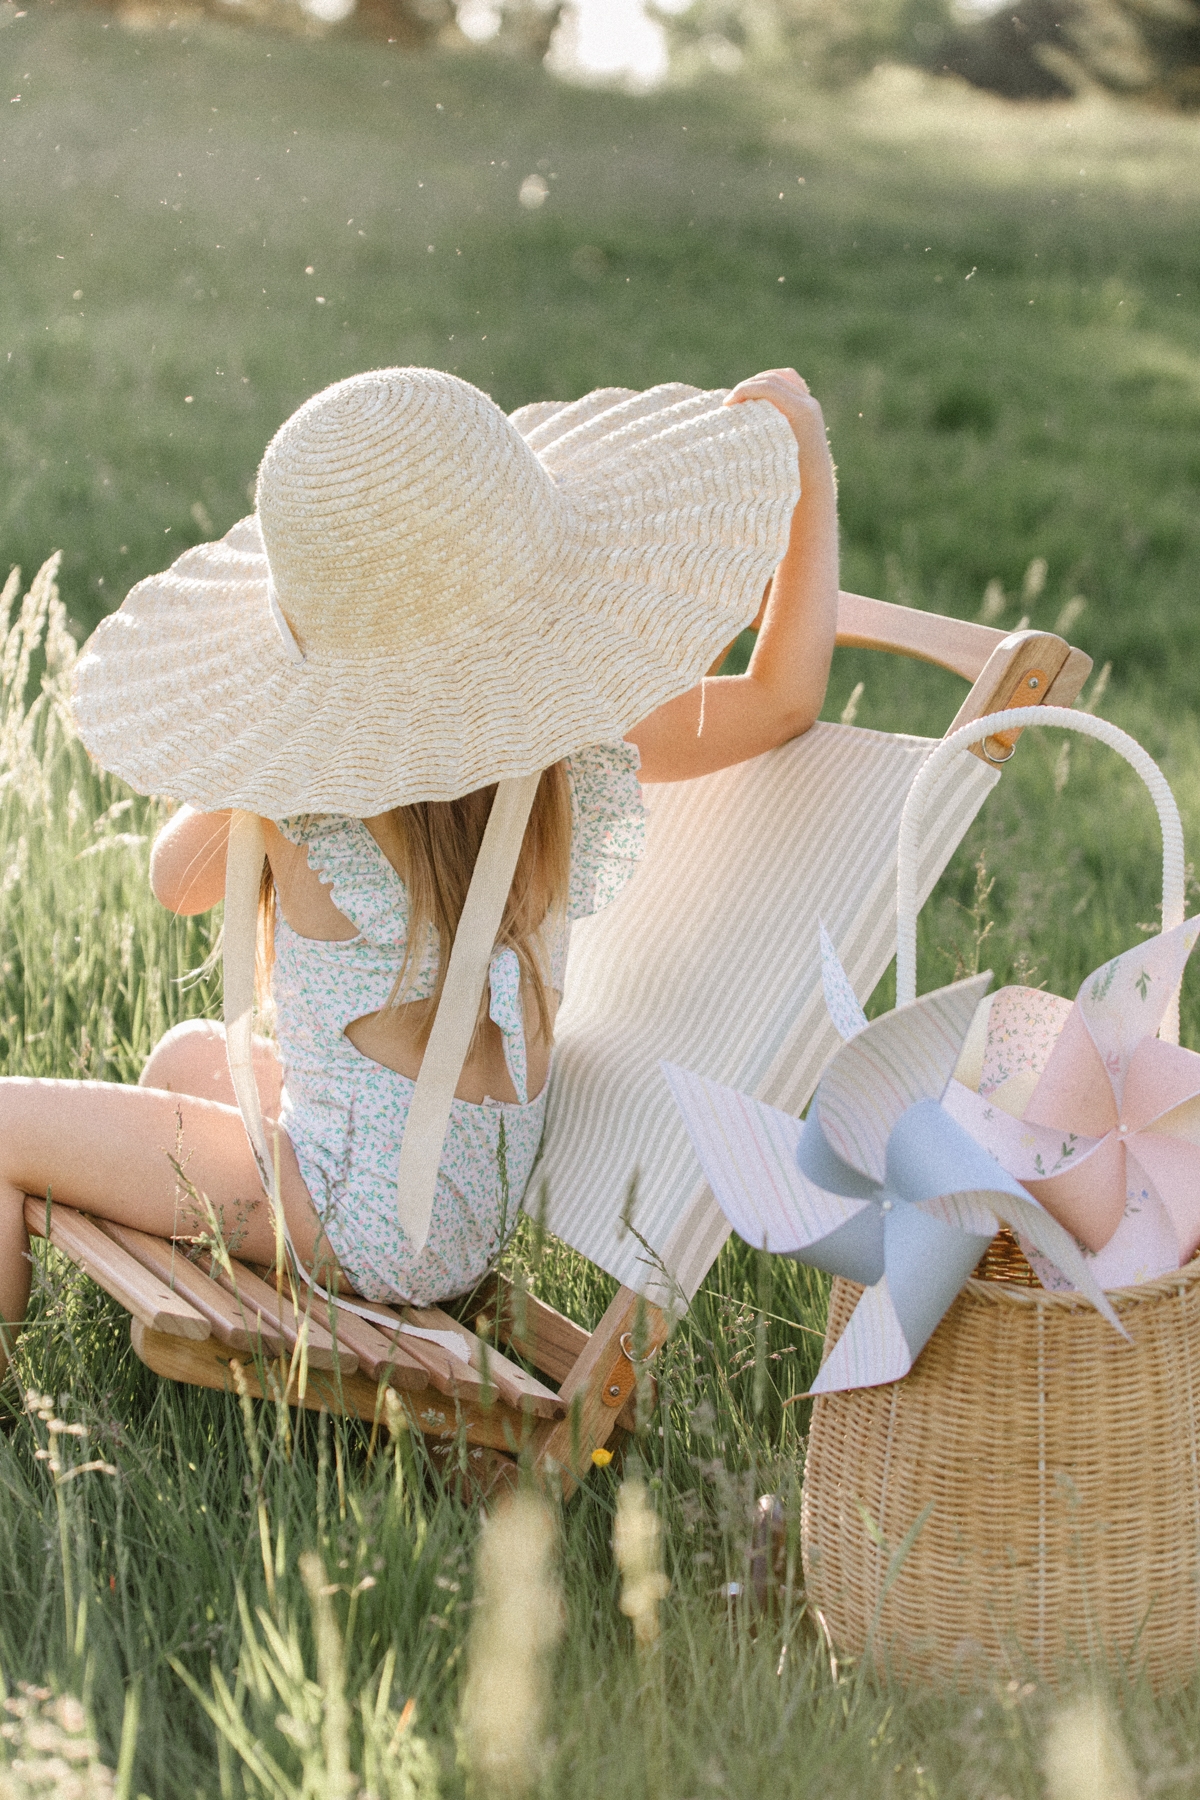
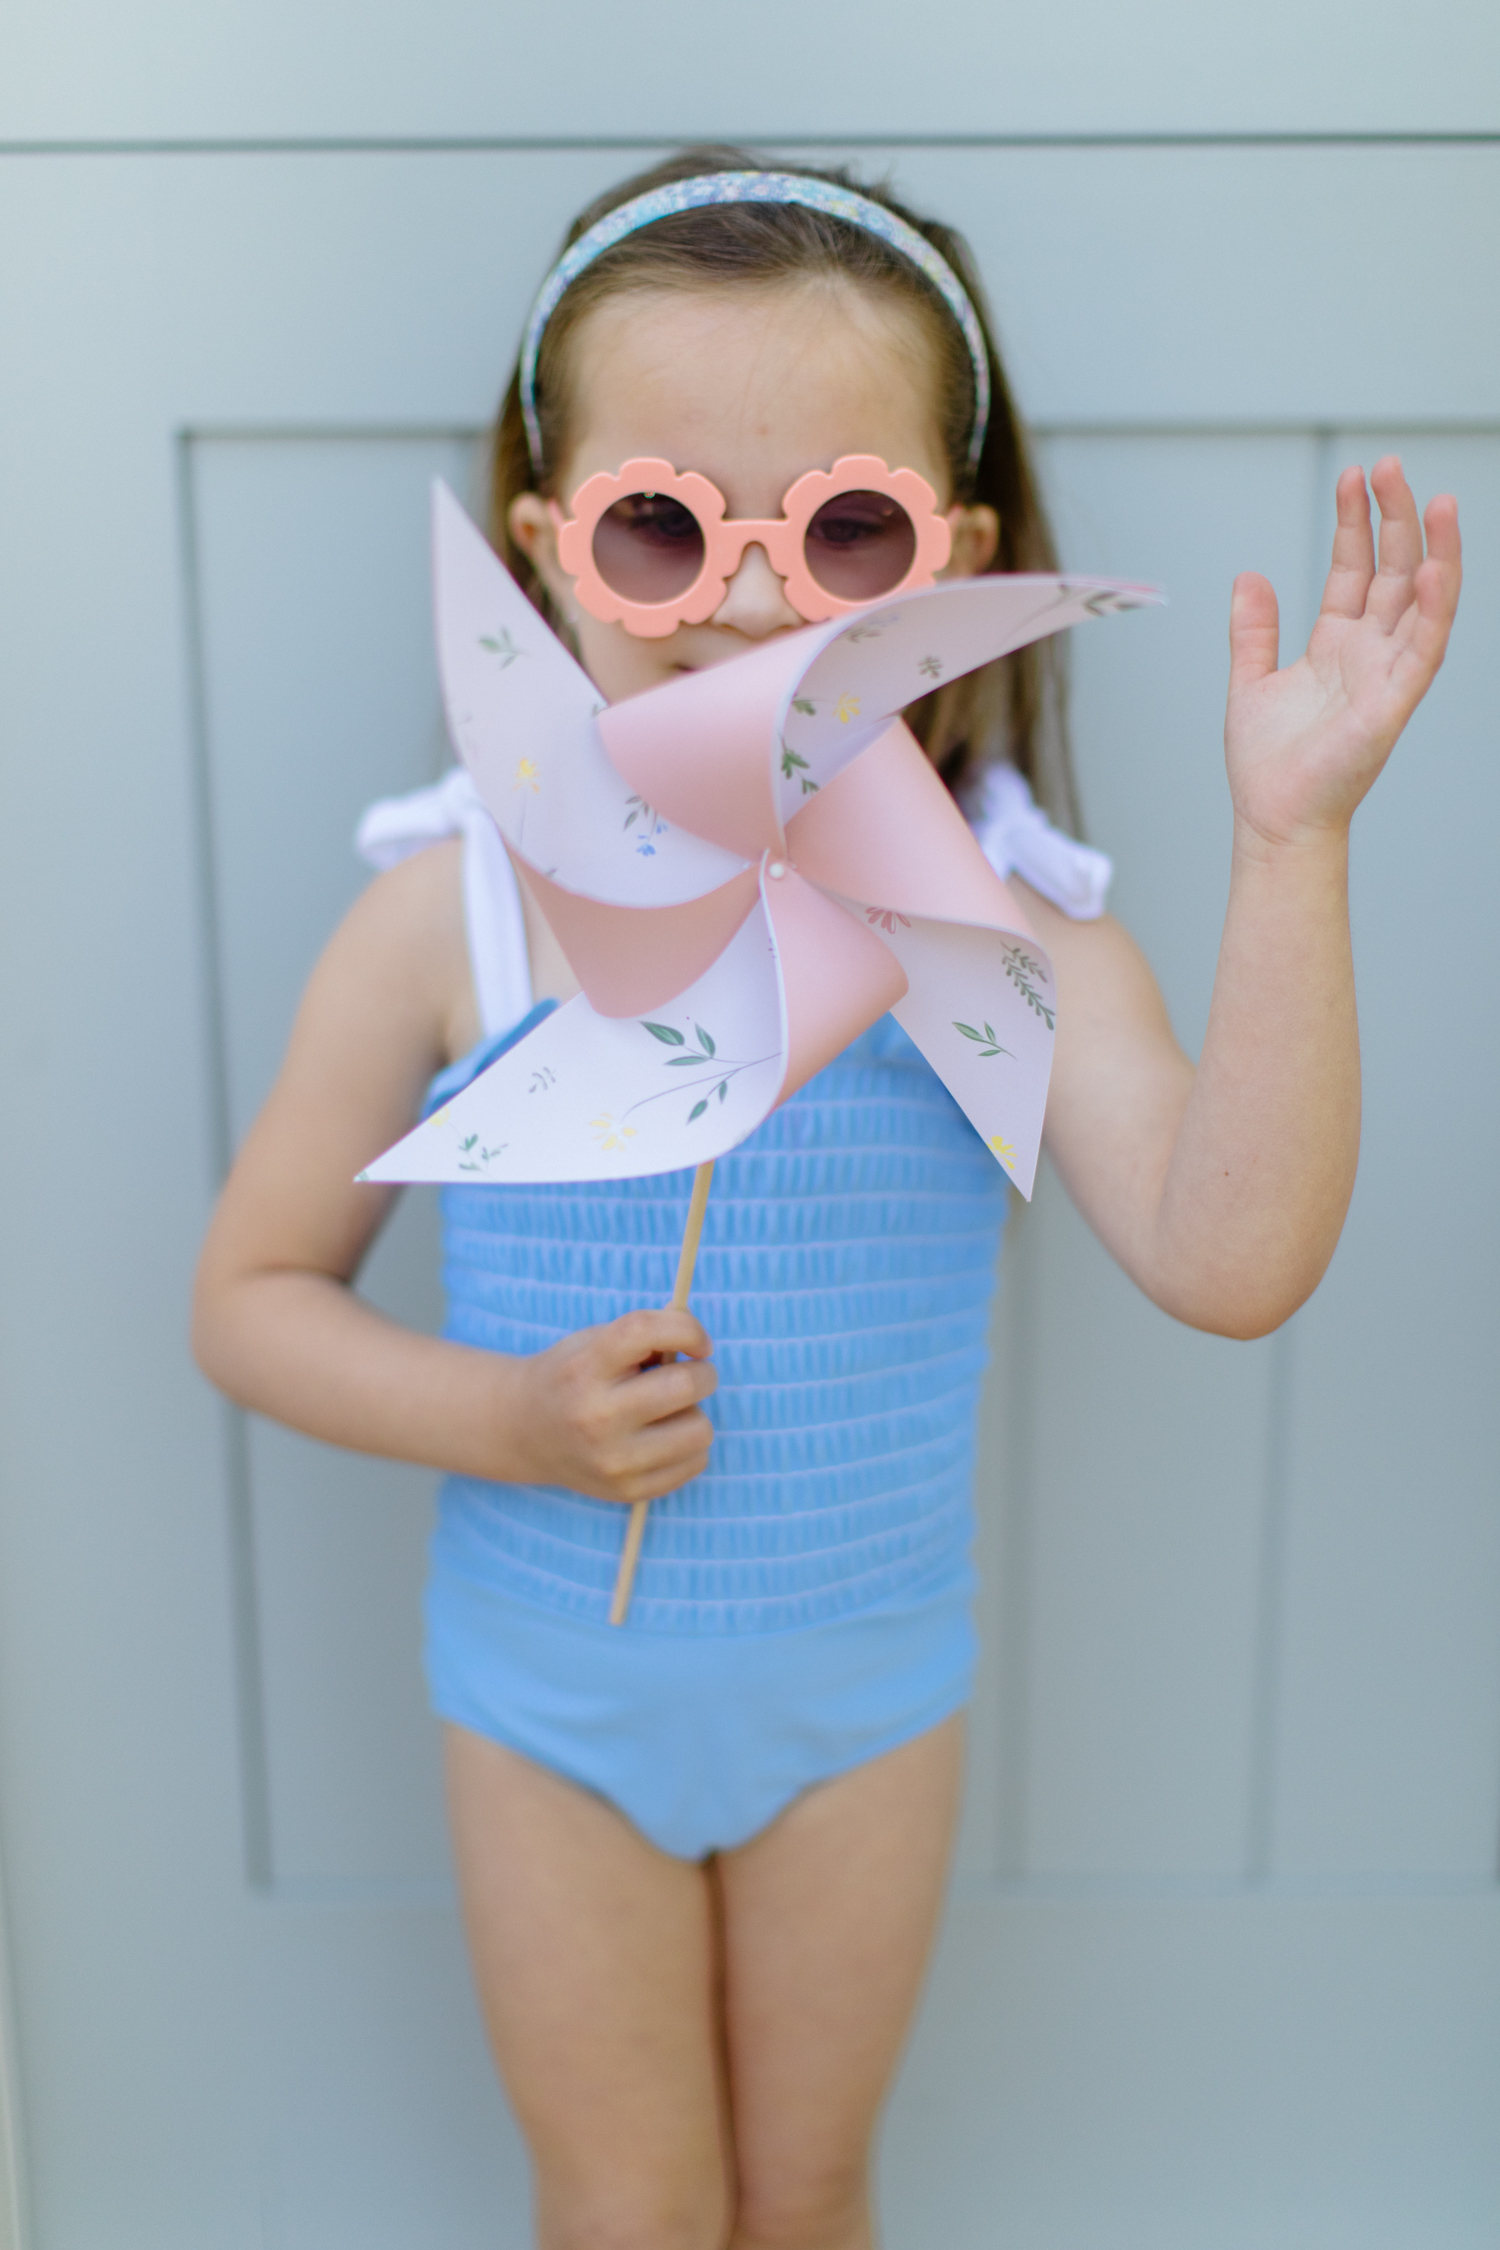
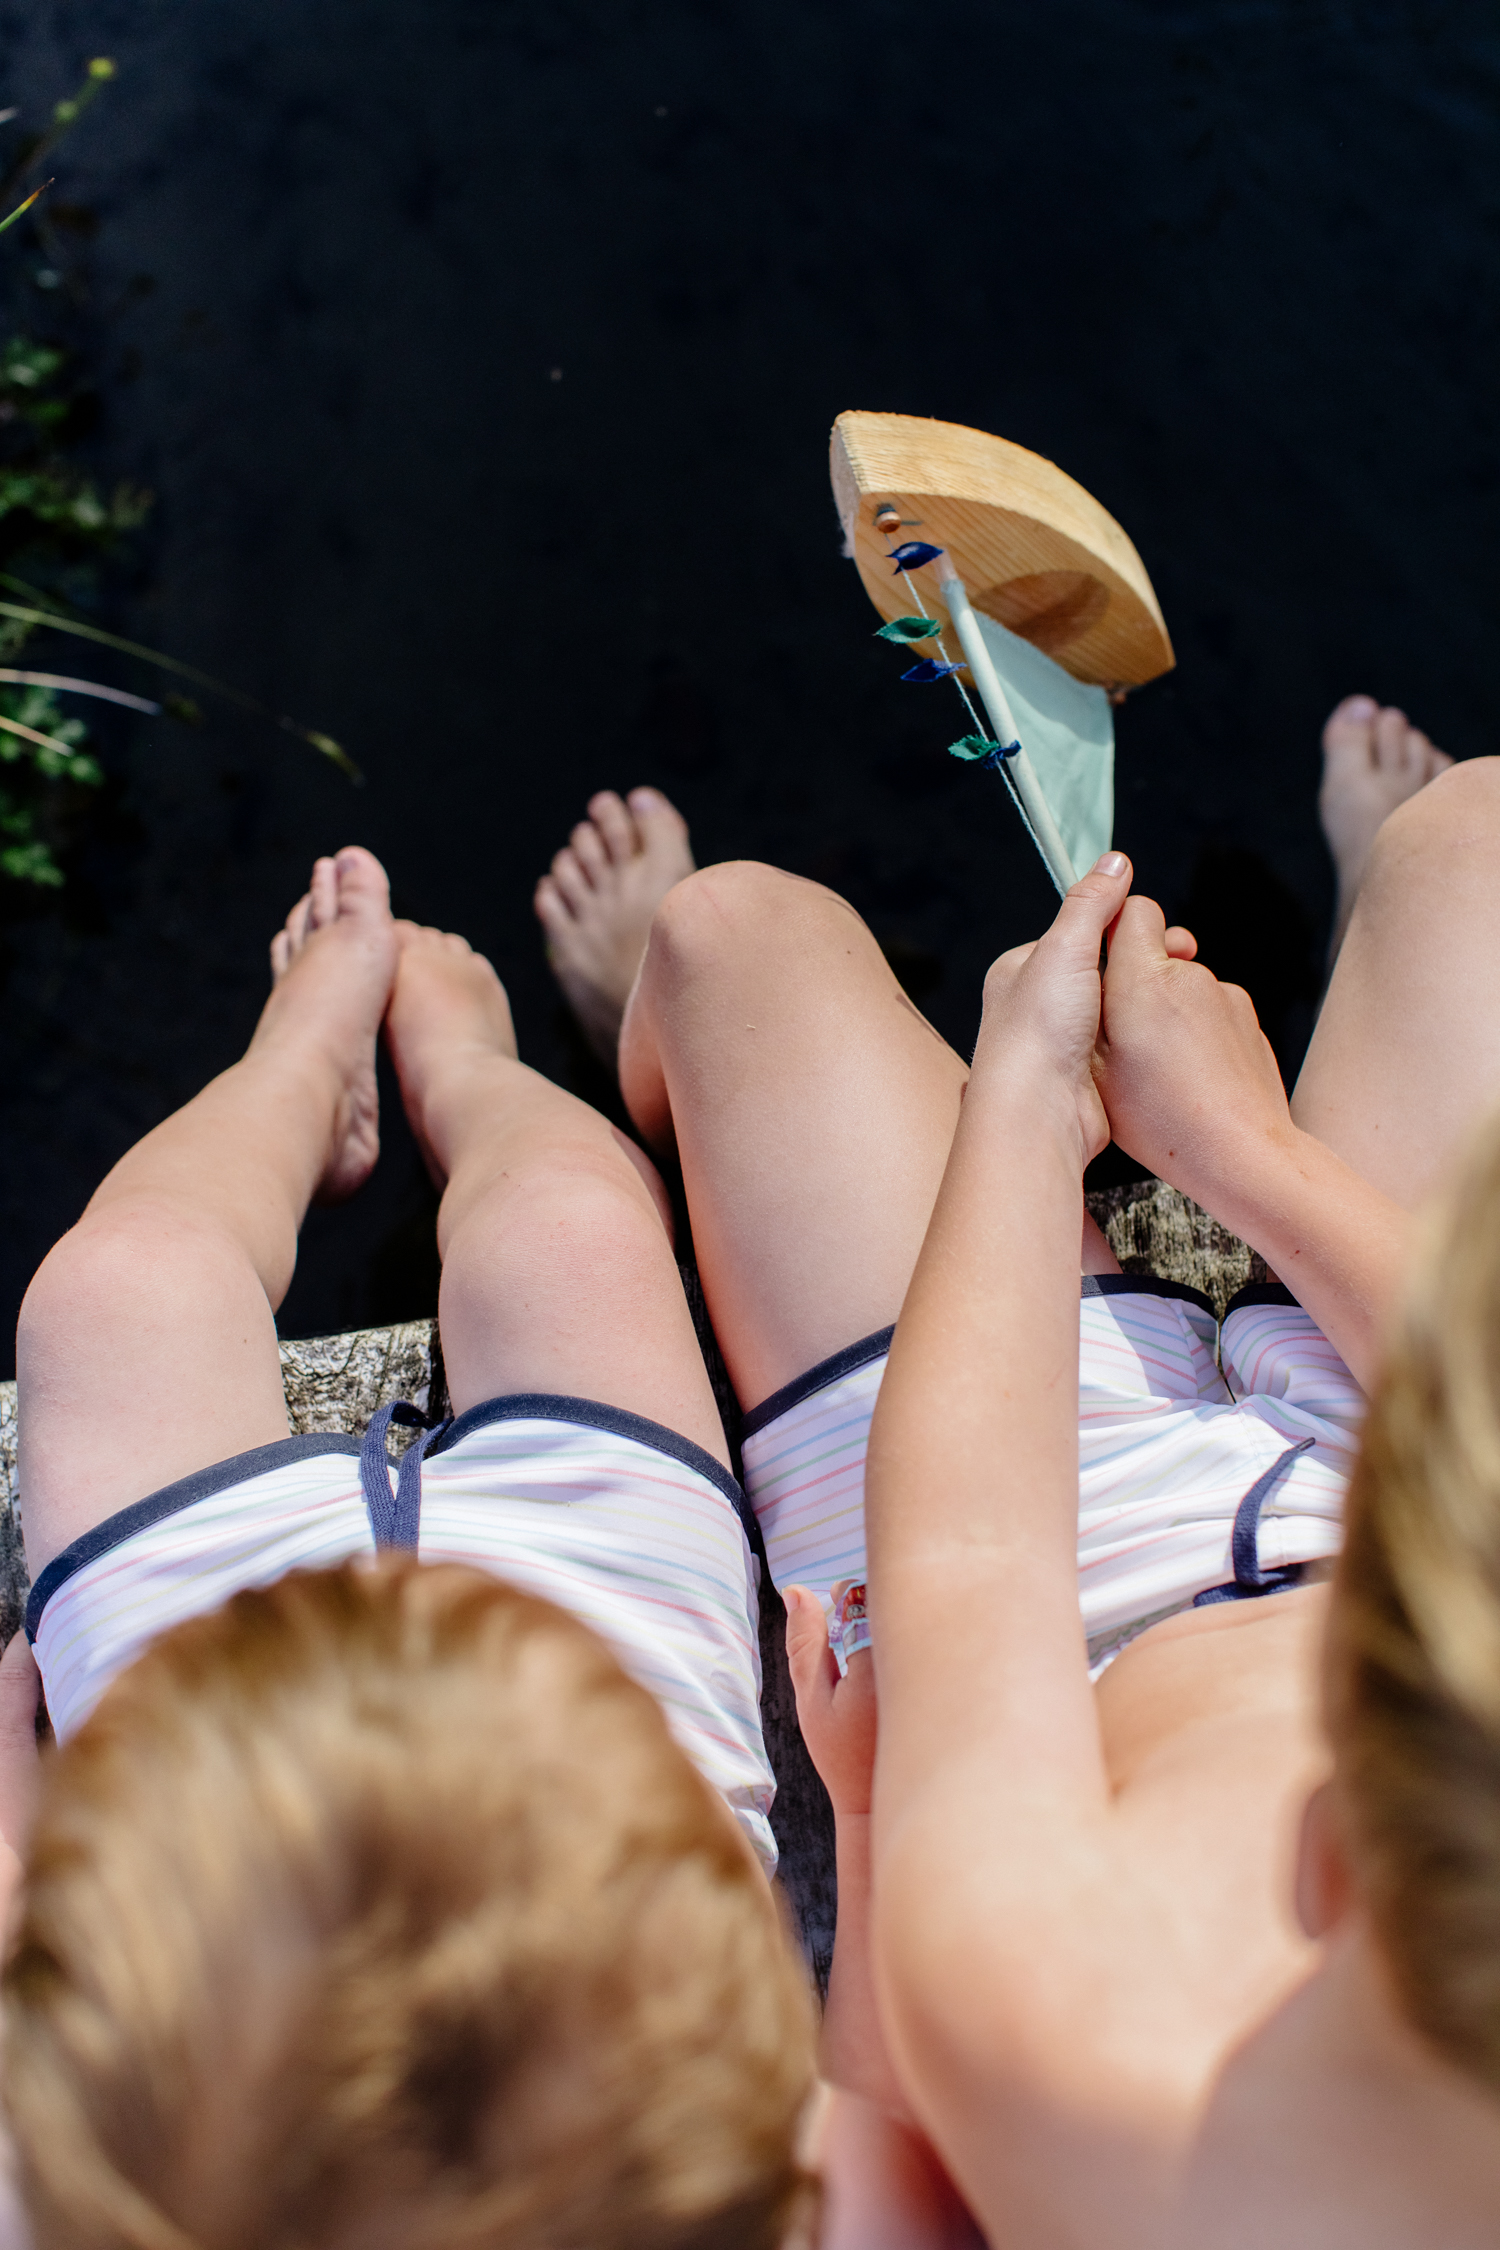
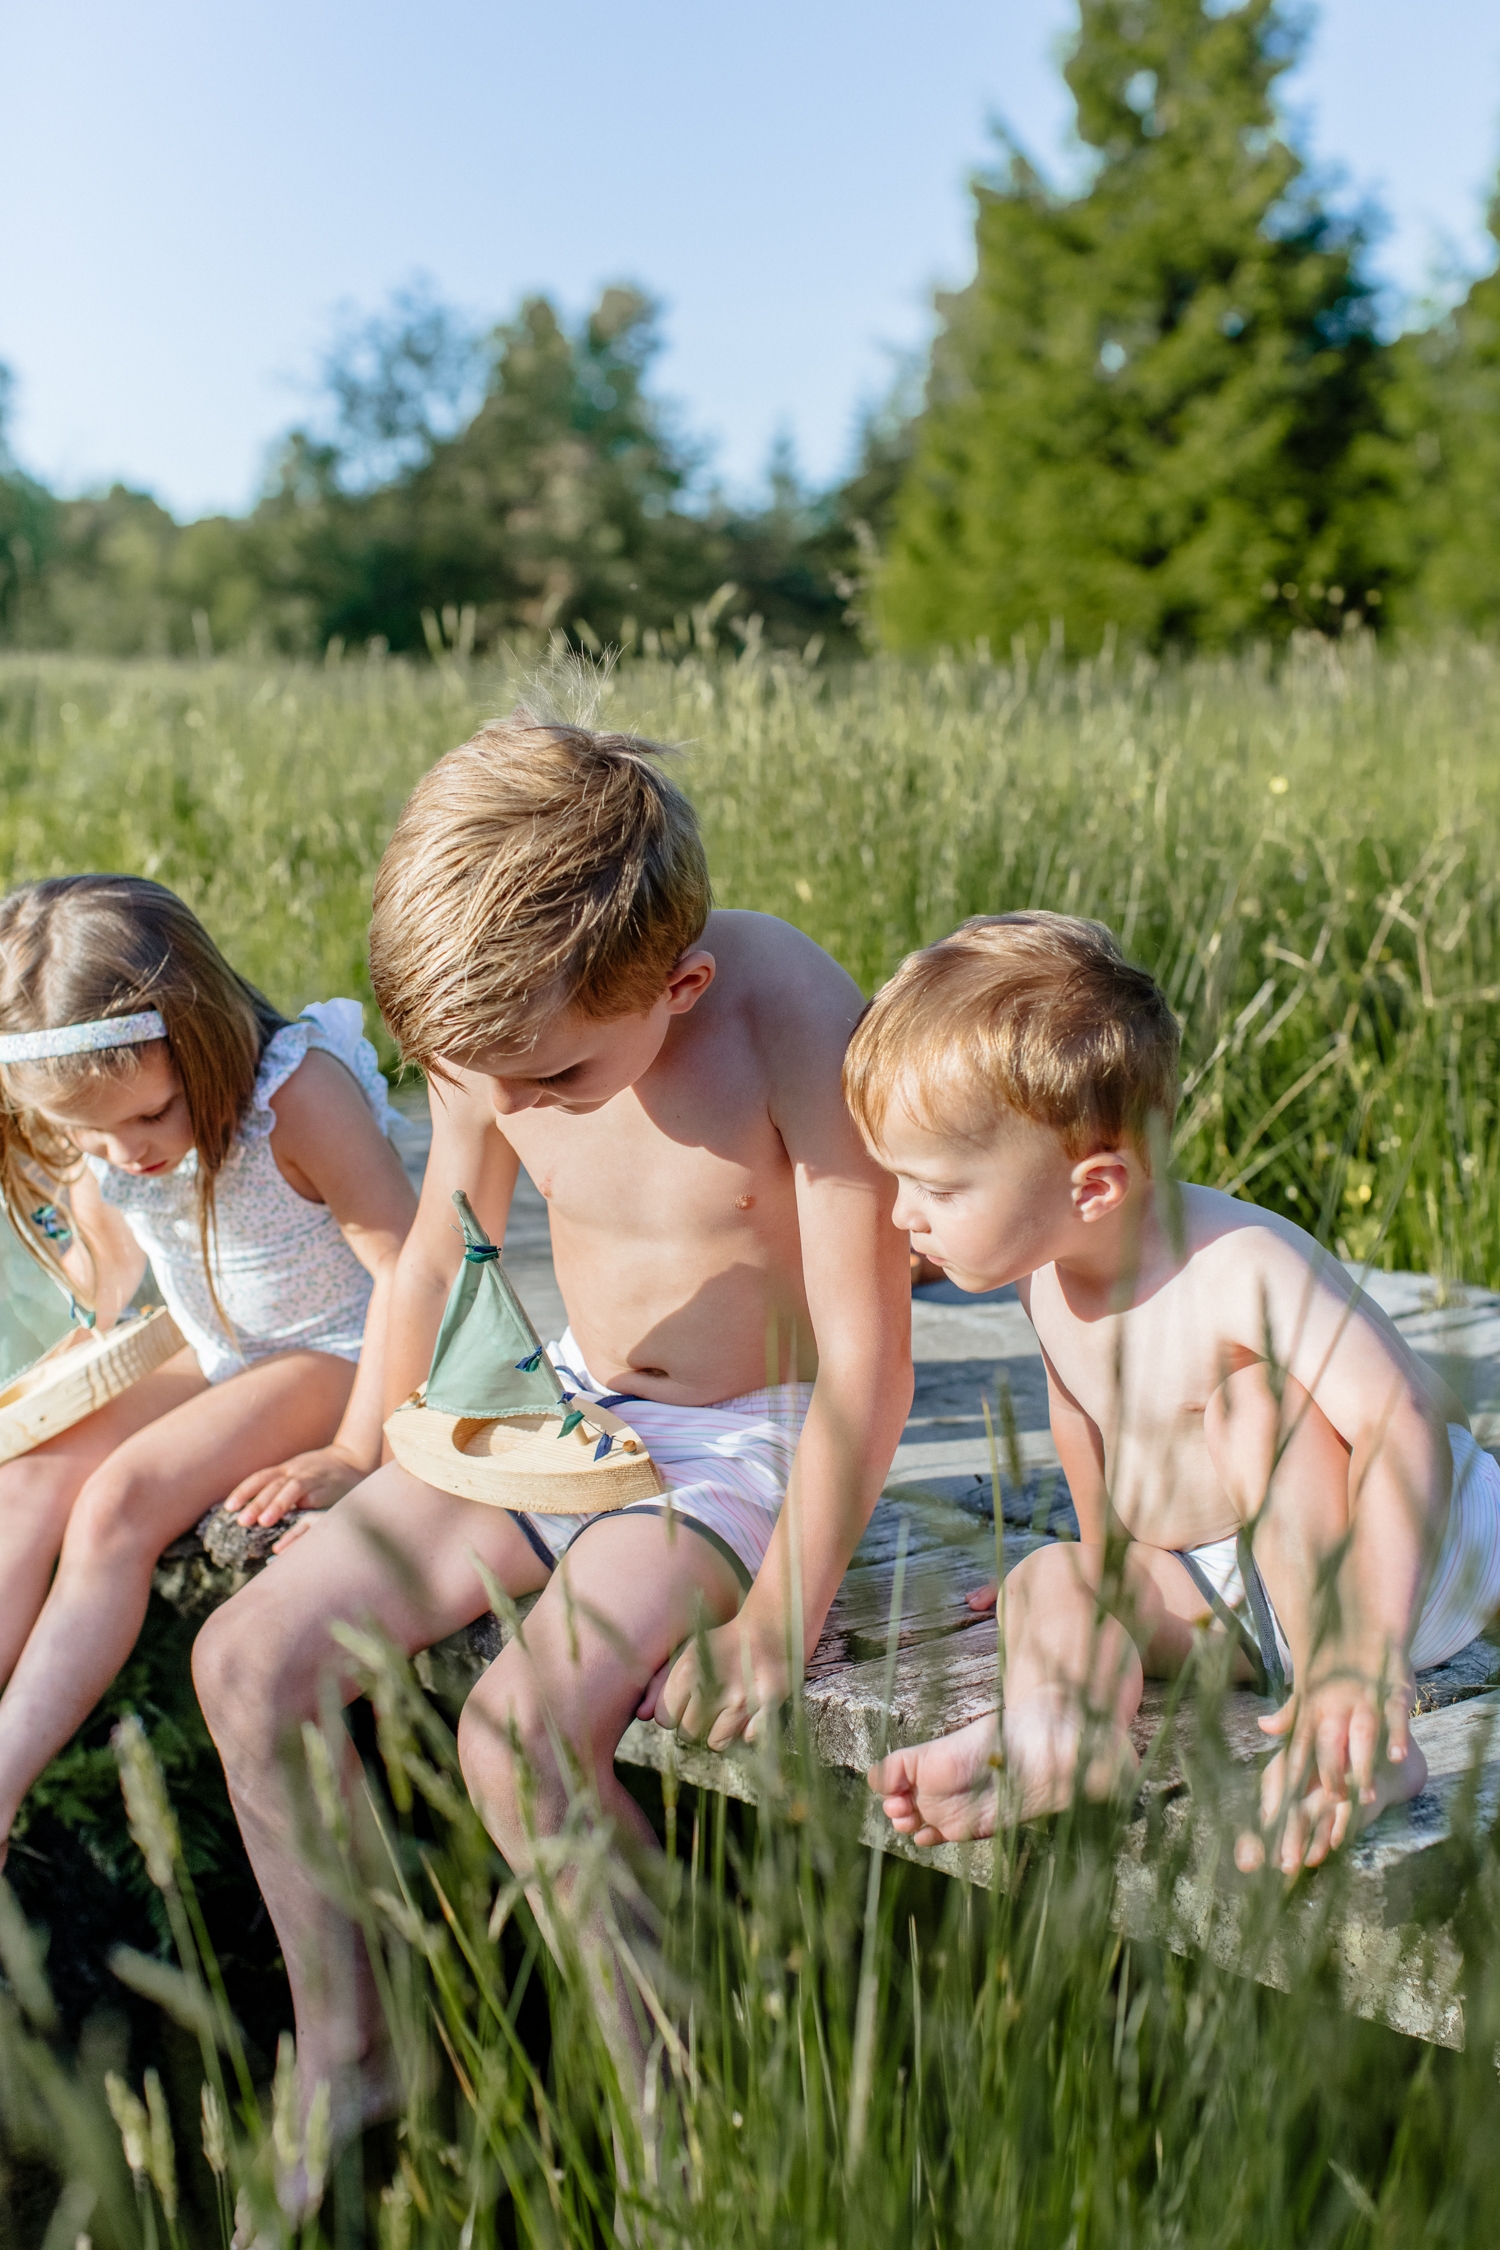
I’m excited to share a really fun DIY Pinwheel craft right out of my new book “Gather at Home“. And I’m even more excited to share that we partnered with my friends at Minnow Swim for the cutest printable designs right from their kid’s swimsuit collection! That’s right, printable minnow paper templates for you to make adorable pinwheels with your kids. How cute, a matching pinwheel to their sweet little bathing suits… in garden floral, botanical pink and antique rainbow stripes.
We’ve been long time fans of Minnow, since Liam was a little baby!! It’s been so fun to see their company grow, with amazing collaborations, including a recent one with J. Crew! How cool is that? There is no hiding that fact that I’m constantly inspired by another fellow Momma’s company (Morgan, who’s also become a great friend), with there adorable children of her own. You’ll find handsome little swim trunks and rashguards for the boys, to pretty bikinis, one pieces for the girls. And now, with an added matching pinwheel in hand! I cannot wait to see you all make these pin wheels to enjoy all summer long. They’re easy and such a fun activity for the entire family. I know you will love them as much as we do! You can find the steps and instructions below.
Garden Floral Ruffle Collar One Piece
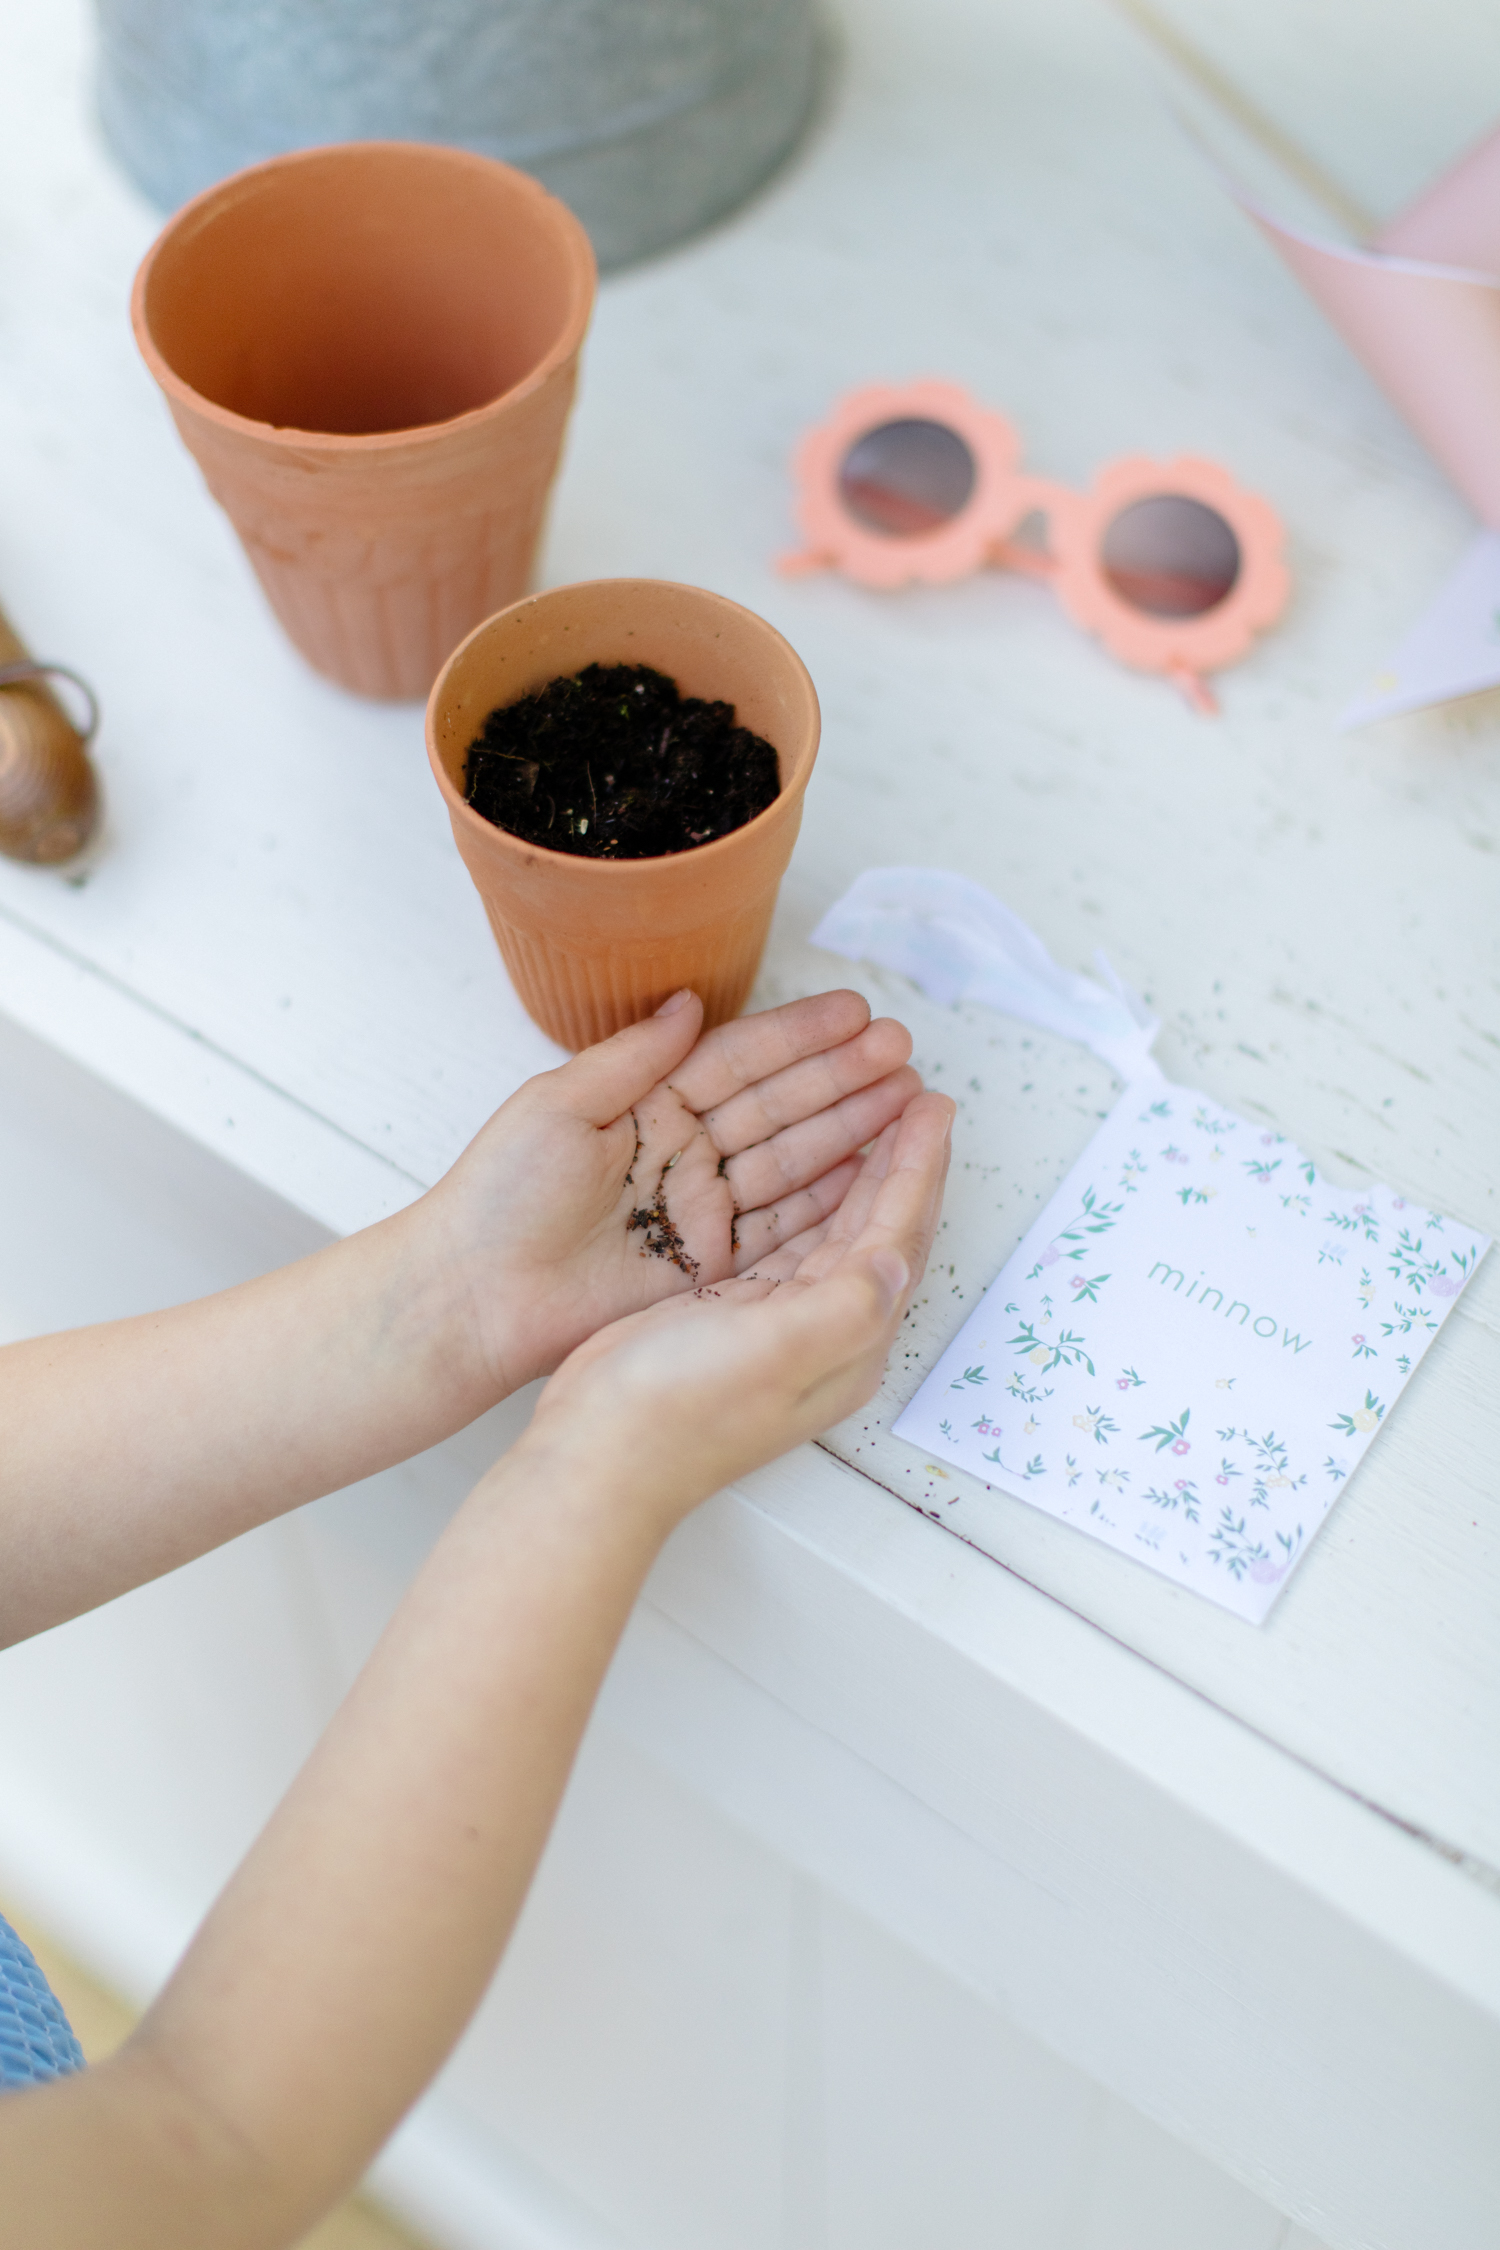
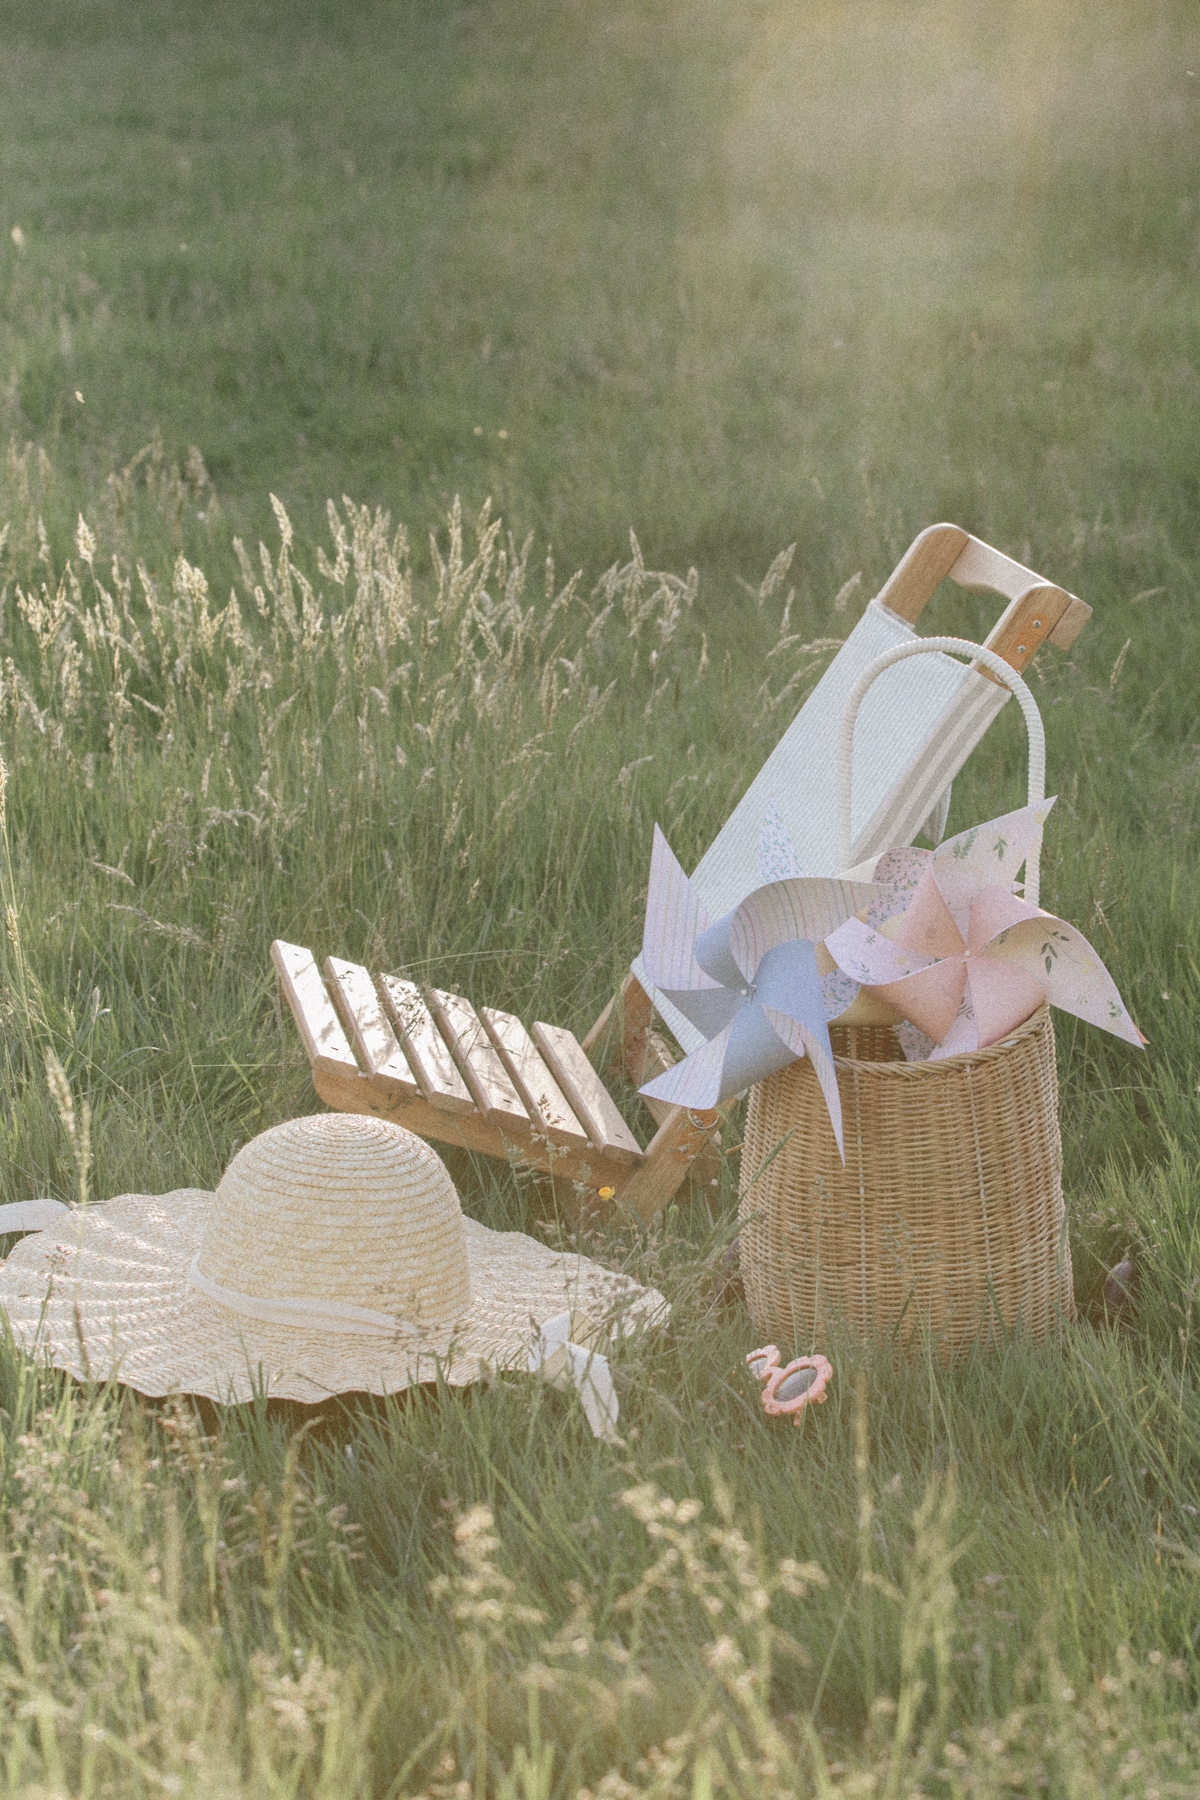


Minnow Pinwheel Templates:
Follow the link below to receive your free Minnow print Pinwheel patterns and templates.
Supplies
Scissors
Cardstock in colours or patterns of choice
White extra-fine glass or plastic head pins (size 22)
Dowels 16 inch in length
Hot glue gun and glue
Small clear beads (1/4 inch)
Small needle nose pliers
Ruler
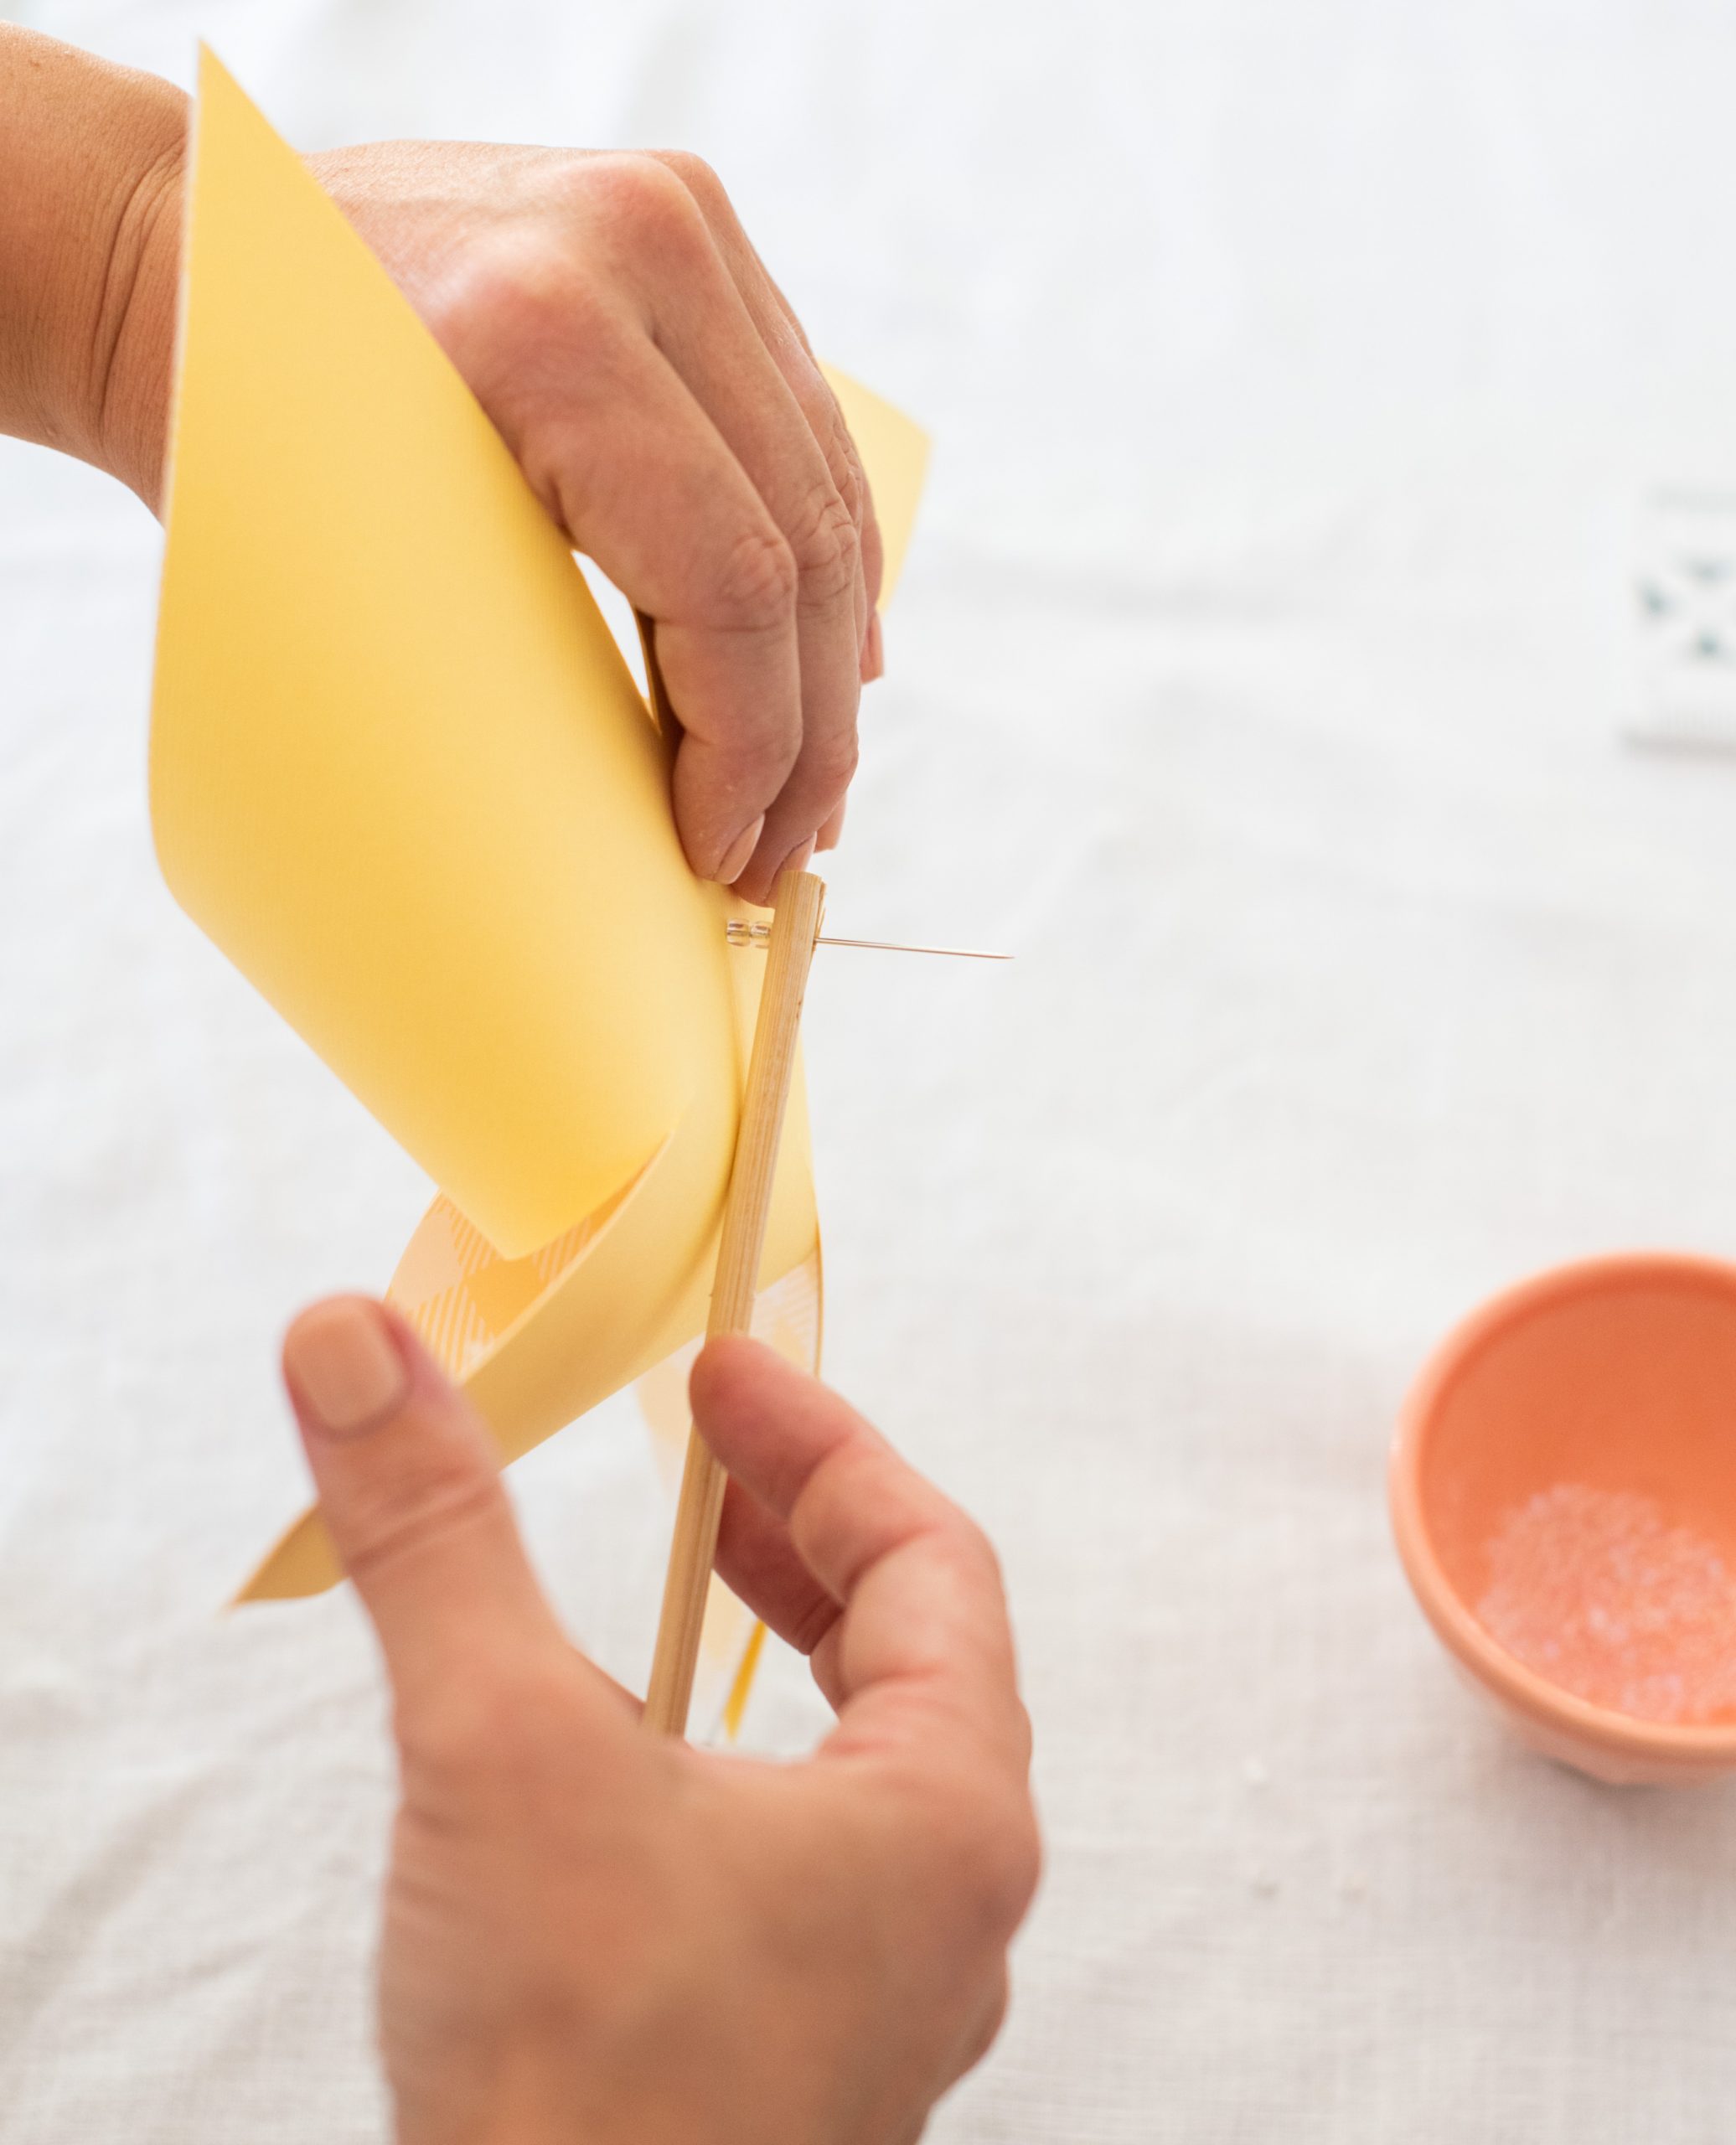
1. Use the tracing paper to copy the pinwheel pieces on to your printed minnow patterned squares. Cut out the printed squares. Cut another square piece from a solid colour piece of cardstock paper. This will five you a color block effect.
Cut along the dotted lines, making sure that the cuts are even and do not meet in the middle.
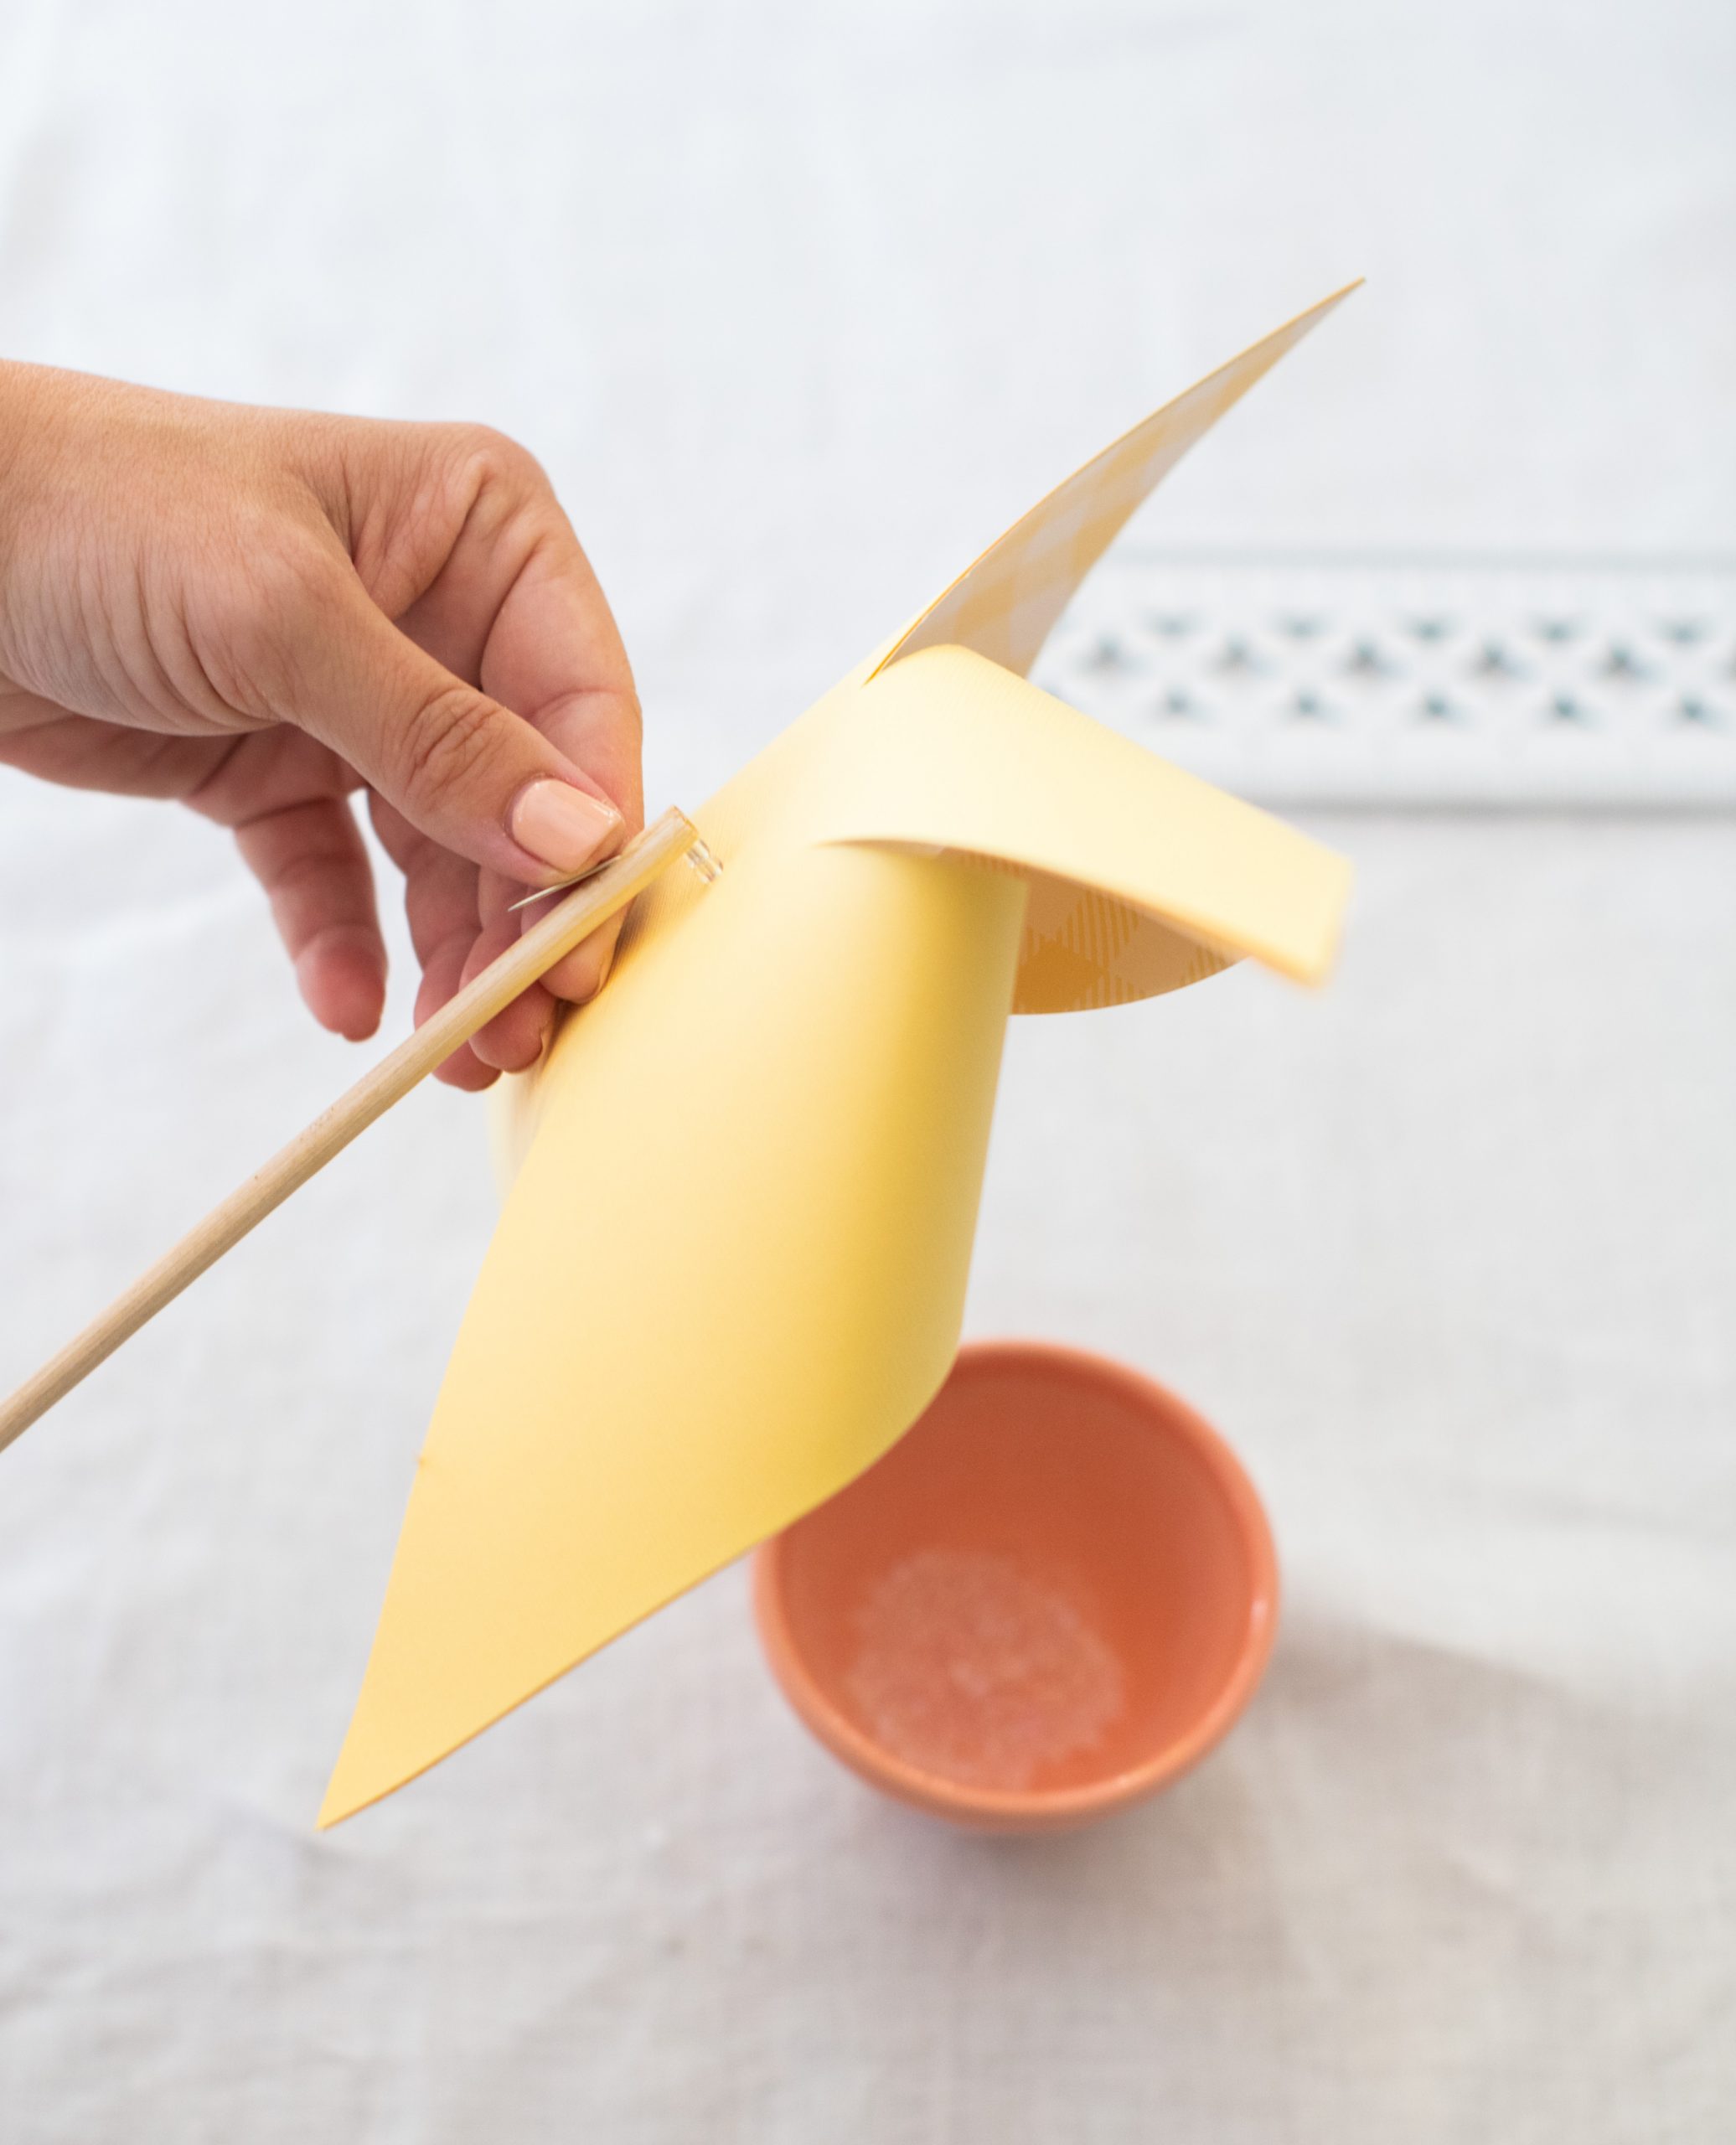
2. Put your two pieces of paper on top of one another. Gather the points of the square to the left of each cut and connect them by puncturing the glass pin through all of the points. Push the pin through the centre of the cardstock to form the pinwheel shape. Thread two clear beads onto the end of the pin that is sticking out of the back of the pinwheel. Set aside.
3. Using scissors, cut a small ½ inch (1 cm) long slit at the top of the dowel. Slide a second pin through the bottom of the cut on the dowel to help create a small, loose opening slit. Remove this pin. Push the glass pin through the bottom slit of the dowel. Using pliers, bend the metal of the glass pin so that it butts up against the dowel. Secure with hot glue, making sure to hold still until it dries completely.
4. Test the pinwheel to ensure it spins!

Shop The Post