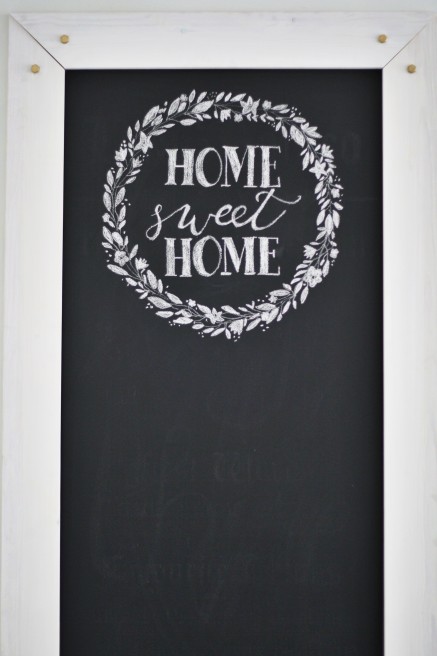
My Secret to Chalk boarding
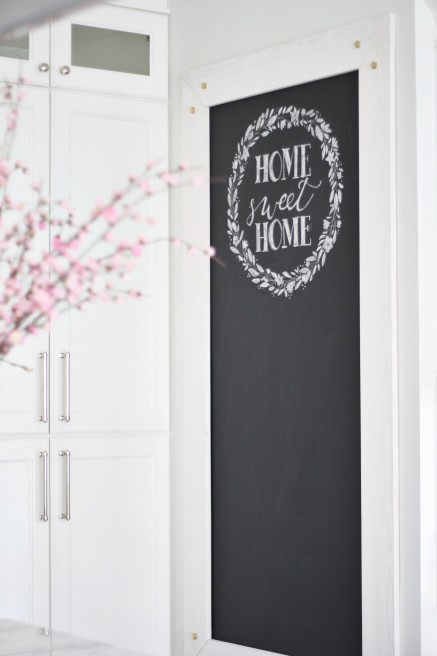
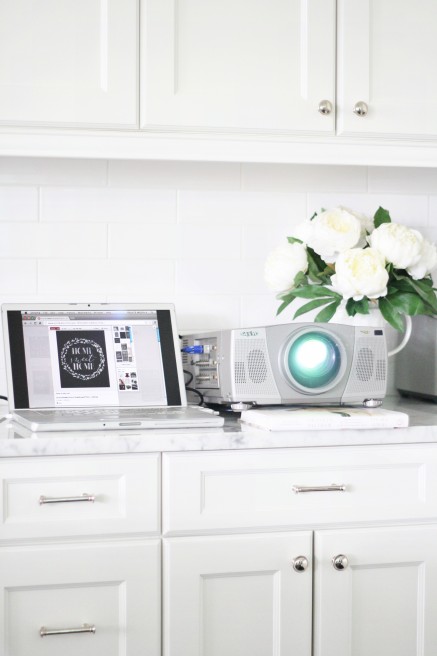
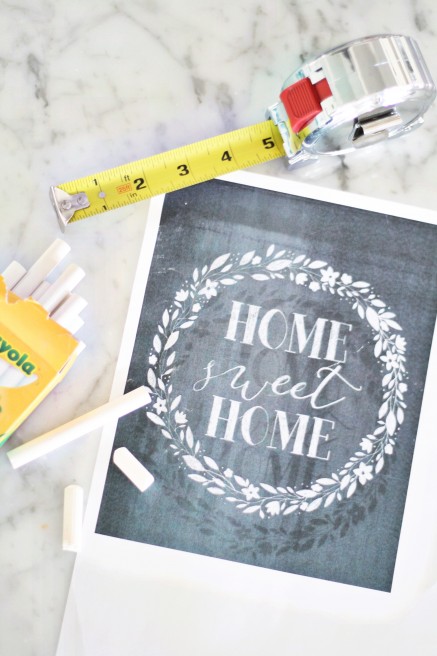
I think it’s time that I finally shared by “chalk-boarding” secret. I’m not an artist by any means so I use an interesting technique to bring someone else’s art to life in chalk! I find or create an image that I want on my kitchen chalkboard, project it onto the chalk board with a fancy projector and start tracing! It seriously is very simple! All you need is a computer + projector, measuring tape, chalk and a print out to help you refer to the smaller details when you’re up close and personal with the chalkboard! Each drawing you do, will be a work of art!
Need Chalkboard art inspiration? Follow my Chalkboard pins on Pinterest! Good luck!!
DIY Chalkboard instructions at the end of the post.
DIY Chalk Board:
Many of you have been asking where my chalk board is from! Well this will excite you because it’s home made and YOU can make it yourself with some common tools! Materials you will need:
1. Chalkboard Paint: Rust-Oleum
2. White Wash Pickling Paint: Minwax
3. Wood border – 6″x 0.5″ x whatever length you need – look for a smooth finished pine wood or similar that accepts stains easily.
4. Large lag bolts – 3/4″ (spray painted gold)
5. Gold Spray Paint : Rust- Oleum
Directions:
1) Paint the chalkboard paint directly on your desired wall, allowing extra bleed to hide under the wood planks. Follow the instructions on the can for how many coats and dry time required.
2) Spray paint the lag bolts with the Gold spray paint. *Helpful tip – stick the sharp end through some cardboard so they stand up by themselves, that way you can spray all at once and all around them.
3) Measure and cut the wood planks to your desired size. You will need a saw to cut the lengths at a 45 degree angle so they butt up to each other. This will create the framed picture look.
4) Paint/stain your wood planks, you may have to stain a few times to get the desired white wash finish. Follow the instructions on the can. Make sure to do the front and sides of them so its a finished look.
5) Once everything is dry, install the wood planks to the wall by screwing screws through the wood into the wall. You will probably need a helper at this point depending on the size of your frame. Depending on your wall type (drywall, brick, concrete etc) you may need wall plugs in order to secure the screws. *Helpful tip – if you don’t have a helper, you can use double sided tape to hold up the wood planks while you screw them into the wall.
6) The large lag bolts are mainly for decoration unless they work with your wall type. You will need to pre-drill out the wood so they fit easy, this can be done after or before you install the planks to the wall. Screw in bolts at each corner.
Good luck and have fun!
All available at The Home Depot
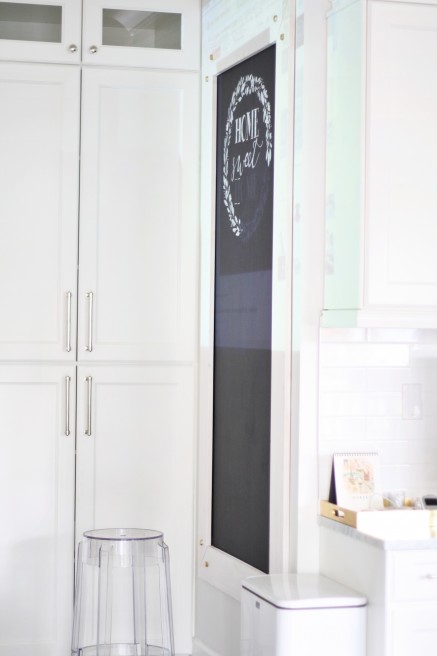
My chalkboard frame is 80″ x 42″. But I suggest creating one that fits your wall space.

Great tip! I feel like there must be some little iphone projector thing out there that would make this even easier!
Love this! May I ask which projector you own? Going to buy one this weekend! Thanks Monika!
Hi Kristina,
I actually don’t own one! I just borrowed it from a friend… I think it’s a little pricey this one! BUT I’m sure if you do a little research you can find a good one for a good price! 🙂
M.